When playing with VPS hosts, we may choose Linux or Windows solution products according to their needs. Laozuo's purpose is relatively simple, just to build a website. Generally, he uses WORDPRESS programs, so he mostly uses Linux. After all, the compatibility is good. Some friends have a choice Windows VPS The remote login of foreign WINDOWS VPS products is different from that of our domestic products. Generally, foreign products use VNC to login to the remote desktop.
I wanted to write this tutorial when I was working on the BurstNET Win product before. Just recently, many friends mentioned the WIN scheme they bought in the Interserver product recommended by Lao Zuo. They didn't know how to log in to the remote desktop. In view of the preciseness of the article, Lao Zuo bought a Win program for demonstration this morning.
Step 1: Log in to the account background
After we purchase the Interserver Windows VPS, we will log in to the background and see the product we purchased. After entering the product, we will see this interface.
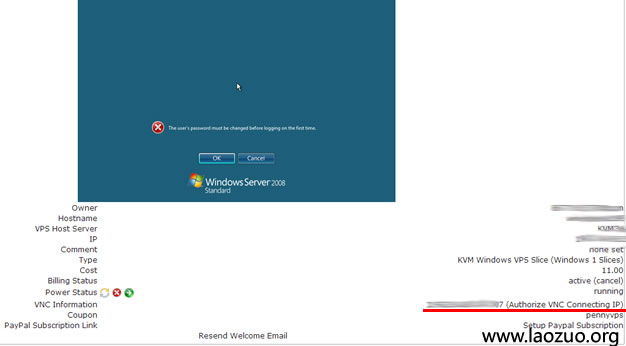
If we purchase KVM and set the WIN system, the interface should be as shown in the figure above. In the figure above, we can see our own VPS information, independent IP and other parameters. We only need to see this point here. After "VNC Information", you can see the IP and port connection for logging in to VNC. In fact, you can directly click "Log in", but since the login is correct, you need to click "Authorize VNC Connecting IP".
Step 2: Authorize the login IP address
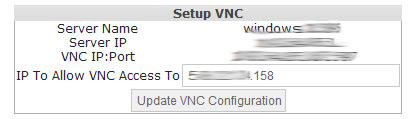
We will see the interface in the above figure. After "IP To Allow VNC Access To", there should be our local IP. You need to confirm the update and authorize your current IP to log in to VNC.
Step 3: Check whether components are installed
After setting the local IP authorization, log back to the IP address behind our VNC, which is the IP+port in front of "(Authorize VNC Connecting IP)". Don't worry, just click to see it.
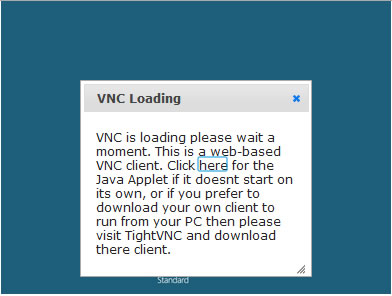
If our computer has installed JAVA components, we can wait. If there is no prompt, we need to install JAVA components to support VNC login. Please check whether your computer has Java installed( Click here to detect ), if not, please install Java first( Click here to download )。 You will need to use VNC remote management. VNC clients must have Java to run.
Step 4: Log in to the desktop and set the password
At this time, we can see the familiar WIN interface, but we need to set the login password for the first login.
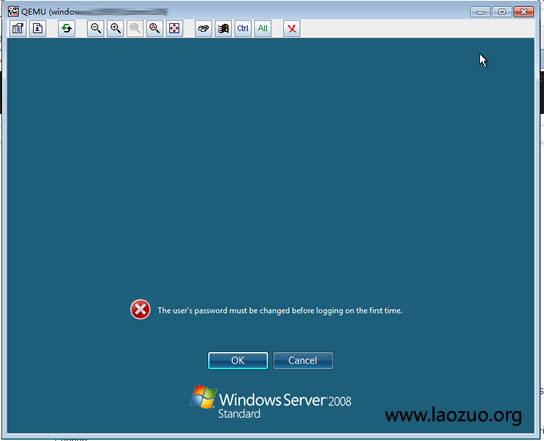
Click OK to set our login password.
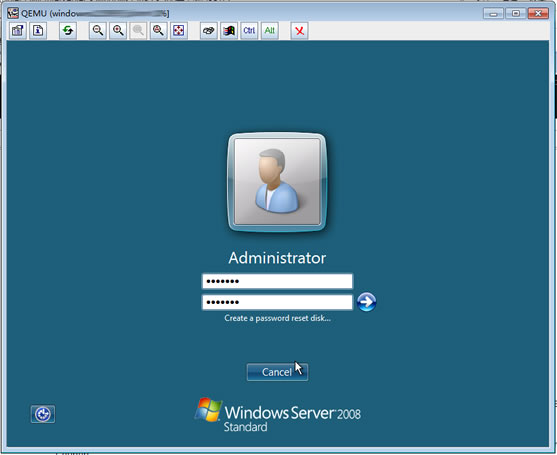
Step 5: Start using

See the WIN interface we entered, and you can start using it.
Of course, if we feel that VNC is inconvenient and the window is small, we can connect to the purchased WIN VPS through the local remote connection desktop. The IP address is the VPS IP we purchased, the user name is administrator, and the password is the password we set above.

Scan the code to follow the official account
Get more news about webmaster circle!
Entrepreneurship, operation and new knowledge