This website provides Linux server operation and maintenance, automated script writing and other services. If you need, please contact the blogger on WeChat: xiaozme
Nano is a simple and easy to learn virtual machine management software based on KVM technology and developed in Go language. It has complete functions from web management portal, host monitoring, image cloning to failover, and is ready for use out of the box. For virtualization management platforms like noKvm and Proxmox VE, the Nano can be implemented without third-party software or dependent libraries, and the installation is very simple.

Server Requirements
- X86 server supporting virtualization or virtual machine with nested virtualization (Intel VT-x/AMD-v) turned on
- 2-core 4G memory 50GB disk and one network device
- CentOS 7.7(1908) Minimal
- The operating system is installed and the network is ready
- The Firewalld service is started and running normally
- If Raid/LVM is available, please complete the configuration before installing Nano
Installing the Nano
Copy the following command to install
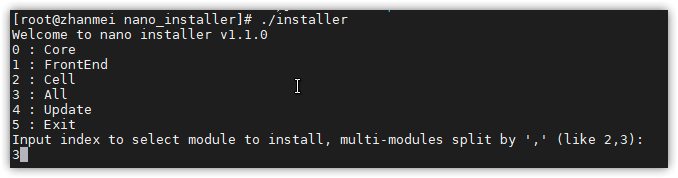
#Download Nano wget https://nanos.cloud/files/nano_installer_1.2.0.tar.gz #Decompress tar zxfv nano_installer_1.2.0.tar.gz #Enter directory cd nano_installer #Installation ./installer
During installation, modules will be required to be selected. Generally, 3 (all) modules will be selected for installation. If other options are not clear, all can be left as default. Generally, complete installation can be completed in a few minutes.
Running Nano
The relevant files of Nano are located in /opt/nano/ Directory. You need to enter this directory to start the following services:
cd /opt/nano/core ./core start cd ../ cell ./cell start cd ../ frontend ./frontend start
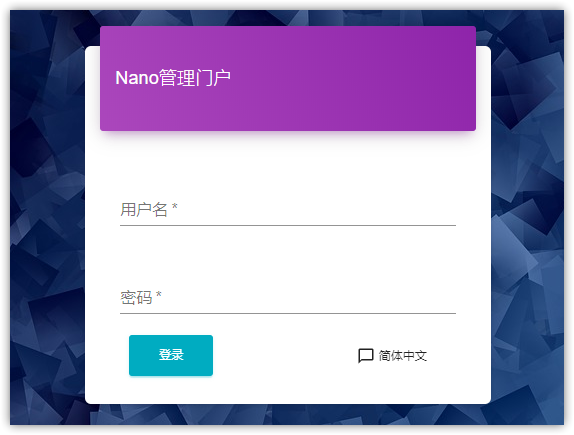
When the front end module is successfully started, it will prompt a listening address such as "192.168.3.3:5870". You can use Chrome or Firefox to open this address for platform management. Opening the WEB interface for the first time will require you to set an account and password.
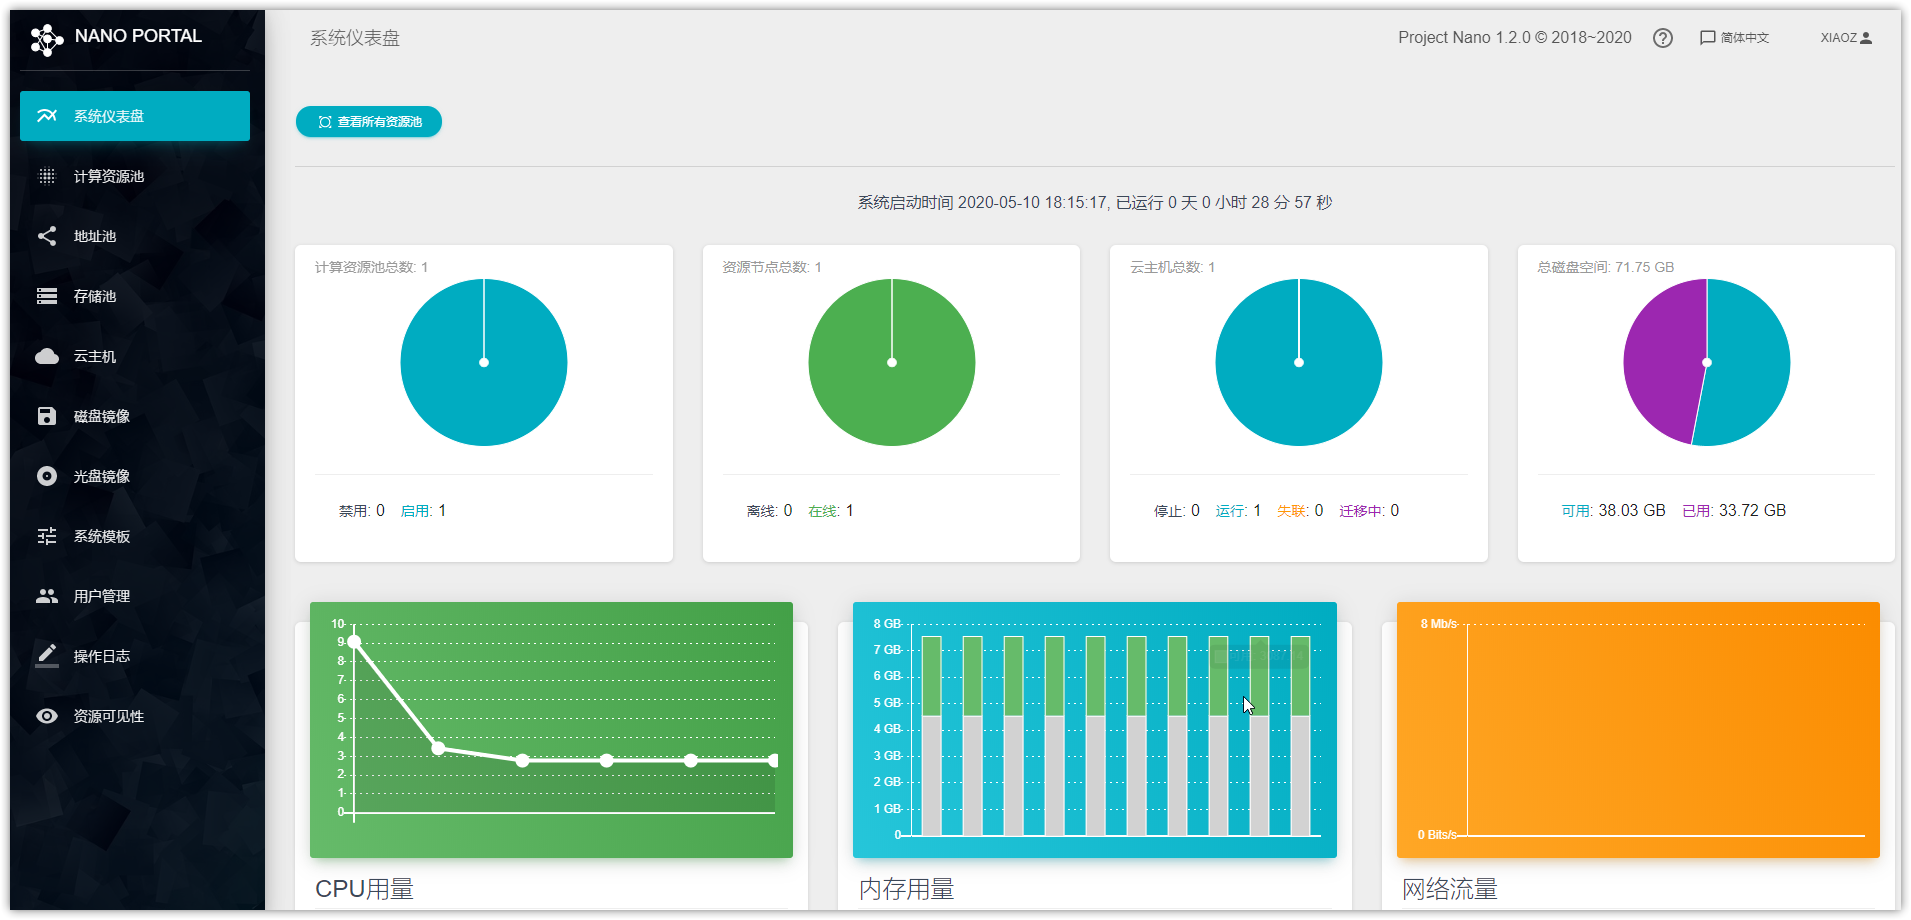
After entering the Nano WEB management interface, you can see the following contents. The interface is very beautiful.
First use
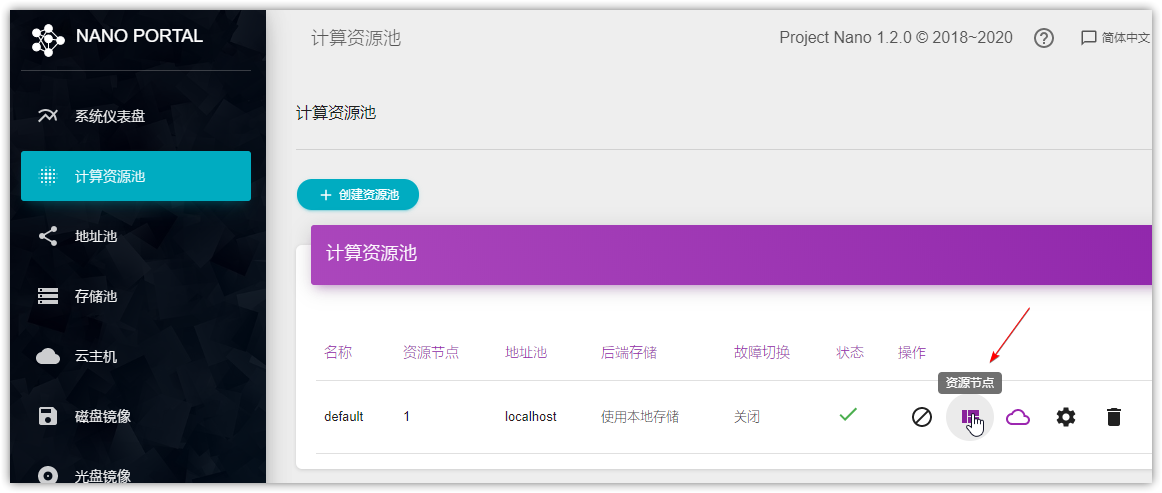
Set computing resource pool
Set the resource node at the location shown in the following figure, otherwise the virtual machine cannot be created normally.
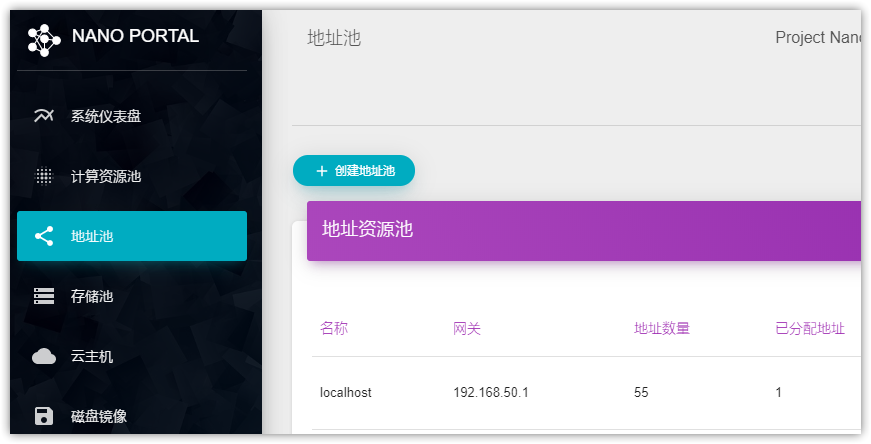
Address pool
Set the address pool in the following figure. Otherwise, IP addresses cannot be automatically assigned to the virtual machine. At the same time, ensure that these addresses are normally available on the same network and are not filled in randomly.
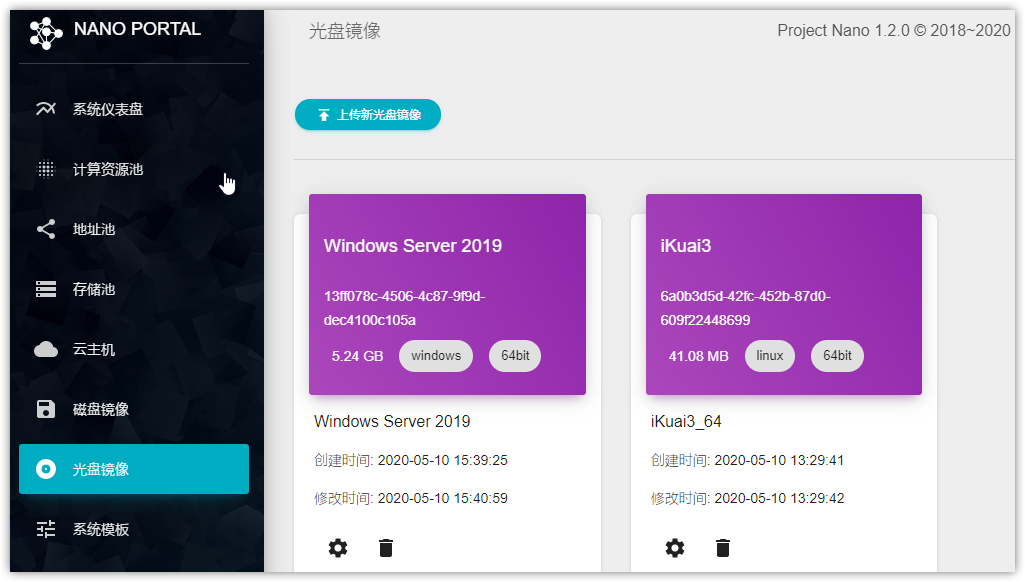
Disc image
The system image can be downloaded from the official website and then uploaded through the interface below. When using Edge (Chromium) to upload images, xiaoz was stuck at 100% for unknown reasons. Later, it is OK to replace Chrome, and the official recommendation is to use Chrome or Firefox browser.
The uploaded disc image is located in /opt/nano/core/data/media_images Directory. At present, it does not support downloading directly from wget on the host computer, but only uploading images online, which is not particularly convenient.
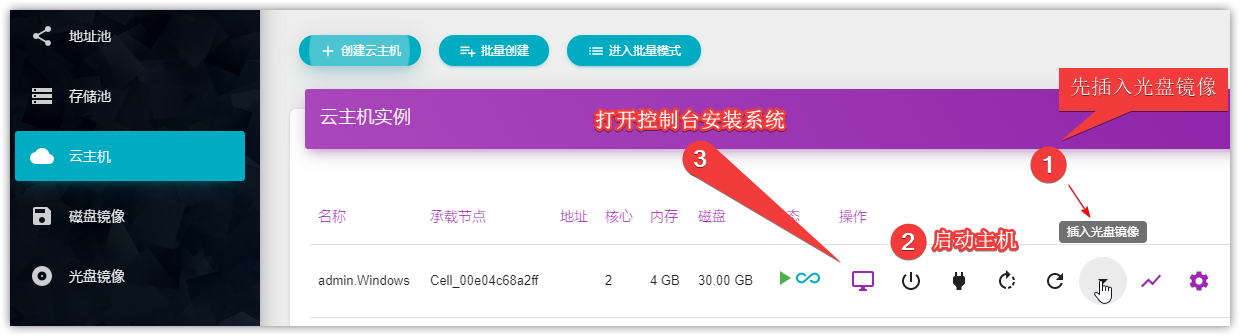
Create virtual machine
After the above conditions are ready, you can create a virtual machine. As shown in the following figure, insert the CD image, start the system, and then enter the console for installation.
Problems encountered
After installing Windows Server 2019, it is found that you can't send Ctrl + Alt + Del Shortcut key. The solution is to use VNC client to connect.
When clicking resource monitoring, the browser prompts that there is insufficient memory. This problem should occur in Windows Virtual Machine. The solution is to install the virtio driver and qeum agent. The download address is: https://fedorapeople.org/groups/virt/virtio-win/direct-downloads/archive-virtio/virtio-win-0.1.173-9/virtio-win.iso Otherwise, the nano view virtual machine resource monitoring will get stuck.
Nano script management and startup
Every time /opt/nano/core Directory to manage the three services of the Nano is very inconvenient. We can write scripts to manage the Nano. Xiaoz has been written and can be downloaded directly:
#Download management script wget -O /usr/sbin/nano https://raw.githubusercontent.com/helloxz/shell/master/nano.sh #Add Execution Permission chmod +x nano
After the script is added, you can use the command below to quickly manage the Nano.
#View nano status nano status #Stop nano nano stop #Start nano nano start #Restart nano nano restart
Continue writing systemd Service to set startup and create a new nano service file vi /etc/systemd/system/nano.service , the contents are as follows:
[Unit] Description=Nano - https://nanos.cloud/ After=network.target [Service] Type=forking ExecStart=/usr/sbin/nano ExecRestart=/usr/sbin/nano restart ExecStop=/usr/sbin/nano stop [Install] WantedBy=multi-user.target
Enter after adding services systemctl daemon-reload Refresh the nano service you just added, and then you can use systemctl The command is as follows:
#Set nano startup systemctl enable nano #Start nano systemctl start nano #Stop nano systemctl stop nano #Restart nano systemctl restart nano
Note that this service needs to depend on the above nano.sh Script, xiaoz has been placed in Github: https://github.com/helloxz/shell/blob/master/nano.sh
summary
Nano is developed using Golang, and can be executed without third-party software or relying on libraries. The installation is very simple. Compared with other virtualization management platforms, the installation is simpler and error free. Xiaoz has only used VMware, ESXI, and Nano virtualization software at present. ESXI must use an image to run, while Nano only needs CentOS 7 to install. A netizen shared that the Nano is easier to use than PVE. Well, I haven't used PVE before, so I can't make a comparison.
The Nano also has some shortcomings, such as the need to upload the disk image online. If you are an independent server abroad, it is a nightmare when the image is large, while ESXI can directly wget on the host. In addition, after the Windows virtual machine is installed, it cannot be sent from the WEB console Ctrl + Alt + Del Finally, you have to use the VNC client to operate.
With MIT license, the Nano has no restrictions on its own use, modification or commercial use. The Nano can meet the daily needs, but it is not mature enough. If it is a commercial or online formal environment, please consider it by yourself. (xiaoz continues to step into the pit~)
Some contents of this article refer to:
Finally, I would like to thank "Li Zi (106 * * * 406)" for his kind help, so as to avoid Xiaoz stepping on some holes less.