WP Super Cache Cache Plug in It is the most recommended and used WordPress plug-in on the network. It can be said that the network is full of relevant tutorials, which have reached the point of flooding. Weieis blog has also used this kind of cache plug-in, which has a certain acceleration effect on the host. However, there are certain requirements for the use of such plug-ins. Before using them, you should make a decision based on the situation. This article shares the setting process of the WP Super Cache cache plug-in.
1、 When can the WP Super Cache cache plug-in be used
Lao Wei's experience is that the WP Super Cache cache plug-in is limited to virtual hosts. Do not use similar cache plug-ins in the vps host.
According to the actual use results of many friends around Wei, the WP Super Cache plug-in does not play a significant role in VPS hosts. In contrast, using memcached components and opcache components has a more obvious acceleration effect. This conclusion has been confirmed in the practical use of many people.
This is the prerequisite that Lao Wei mentioned earlier. If your website is a virtual host that cannot install system components, you can only use similar cache plug-ins to speed up. If you use a VPS host, you can verify the acceleration effect of cache plug-ins and system components by yourself. Which is better.
2、 Wordpress plug-in installation process
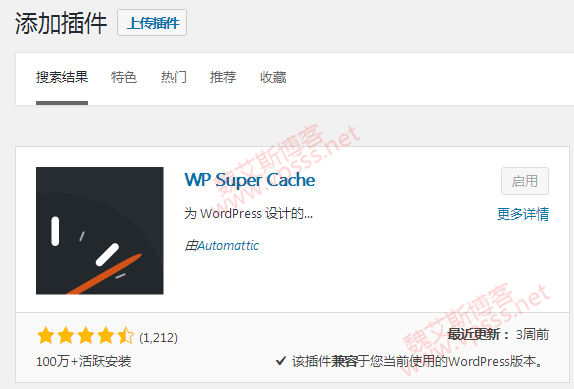
1. Click Install Plug in in Wordpress background Plug in, enter WP Super Cache in the search box, see the following results, install and enable.
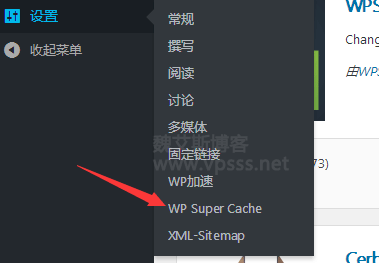
2. There are two ways to access after installation. Find the WP Super Cache entry settings in the installed plug-ins, or enter WP Super Cache in the settings in the wordpress background.
3. In WP Super Cache settings, the general option is to enable the cache function, and click the update button to save and take effect, as is the case later.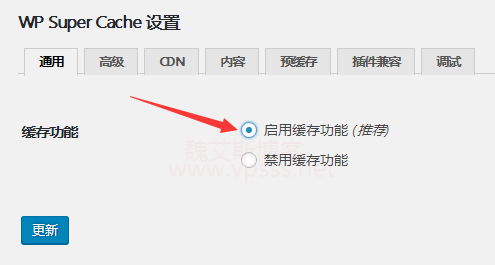
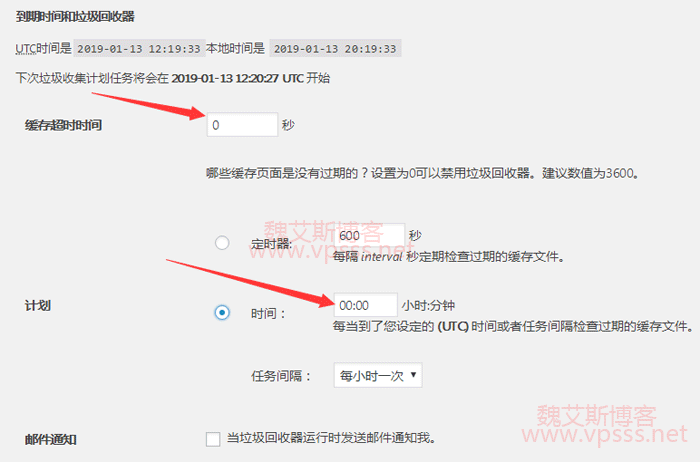
4. Advanced options are selected according to the following figure.

Expiration time and garbage collection period The cache timeout here is 0, and the schedule time is also 0.
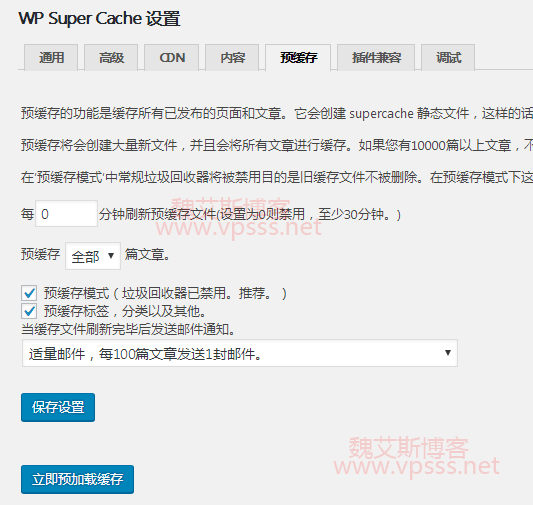
5. The pre cache page is as follows. Select 0 minutes, that is, do not refresh the pre cache file. If there are too many blog posts, frequent refreshing will affect system performance. This is not recommended for virtual hosts in particular.
The button to preload the cache now is optional. If you don't have many articles and the space is large enough, you can try it.
Just follow the above settings. Don't worry about other settings. After setting up, try the blog again after a while, and the access speed will be improved to a certain extent. The WP Super Cache plug-in can be set here.