There will be some kids who can't use cdr and don't know how to put the pictures in the place they want. There are some things that they don't understand very well in the operation. Here's how to put the pictures in the shape by cdr. The specific operation steps are as follows:
Step 1: Open the CDR software and import a JPG image, as shown below:
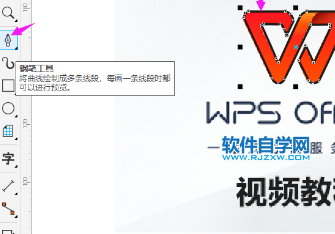
Step 2. Use the pen tool again and tick the icon, as shown below:
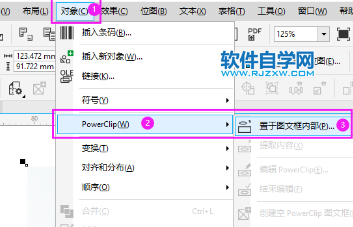
Step 3: Select the image, click the object, and then click the one in powerClip to place it inside the frame. As shown below:
Step 4: Click the border of the shape, and put the picture into the shape.
Step 4: Click the border of the shape, and put the picture into the shape.
How can cdr export pictures separately
1. First, open the CDR software in the computer, and there are two pictures on the operation surface.
2. If you need to export one of the pictures, click Select on the picture.
3. Then select a file and select Export from its drop-down list.
4. In the export option, only the previous box will be checked.
5. Finally, select to set some parameters and select Confirm Export.
The above is an introduction to how to operate the cdr. If you don't understand anything, you can refer to the above article.