IPad User Manual
-
Welcome -
-
Supported models -
iPad mini 4 -
IPad mini (5th generation) -
IPad mini (6th generation) -
IPad (5th generation) -
IPad (6th generation) -
IPad (7th generation) -
IPad (8th generation) -
IPad (9th generation) -
iPad Air 2 -
IPad Air (3rd generation) -
IPad Air (4th generation) -
IPad Air (5th generation) -
9.7-inch iPad Pro -
10.5 inch iPad Pro -
11 inch iPad Pro (1st generation) -
11 inch iPad Pro (2nd generation) -
11 inch iPad Pro (3rd generation) -
12.9 inch iPad Pro (1st and 2nd generation) -
12.9 inch iPad Pro (3rd generation) -
12.9 inch iPad Pro (4th generation) -
12.9 inch iPad Pro (5th generation)
-
-
New features of iPadOS 15 -
-
-
Set up FaceTime calls -
Create FaceTime call link -
Making and receiving calls -
Take live photos -
Use other apps during calls -
Use simulcast sharing to watch and listen together -
Share screen -
Change video settings -
Change audio settings -
Add Camera Effects -
Exit the call or switch to Info -
Block unwanted incoming numbers
-
-
-
consult a map -
-
Search locations -
Find nearby attractions, restaurants and services -
Get information about places -
Mark location -
Share location -
Score the location -
Common storage locations -
Explore new locations using the Guide -
Organize places in My Guide -
Get traffic and weather information -
Delete important locations -
Quick Find Map Settings
-
-
-
Get routes using Siri, Maps, and Maps widgets -
Select another route option -
Operations that can be performed when following route guidance -
Get driving routes -
Report traffic exception events in Maps on iPad -
Get cycling routes -
Get a walking route -
Access to public transport routes -
Delete the most recently viewed route -
Get directions using Maps on Mac
-
-
-
-
Set Info -
Sending and receiving messages -
Send messages to groups -
Send and receive photos, videos, and audio -
Receive and share content -
Add animation effect to information -
Using the iMessage messaging app -
Use mimetic expression -
Send digital touch effect -
Change notification -
Block, filter, and report information -
Delete information
-
-
-
View photos and videos -
Play videos and slides -
Delete and hide photos and videos -
Edit photos and videos -
Trim video length and adjust slow motion -
Edit Live Photo -
Edit Movie Effects video -
Edit portrait mode photo -
Create Album -
Edit and organize albums -
Filter and sort photos in the album -
Search in Photos -
Share photos and videos -
View photos and videos shared with you -
Interact with photos using live text and "View Query" -
Watch memories -
Personalized memory -
Find people in Photos -
Reduce the presence of a person or place -
Browse photos by location -
Using iCloud Photos -
Share photos with iCloud Share Album -
Import photos and videos -
Print photos
-
-
-
Browse the website -
Customize Safari browser settings -
Change Layout -
Search website -
Using tabs in Safari browser -
Bookmark favorite pages -
Store the page in the Reading List -
View links shared with you -
form autofill -
Get extension -
Hide advertising and distractions -
Traceless browsing website -
Clear Cache -
Use Hide Mail Address
-
-
Quick Instructions -
equity market -
Tips
-
-
Share Internet connection -
Making and receiving calls -
Using the iPad as a second display for the Mac -
Use keyboard and mouse or touch pad between Mac and iPad -
Stream videos, photos, and audio wirelessly to your Mac -
Handle tasks by relay between equipment -
Cut, copy and paste between iPad and other devices -
Connect iPad and PC with cable -
Synchronize iPad with PC -
Transfer files between iPad and computer
-
-
-
Getting Started with Accessibility -
-
-
Open and practice Narration -
Change Narration settings -
Learn the "narration" gesture -
Use the voice over gesture to operate the iPad -
Use rotor to control "narration" -
Using the on-screen keyboard -
Writing with fingers -
Use narration with Apple external keyboard -
Using the Braille Display -
Type Braille on the screen -
Custom gestures and keyboard shortcuts -
Use narration with pointer device -
Use Narration for images and videos -
Use narration in App
-
-
zoom -
Display and text size -
Dynamic effect -
Read aloud -
audio description
-
-
-
-
Use built-in security and privacy protection -
-
Secure Apple ID -
Sign in through Apple -
Auto fill strong password -
Change weak password or disclosed password -
View your password and related information -
Secure password sharing through "space delivery" -
Make passwords available on all your devices -
Auto fill verification code -
Manage dual authentication of Apple ID
-
-
-
-
Important safety information -
Important operating information -
Find more software and service resources -
FCC Compliance Statement -
Canadian ISED Compliance Statement -
Statement of China's micro power short-range equipment -
Apple and the environment -
Class 1 laser information -
Processing and recycling information -
ENERGY STAR Compliance Statement
-
-
copyright
Send email in Mail on iPad
![]()
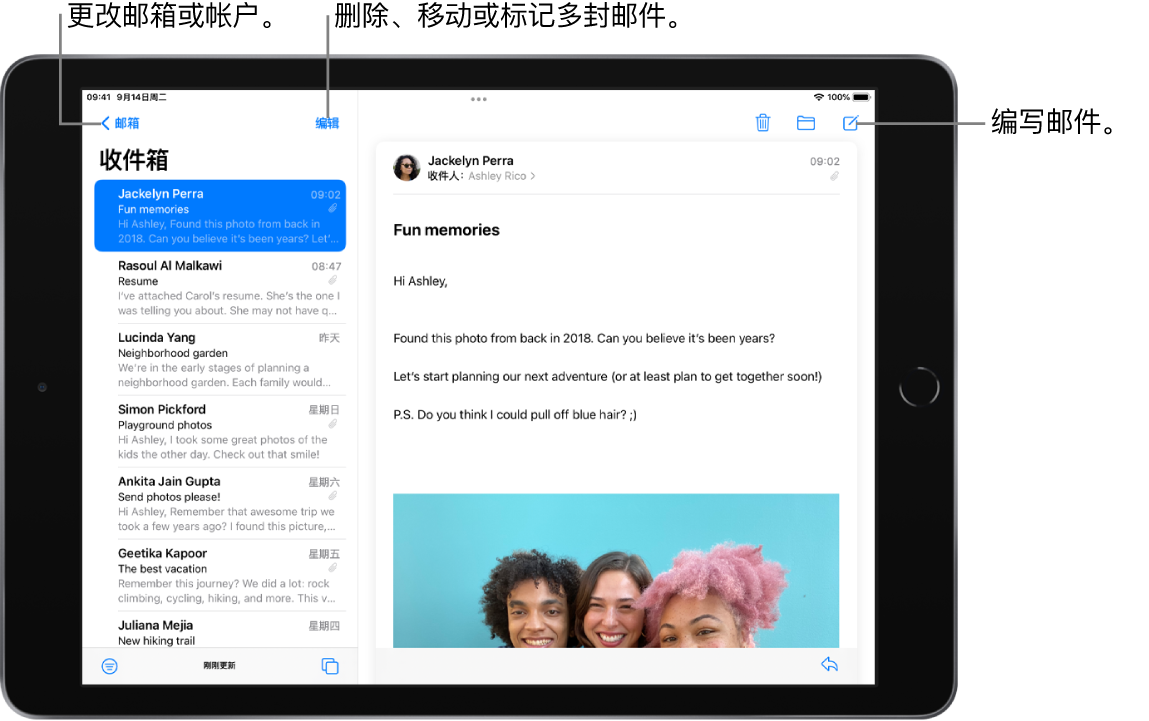
Write e-mail
Lighter 
。 Tap the email, and then type the message. When using the on-screen keyboard, you can tap a single key. Or pinch three fingers to use a smaller keyboard for fast input, then slide your fingers from one letter to the next, and only lift your fingers after each word is entered. To change the format, tap 
。 You can change font style and text color, use bold or italic, add bulleted or numbered lists, and so on.
add recipient
Tap the To column, and then type the name of the recipient. Mail will automatically suggest contacts and e-mail addresses in the Address Book (if the user has multiple e-mail addresses) as you type. You can also gently 
To open the Address Book and add recipients from here. If you want to copy another person, tap the "Cc/Bcc" column, and then do one of the following: Tap the "Cc" column, and then enter the name of the contact to be copied. Tap the Bcc field, and then enter the name of the contact that you do not want other recipients to see.
Capture email addresses in photos
Open a photo in the Photos app and tap the email address you want to capture. When a yellow box appears around the detected text, tap 
。 Tap or use the crawl point to select an e-mail address, and then tap New Mail Message.
Auto cc to yourself
![]()
Send e-mail from another account
In the email draft, tap the "Cc/Bcc, From" field. Tap the From column, and then select an account.