
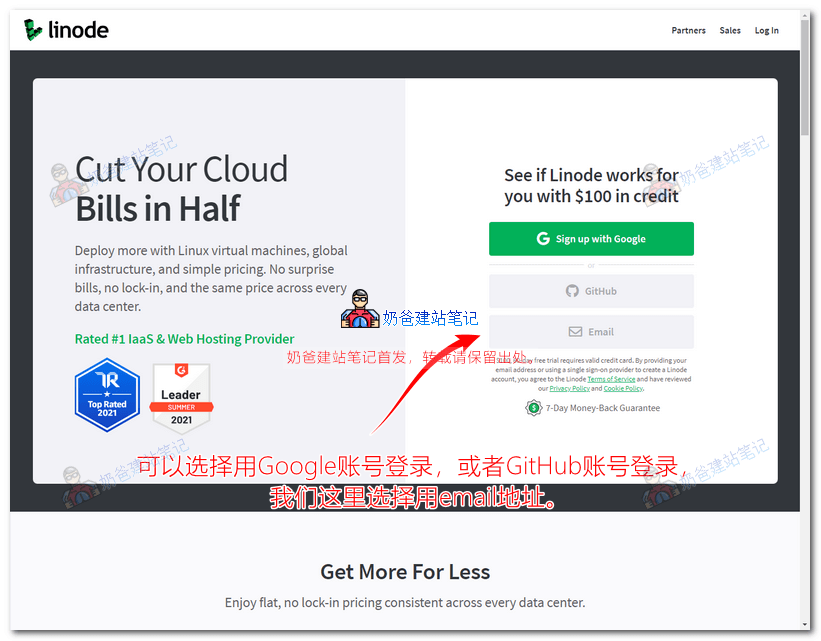
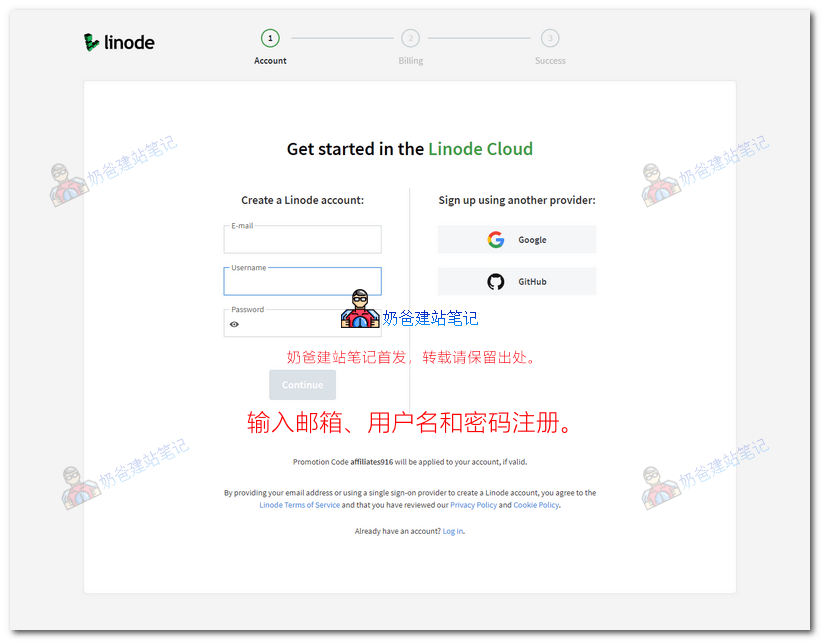
1、 Register Linode
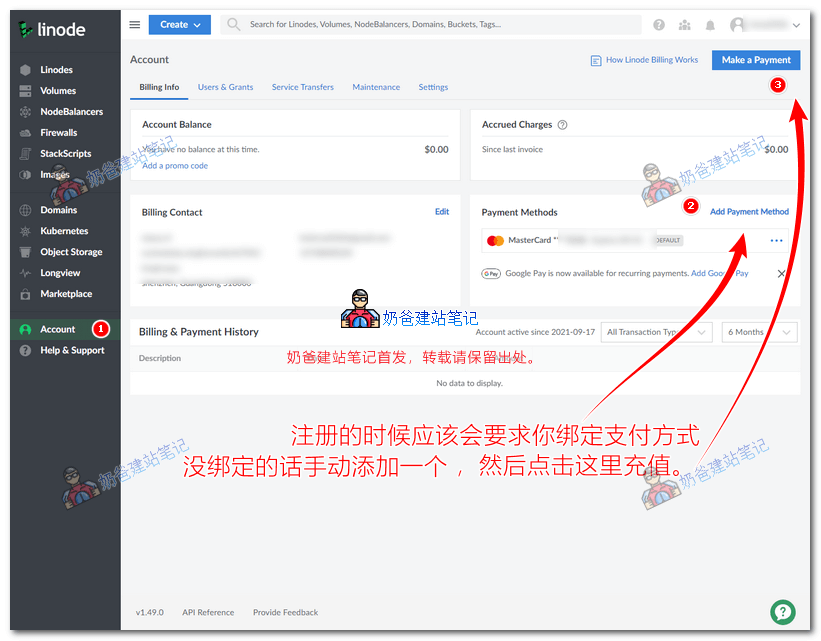
2、 Recharge Linode

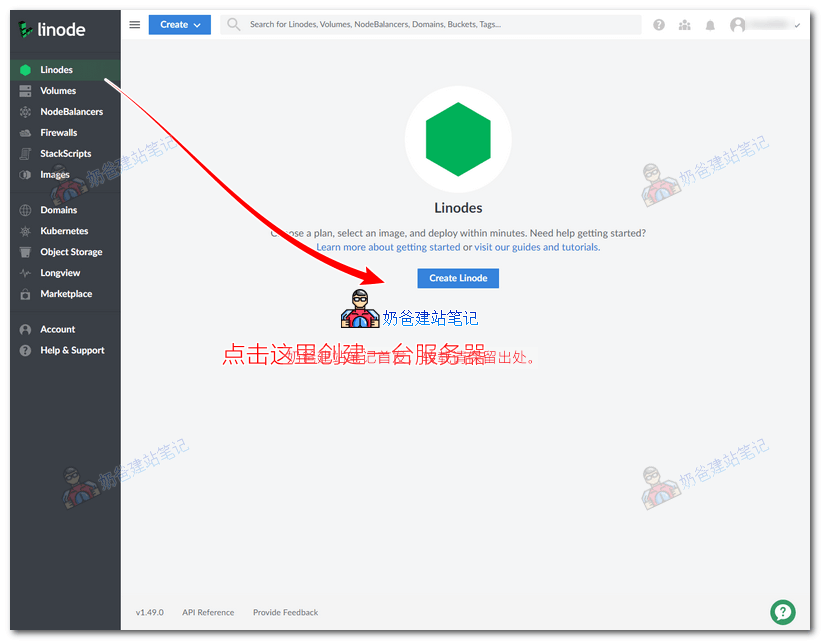
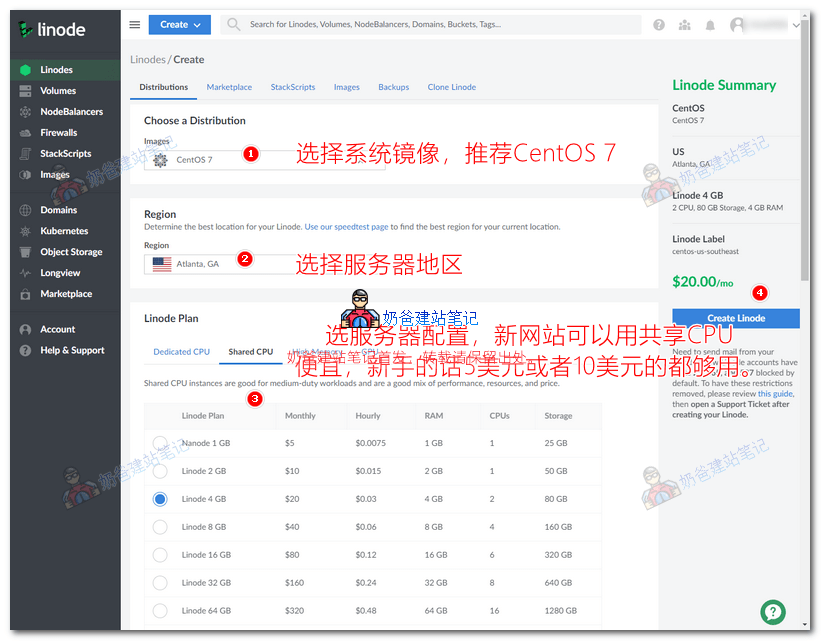
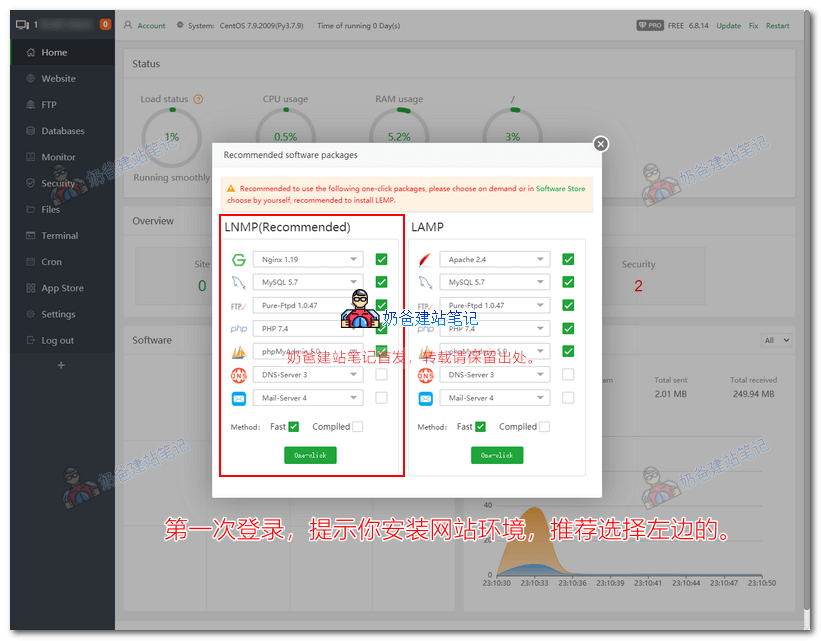
3、 Create Server
Method 1: Create the server by installing the pagoda panel yourself
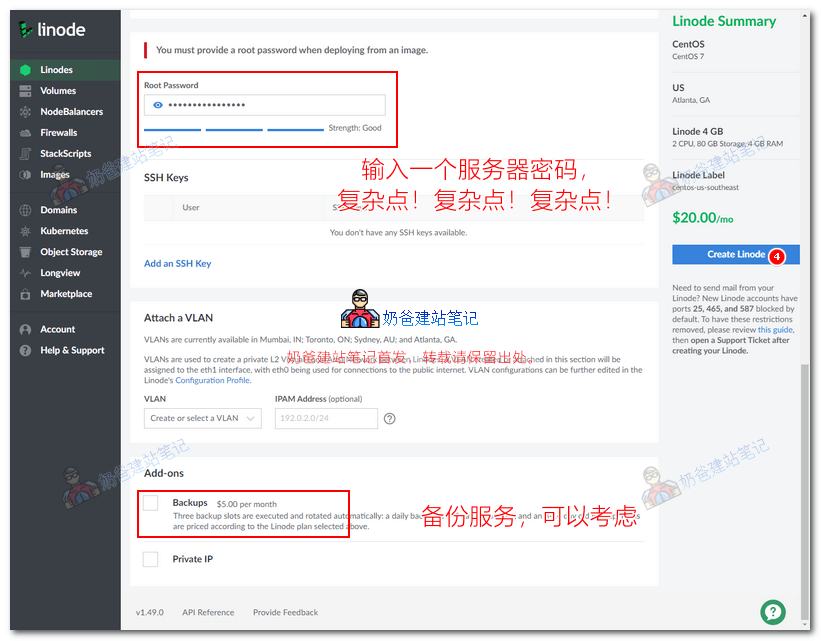
If prompted Account Limit reached. Please open a support ticket.
Please issue a work order to ask the customer service why. ( Work order link )
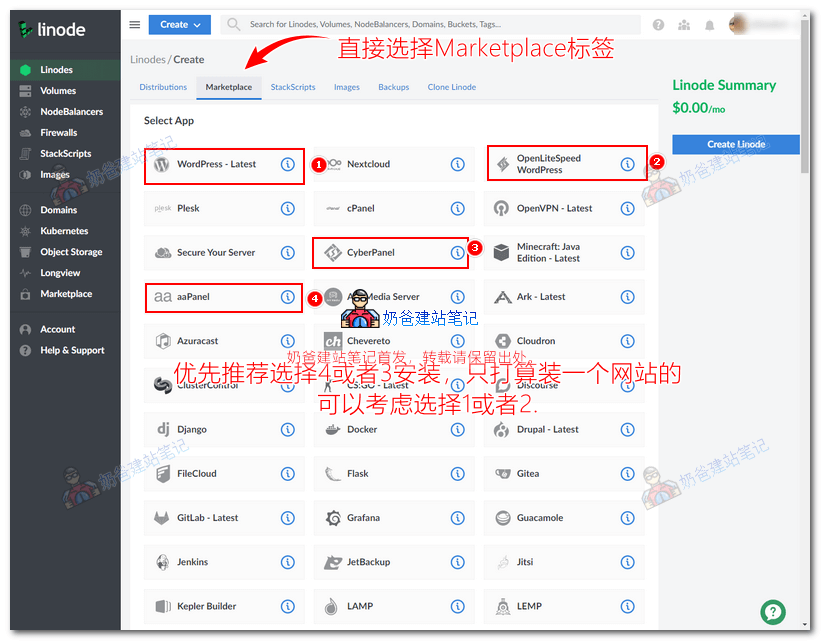
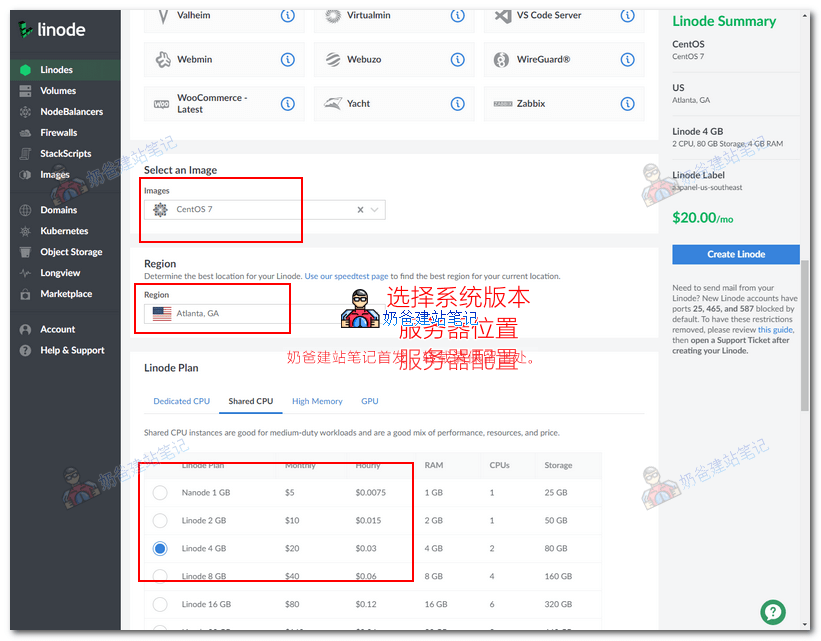
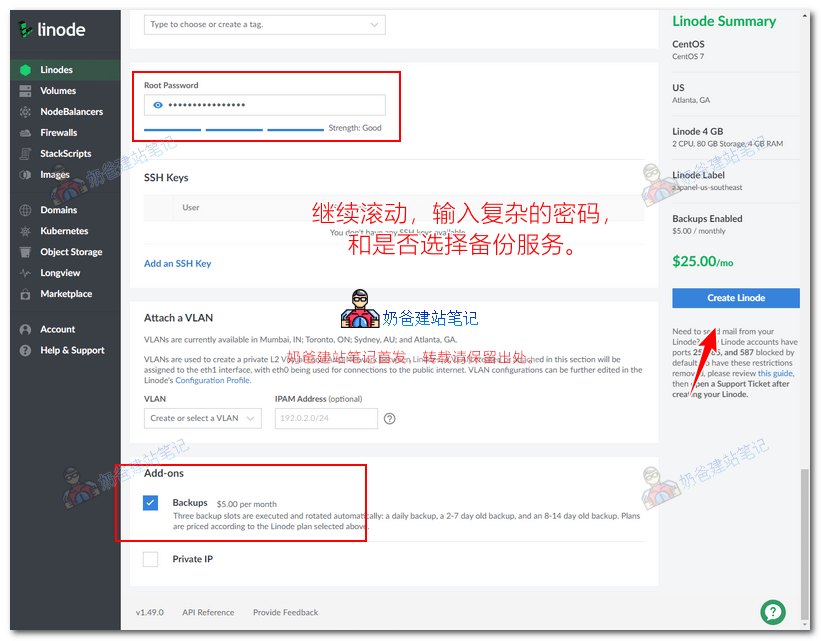
Method 2: Create a server directly from the Marketplace
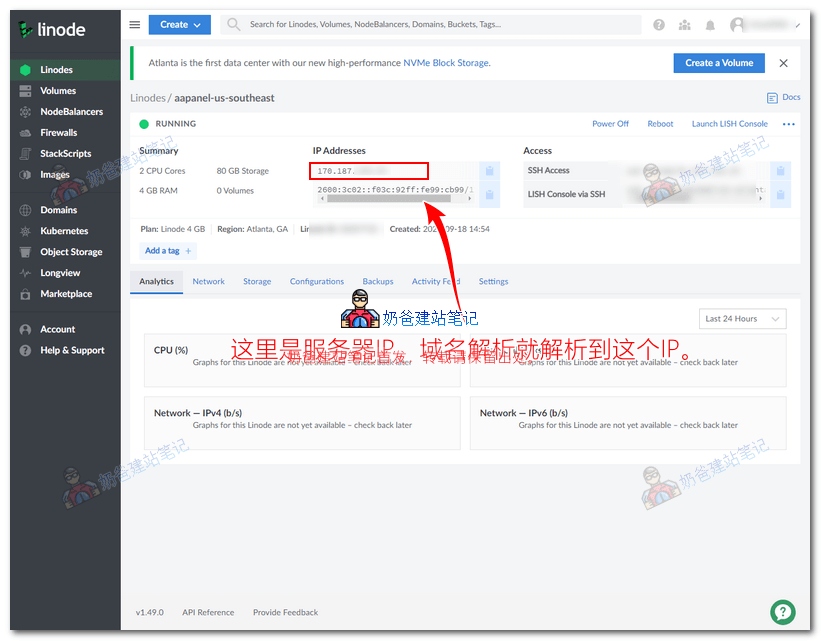
4、 Management Server
ssh root@ip address

Connecting to 170.187.*.*:22... Connection established. To escape to local shell, press Ctrl+Alt+]. WARNING! The remote SSH server rejected X11 forwarding request. [ root@li2338-25 ~]#

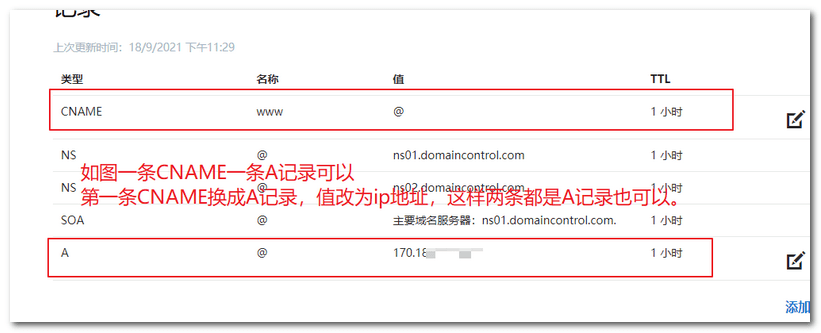
5、 Resolve domain name
-
NameSilo Domain Name Resolution and DNS Server Modification Tutorial -
Namecheap Domain Name Resolution Tutorial -
Tutorial on Modifying DNS Resolution Records for Godaddy Registered Domain Names -
How to view the SiteGround server IP and DNS and resolve the domain name -
Shopify Domain Name Setting Tutorial Resolves Your Domain Name to Shopify -
Tutorial for dynadot to purchase and resolve domain names -
Purchase Eagle host website building and domain name resolution binding tutorial -
Alibaba Cloud domain name resolution tutorial, how to modify IP records for Alibaba Cloud registered domain names -
Tencent Cloud Domain Name Registration and Domain Name Resolution Tutorial
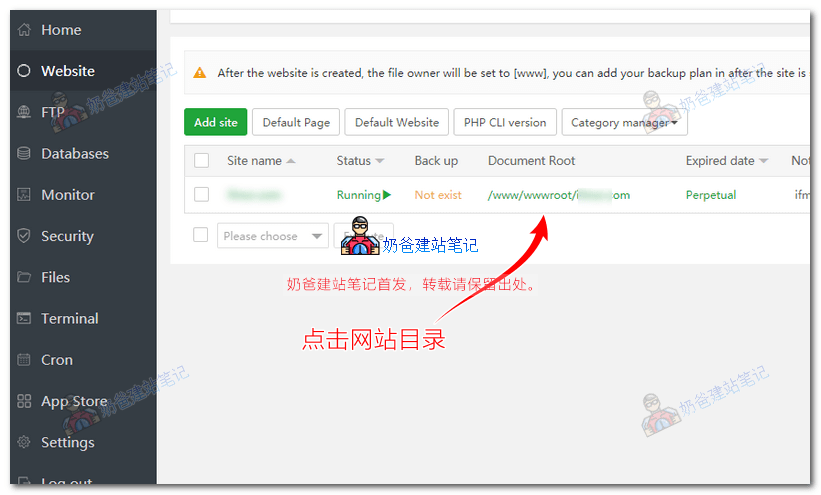
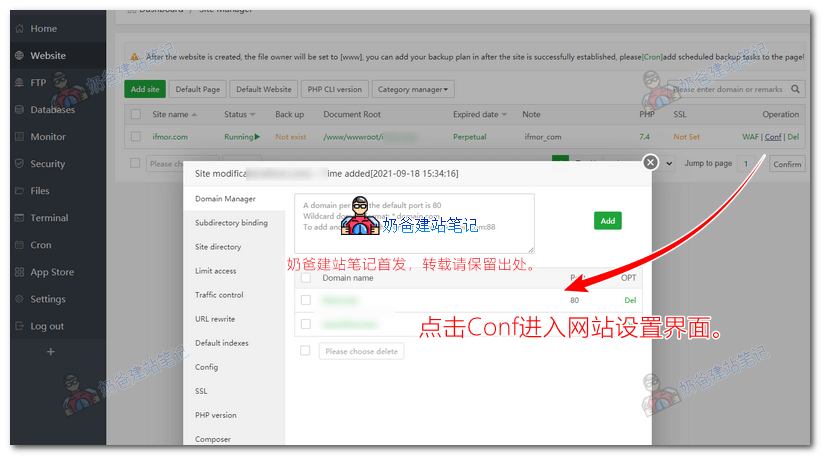
6、 Add Site
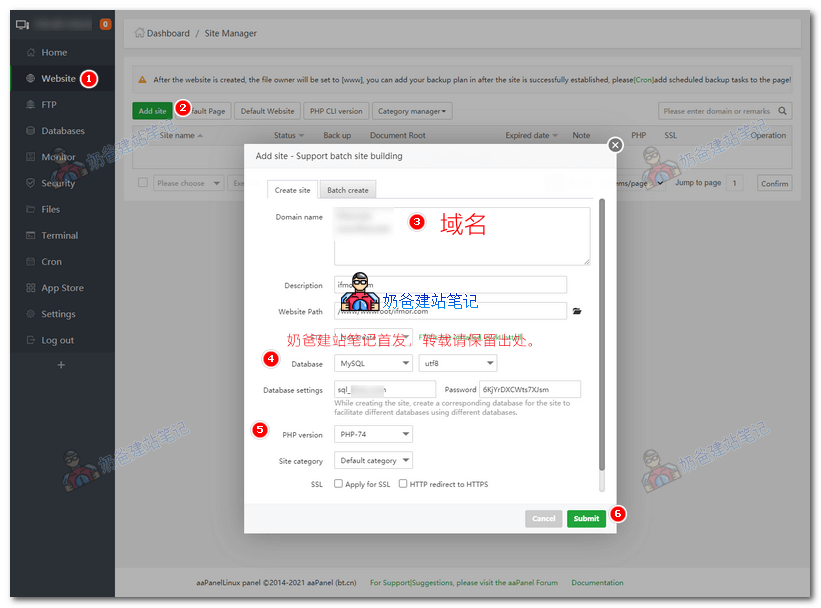
-
SSL, Select the first Let's Encrypt, check your domain name and click the button to automatically generate it. After success, open the Force HTTPS button in the upper right corner. (Why not check SSL directly when creating a website? Because your domain name may not be resolved effectively at that time, and the application for SSL will fail) -
In URL rewrite, select WordPress and save.
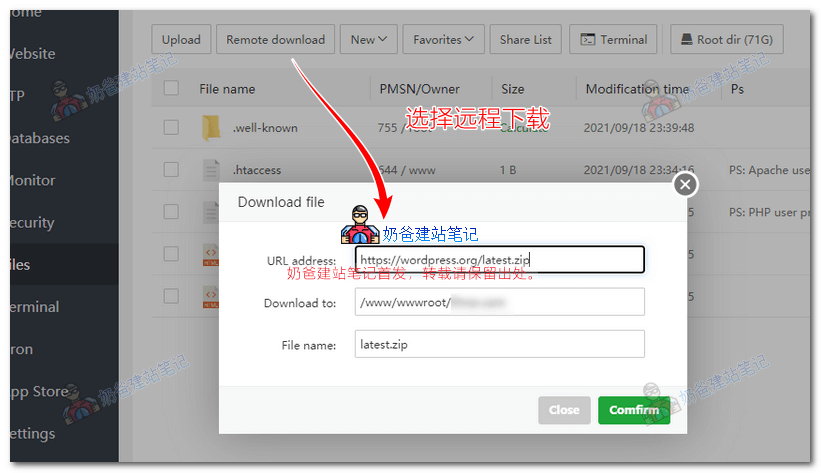
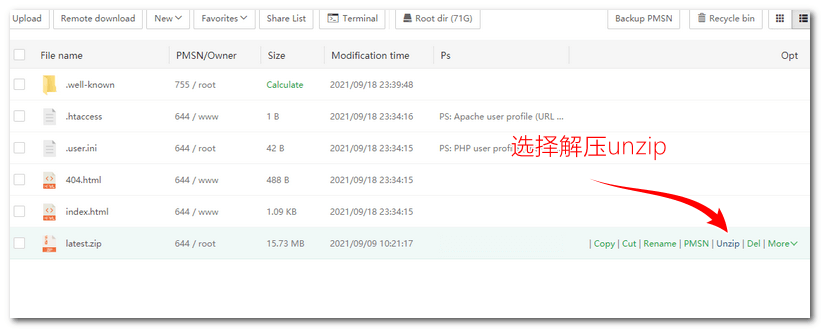
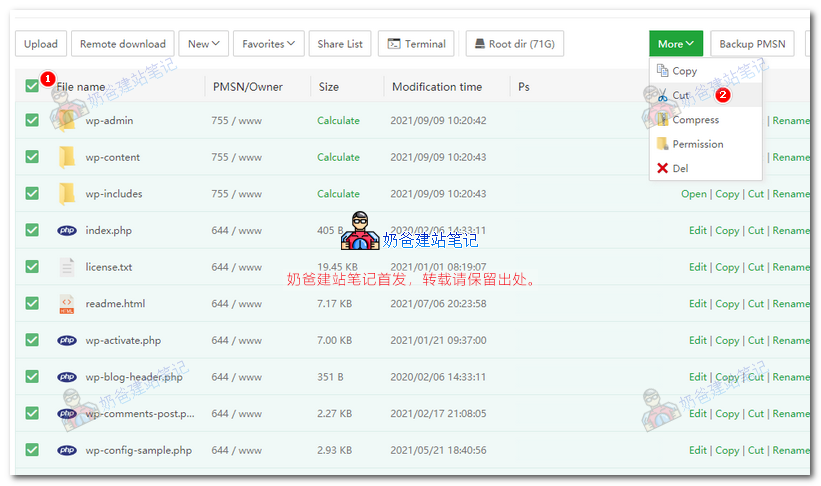
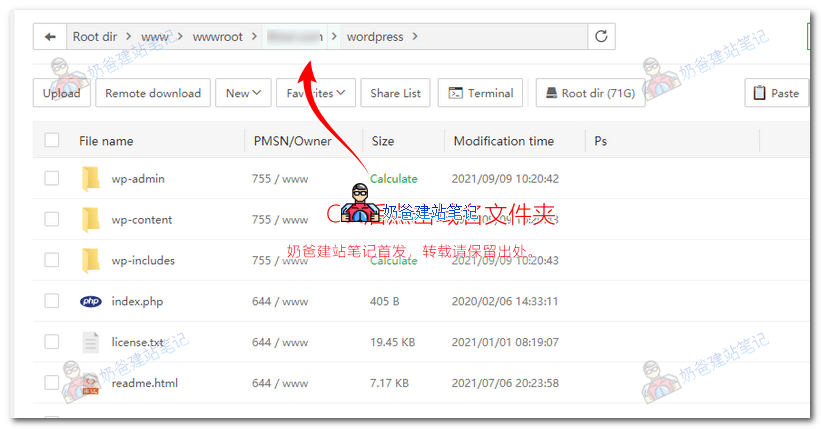
7、 Install WordPress website