How does pycharm install the Virtualenv Environment - Install the Virtualenv Environment method
Editor: Xiao He
Source: Internet
Time: 2022-05-27 09:52:35
Recently, many friends are asking pycharm how to install Virtualenv Environment? To solve this problem, I'd like to share with you today how to install Virtualenv in pycharm Environment method, I hope it can help friends in need.
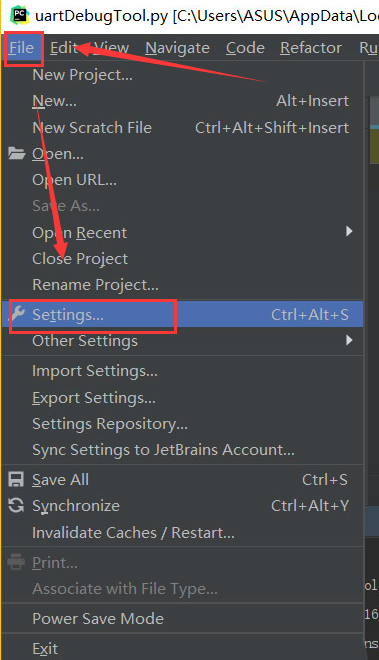
Step 1: Open the pycharm interface, click the File menu in the upper left corner, and select the Settings button
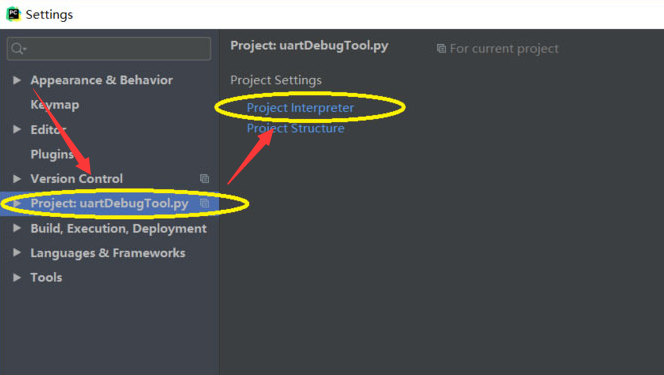
Step 2: In the Settings window that opens, find the Project: file name page, and click to select the Project Interpreter file on the right
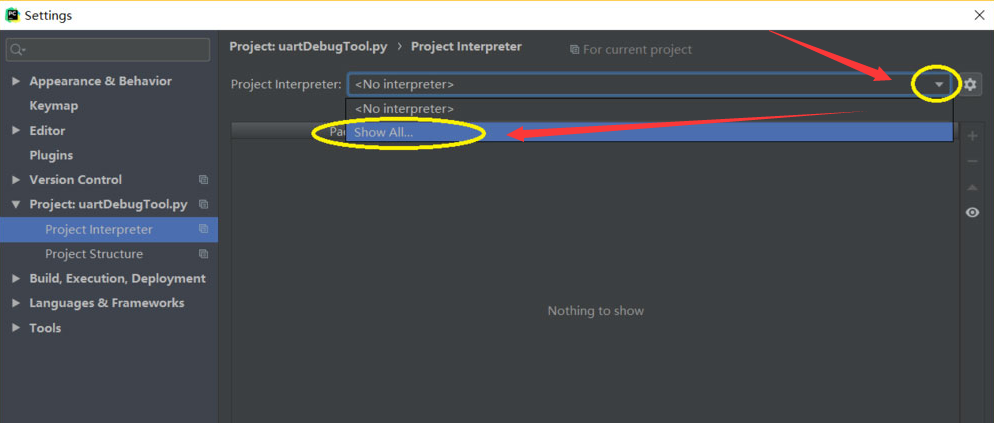
Step 3: Left click to open the drop-down box page on the right, and click Show All
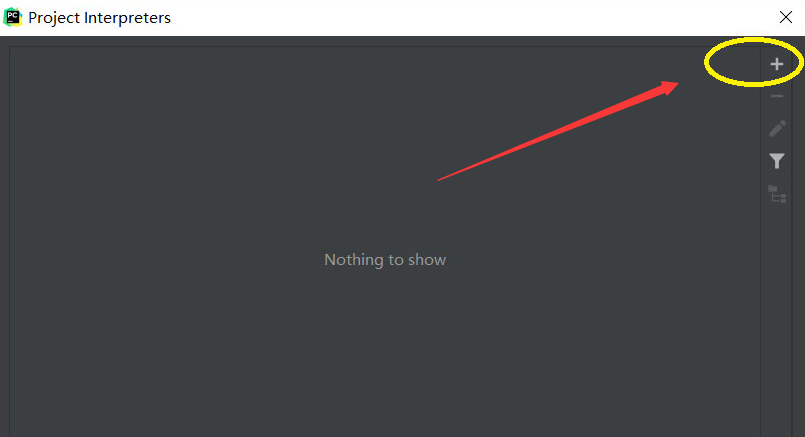
Step 4: Click the plus sign in the upper right corner of the open window
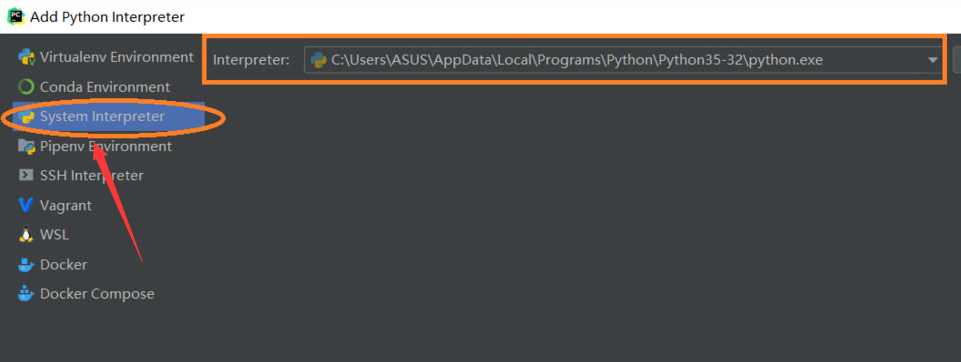
Step 5: In the pop-up Add Python Interpreter window, click the Virtualenv Environment button to add the file directory
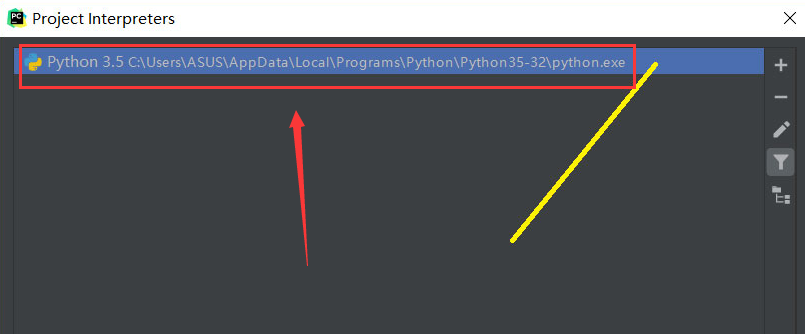
Step 6, you can see that a directory list has been added in the Project Interpreter dialog box
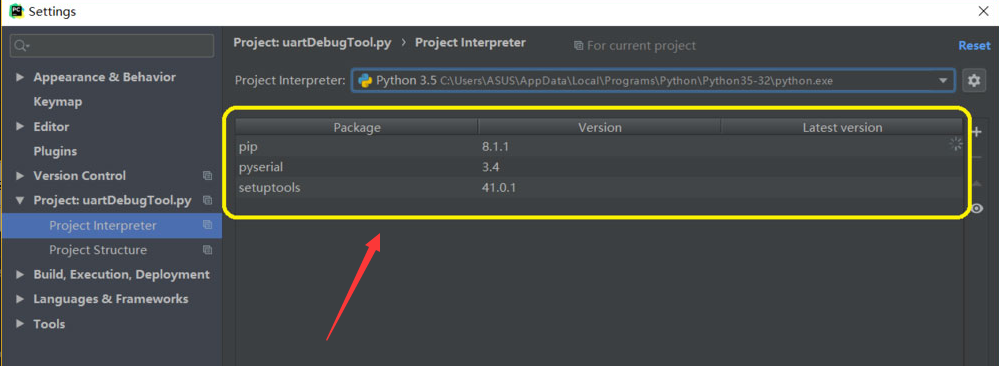
Step 7: return to the Settings interface, confirm the right travel list group, and the installation is successful. Click OK to save the settings
The above is the method of installing Virtualenv Environment in pycharm brought by Xiaobian. Let's have a look.