Data migration between lightweight application servers
prerequisite
Ensure that the lightweight application server of the data to be migrated is in normal operation. If the server has expired, you need to renew the server first. See Upgrade or Renewal Instructions 。 If you have created a lightweight application server, make sure that the two servers use the same version of the image before and after migration. If not, you need to reset the system. See Reset system 。
Migration scenario
| | |
|
|
|
|
Preparations and precautions before migration
Create a snapshot to back up data. If you have created a new application server, it is recommended that you create a snapshot for the new lightweight application server. If the server data is abnormal due to migration failure, you can roll back the cloud disk data of the server through the snapshot. See Create Snapshot 。 Check the network. You need to ensure that each lightweight application server has public network access. If you are migrating across international regions, please note that the migration rate is too slow due to the unstable network environment. Check the authorized applications in the server. The lightweight application servers in different regions are in different VPCs. If you are migrating across regions, the underlying hardware devices of the system will change after data migration, which may result in the invalidation of some application licenses bound to the hardware. You need to check them yourself.
Ensure that the running environment version information in the two servers is consistent before and after migration. Some websites have high requirements for the version of the server's running environment. If the version of the running environment before and after migration is inconsistent, the website may not run normally. It is recommended that you use the same version of the image before and after the migration. If it is inconsistent, you need to reset the system. See Reset system 。 explain The scenarios for building a website are diverse and complex. In the actual migration process, you need to manually configure a new server according to the real situation of the business to ensure that the server configuration is completely consistent with the server configuration that is about to expire. For example, your customized configuration of other applications (Nginx, Apache, etc.) in the expiring server needs to be manually reconfigured in the new server. The public IP address of the server will change. The public IP addresses of different lightweight application servers are different. If you have bound a domain name to the server before, you need to rebind and resolve the domain name in the new lightweight application server after the migration is completed.
Operation steps
Same region migration of lightweight application servers
Create a snapshot for lightweight application server A. See Create Snapshot 。 Create a custom image based on the snapshot. See Create a custom image 。 Confirm whether lightweight application server B has been created in the same region before. Yes: Reset the system of lightweight application server B. For more information, see Reset system 。 On the left navigation bar, click The server 。 Click the instance ID in the target lightweight application server card. single click Reset system Tab. stay Reset to another mirror Area, click Custom Image 。 choice Step 2 After creating a custom image, click Confirm replacement 。 stay Replace the image Dialog box, click determine 。
No: Perform the following steps to create lightweight application server B based on a custom image. For more information, see Create a server using a custom image 。 On the left navigation bar, click image 。 find Step 2 Create a custom image in the operation Columns, selecting 
> Create a lightweight server 。 On the purchase page, complete the server configuration item. The system has set the Instance Type 、 Region and zone and image Configuration item. You only need to complete other configuration items according to business requirements. The details are shown in the following table. Configuration Item explain Package configuration The system will set the default package configuration according to the data size of the system disk in the customized image. You can also choose a package with a higher configuration than the default package according to the business needs. The public network traffic beyond the package will incur additional costs. For more information, see Billing Overview 。 Data disk Optional. If your business needs a larger storage device, you can select a data disk with a custom size. explain If the custom image contains data disk data Data disk The default value of the configuration item is greater than or equal to the size of the data disk in the custom image. Purchase duration Select the length of time to purchase the server. You can select whether to enable automatic renewal. Select Automatic renewal upon expiration The automatic renewal function is enabled. Purchase quantity Number of servers purchased. By default, 1 server can be created, and up to 20 servers can be created. single click Buy Now , and then complete the creation of the server according to the page prompts.
Verify the migration results. On the local host, use the browser to access Lightweight application server B public IP address/index.php , you can view and use the Mantis system, See the following figure for details, Indicates that the lightweight application server was successfully migrated. explain The public IP address can be obtained from the lightweight application server B card. 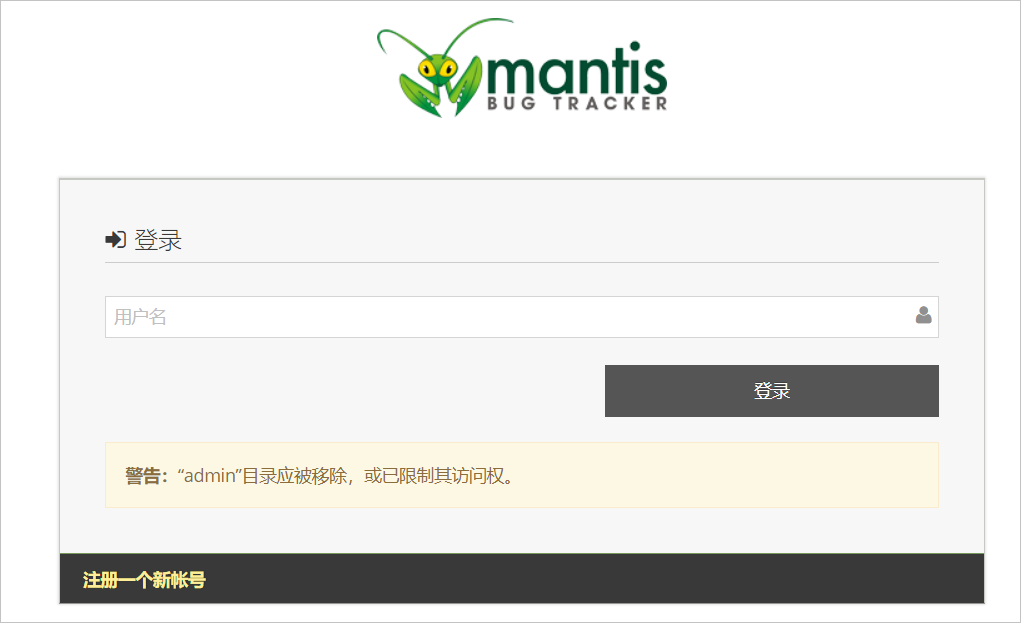
Cross region migration of lightweight application servers
Create a snapshot for lightweight application server A. See Create Snapshot 。 Create a custom image based on the snapshot. See Create a custom image 。 Copy a custom image. Copy the custom image to the target region as follows. For more information, see Copy Custom Image 。 On the left navigation bar, click image 。 Customize the image's operation Columns, clicking Copy Mirror 。 stay Copy Mirror Dialog box to complete the configuration. The specific configuration is as follows: parameter explain Target area Select the target region where you want to copy the custom image. This example is East China 1 (Hangzhou) 。 Custom image name It is used to identify the customized image after copying. The name and content are customized. The length is 2-128 characters. It cannot start with special characters or numbers. It can only contain the underscore (_) and hyphen (-) in special characters. Custom image description The default content is the region and image ID information of the source user-defined image. You can also modify the description manually. The length is 2-256 characters and cannot start with http://or https://. single click determine 。 stay Mirror list , you can view Copying Status, wait for the image copy to complete. explain The custom image generated after copying is not Instance name Information.
Confirm whether lightweight application server B has been created in the same region before. Yes: Reset the system of lightweight application server B. For more information, see Reset system 。 On the left navigation bar, click The server 。 Click the instance ID in the target lightweight application server card. single click Reset system Tab. stay Reset to another mirror Area, click Custom Image 。 choice Step 2 After creating a custom image, click Confirm replacement 。 stay Replace the image Dialog box, click determine 。
No: Perform the following steps to create lightweight application server B based on a custom image. For more information, see Create a server using a custom image 。 On the left navigation bar, click image 。 find Step 2 Create a custom image in the operation Columns, selecting > Create a lightweight server 。 On the purchase page, complete the server configuration item. The system has set the Instance Type 、 Region and zone and image Configuration item. You only need to complete other configuration items according to business requirements. The details are shown in the following table. Configuration Item explain Package configuration The system will set the default package configuration according to the data size of the system disk in the customized image. You can also choose a package with a higher configuration than the default package according to the business needs. The public network traffic beyond the package will incur additional costs. For more information, see Billing Overview 。 Data disk Optional. If your business needs a larger storage device, you can select a data disk with a custom size. explain If the custom image contains data disk data Data disk The default value of the configuration item is greater than or equal to the size of the data disk in the custom image. Purchase duration Select the length of time to purchase the server. You can select whether to enable automatic renewal. Select Automatic renewal upon expiration The automatic renewal function is enabled. Purchase quantity Number of servers purchased. By default, 1 server can be created, and up to 20 servers can be created. single click Buy Now , and then complete the creation of the server according to the page prompts.
Verify the migration results. On the local host, use the browser to access Lightweight application server B public IP address/index.php , you can view and use the Mantis system, See the following figure for details, Indicates that the lightweight application server was successfully migrated. explain The public IP address can be obtained from the lightweight application server B card.
Related Operations
-
Introduction to this page (1)