Zhao Rong The general process of WHMCS integration CP was released last November( WHMCS Association WHM/cPanel Automatic Hosting Simple Tutorial ), has received the attention of many friends. CP is a very powerful panel, but based on the high price and the convenience of reseller in assisting users with complete backups, many friends prefer another powerful panel: DirectAdmin (DA for short). Today, Zhao Rong Tribe will share it WHMCS+DA The general idea of automatically opening the host.
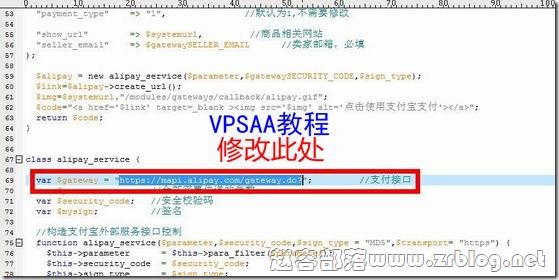
***Please note that the DA described in this article is not the end user end, but the reseller end with distribution function. This article is mainly about pictures, supplemented by words***
Before WHMCS integration, we need to make simple settings on the DA panel, mainly to add package types. (Also called resource package plan in CP or KLOXO)

Log in to DA, click Add Package Type, as shown below, and set the configuration of this package.

It is important to save it after completion and remember the package name, which will be used later in WHMCS.
Next, let's start the WHMCS setting part (the screenshot of this article is the WHMCS English background, the description is in Chinese, please note). Log in to the WHMCS background, click Settings, Products/Services, and Servers.

Then, we add a server. Click to see the following figure. Set the server name, host name, server IP, panel type, login account and password. (There are many settings on this page. I only intercept some important settings. Please refer to others for details)


After OK, save. If the settings are correct, you can click the shortcut login at the back of the server to directly log in to your panel. Then add a group, as shown in the following figure:

The following is a screenshot of adding a group:

After solution, we set the product, and the menu is as shown in the figure:

First, establish a product group, or classification, as shown in the figure:

Next, add products. Click to see the following figure:

After selecting Continue, you will come to the following figure. The first menu in the head is product information. Make basic settings as indicated in the figure.

I haven't taken a screenshot of the payment settings. Now look at the third header menu, about the interface settings. As shown in the figure, select your panel type and product group, fill in the name of your previous package type in the Packetd Name, select the activation method, and save.

After the above settings, your host can be automatically activated. You can go to the user center and order the product page to see this product.

Okay, about WHMCS integration DA The general process of automatically opening a virtual host is as follows. This screenshot has fully recorded the process of WHMCS integrating DA. If you are ready to WHMCS+DA For commercial purposes, the host cannot be opened after referring to this article. I suggest you give up entering the IDC field and leave a guarantee for the end user!
Statement: Blogs are only for sharing information and are not recommendations. Websites do not participate in transactions and are not intermediaries. The content only represents personal views and is not authoritative. Readers should consider it and take their own risks! Every penny and every commodity is still the eternal truth. Juvenile readers (including physical and psychological) should visit this website with their guardians! This article is written by( Zhao Rong )Original compilation, reprint, please keep the link: WHMCS integrates DA panel to automatically open host tutorial The code is not easy, please do not copy or paste! About using: This website mainly shares server and VPS information, and does not provide any product sales or purchase. All visitors please purchase and use products within the scope of national laws and regulations. QQ group discussion: 683851361 About safety: Any IDC has the possibility of going bankrupt and running away. The host line is even more uncontrollable. Monthly payment and backup are your best choices. Please keep good and regular backup habits