This month we shared information about BuyVM's products, evaluation and use of the Stallion panel. We know that BuyVM also provides additional information Block Storage Slabs (Storage block) product, and the price is also quite cheap. 256GB storage costs only $1.25/month Block Storage Slabs Later, it can be attached to our VPS host, and the disk drive will become larger every second. Today, let's take a look at how to attach the hard disk to BuyVM.
BuyVM official website: https://buyvm.net/
1、 Panel operation
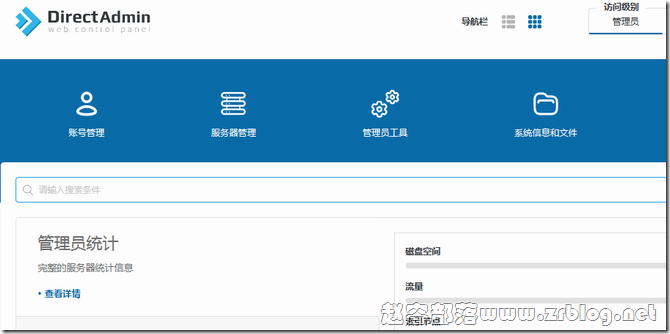
First of all, after we purchase Block Storage Slabs and activate them, we will receive product information emails. We can log in to the Stallion panel to view the storage information (either click Storage Volumes on the panel head or click Volumes on the VPS management page).

Then we assign the storage block to the VPS host (as shown in the figure below, click Attach To Virtual Server on the right)

On the pop-up page below, we need to select our own VPS host in the Attach To box, and then click Attach Volume.

After the allocation is completed, our operations on the VPS management panel are completed. Next, we ssh log in to VPS and start mounting in the system.
2、 System operation
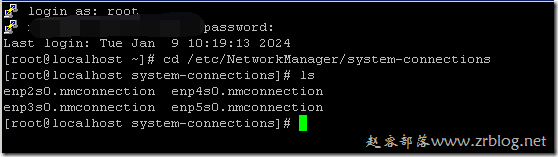
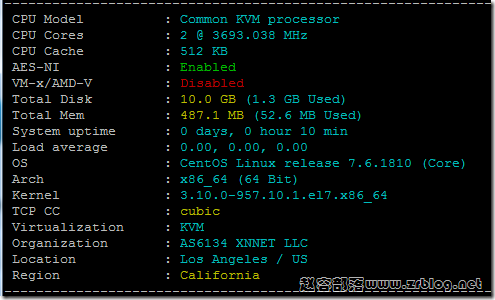
Log in to the VPS host and use the command fdisk - l to see the disk space allocated, as shown in the red box below. I bought a 256GB storage here.

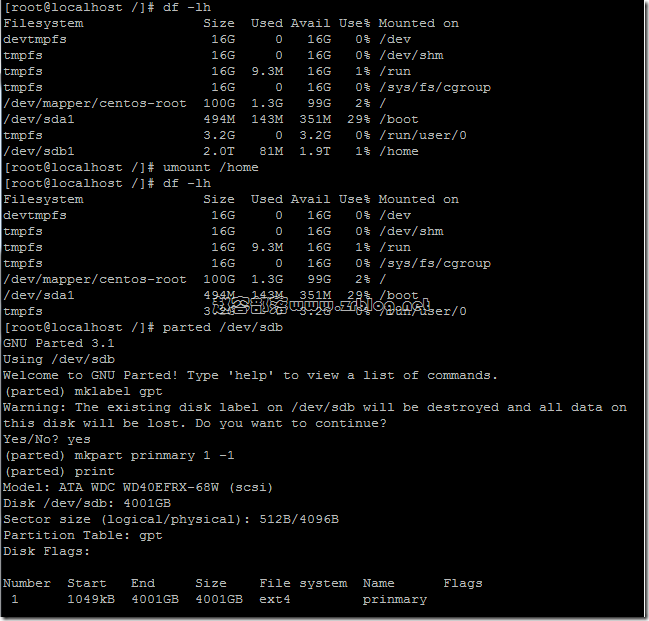
Next, we will check the name and number of the storage block, format the storage block, and mount the storage to the mount point.
[ root@zrblog ~]# ls /dev/disk/by-id/ ata-QEMU_DVD-ROM_QM00004 scsi-0BUYVM_SLAB_VOLUME-10811 #View storage block name, number, etc [ root@zrblog ~]# mkfs.ext4 -F /dev/disk/by-id/scsi-0BUYVM_SLAB_VOLUME-10811 #Format Storage Block [ root@zrblog ~]#mount -o discard, defaults /dev/disk/by-id/scsi-0BUYVM_SLAB_VOLUME-10811 /home #Mount the storage block to/home. If you need to mount it to another directory, please create the relevant directory first

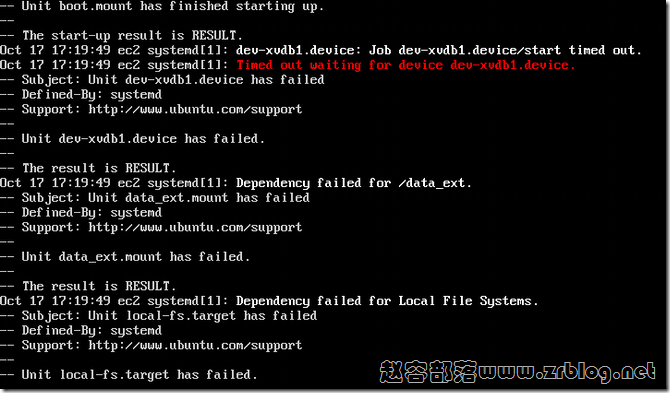
After completion, we can df - lh check whether the partition is normal, and then add a boot auto mount, edit/etc/fstab, and add a line:
/dev/disk/by-id/scsi-0BUYVM_SLAB_VOLUME-10811 /home ext4 defaults,nofail,discard 0 0
After that, we can restart to check whether the machine is powered on and mounted normally. The overall operation is relatively convenient. Similarly, we can also unload and deallocate storage blocks, and reverse the operation.
Statement: Blogs are only for sharing information and are not recommendations. Websites do not participate in transactions and are not intermediaries. The content only represents personal views and is not authoritative. Readers should consider it and take their own risks! Every penny and every commodity is still the eternal truth. Juvenile readers (including physical and psychological) should visit this website with their guardians! This article is written by( Zhao Rong )Original compilation, reprint, please keep the link: BuyVM mounting hard disk method (Block Storage Slabs) The code is not easy, please do not copy or paste! About using: This website mainly shares server and VPS information, and does not provide any product sales or purchase. All visitors please purchase and use products within the scope of national laws and regulations. QQ group discussion: 683851361 About safety: Any IDC has the possibility of going bankrupt and running away. The host line is even more uncontrollable. Monthly payment and backup are your best choices. Please keep good and regular backup habits