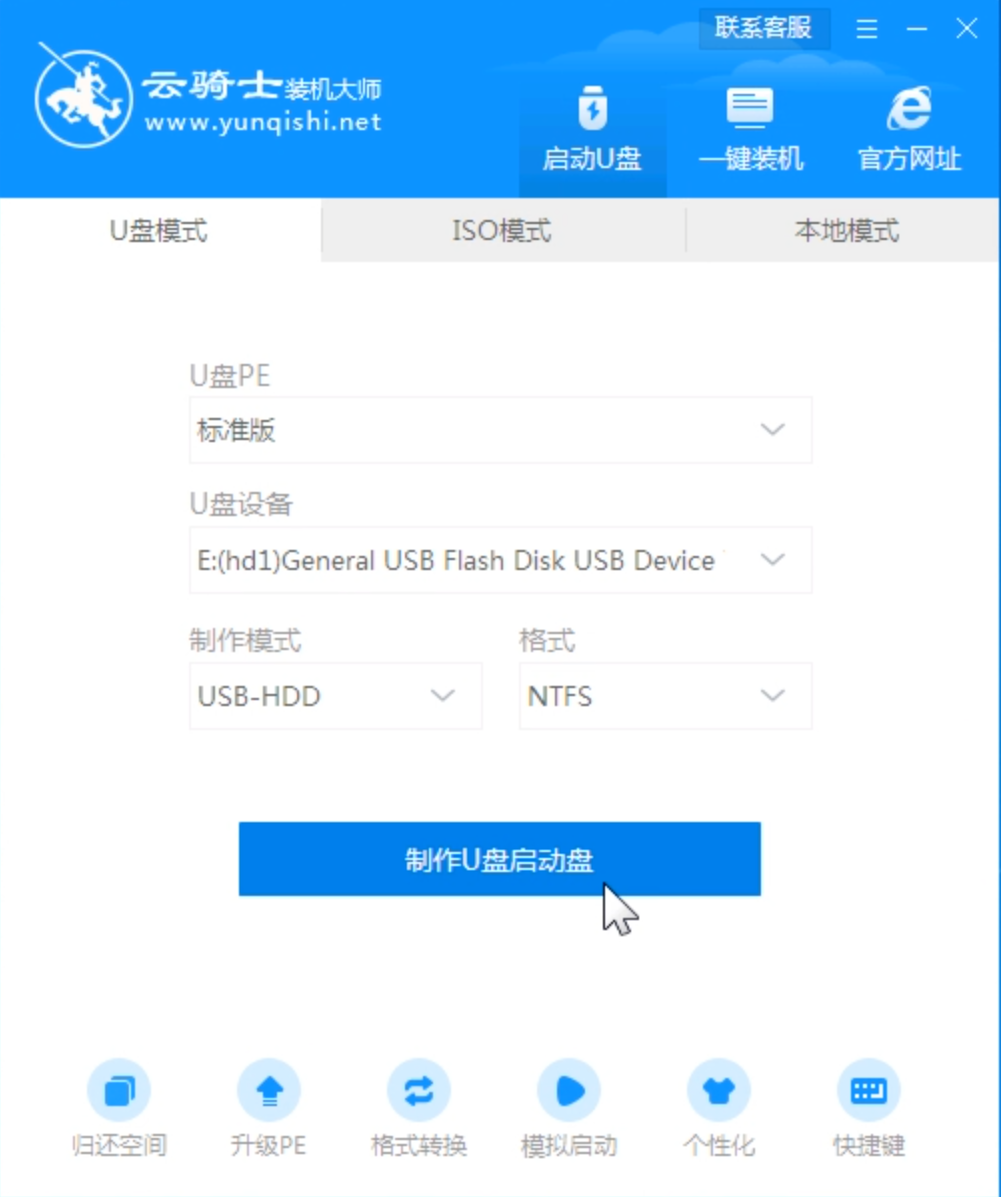
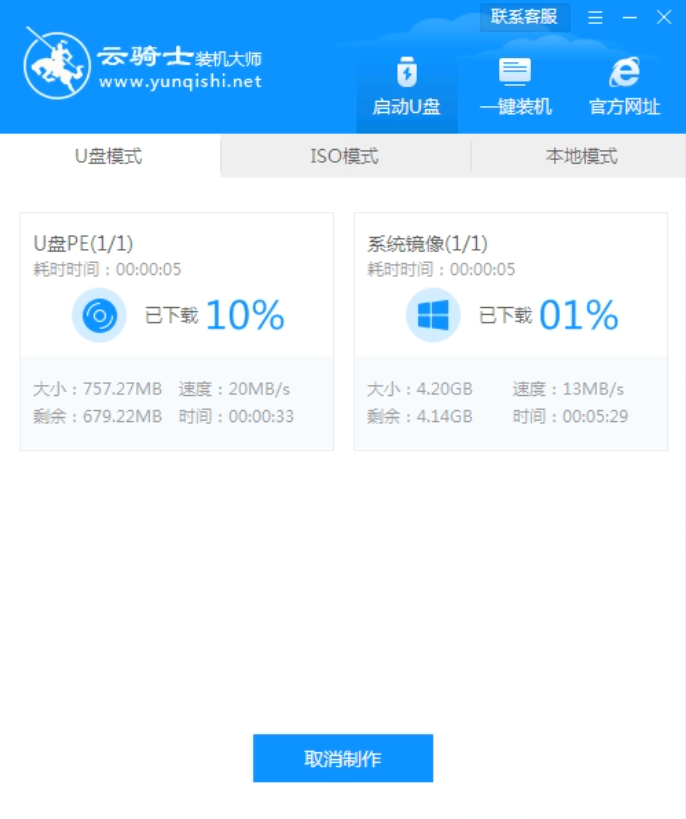
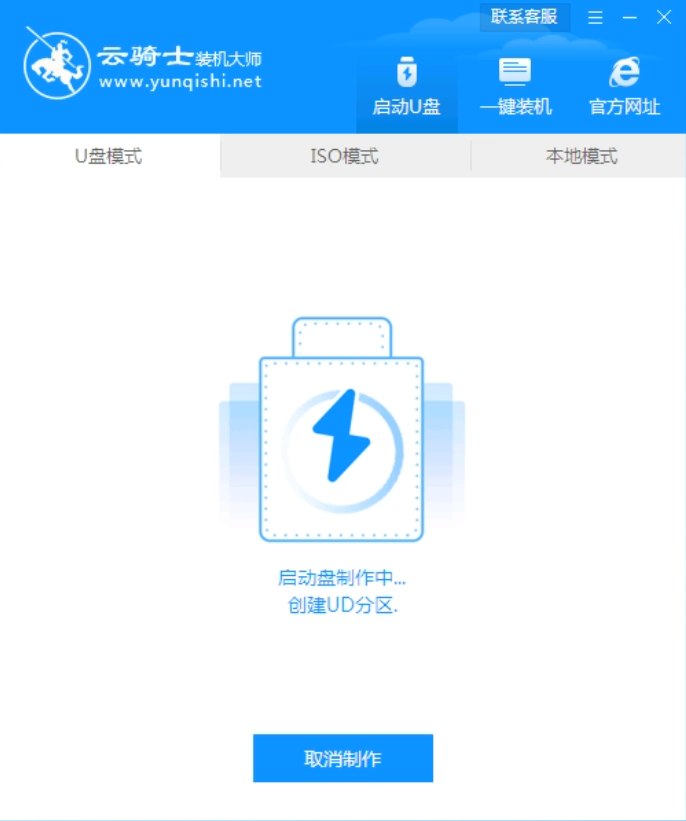
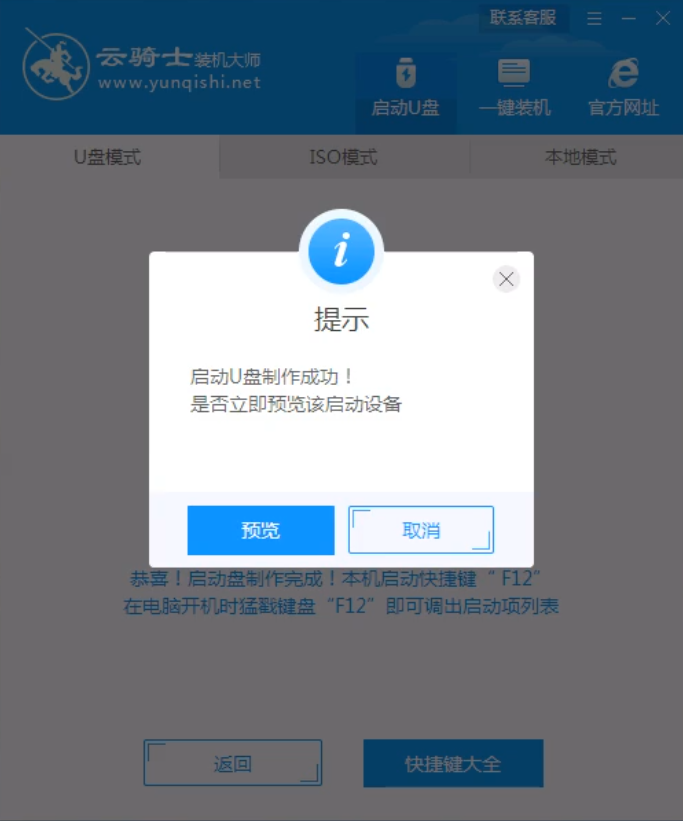
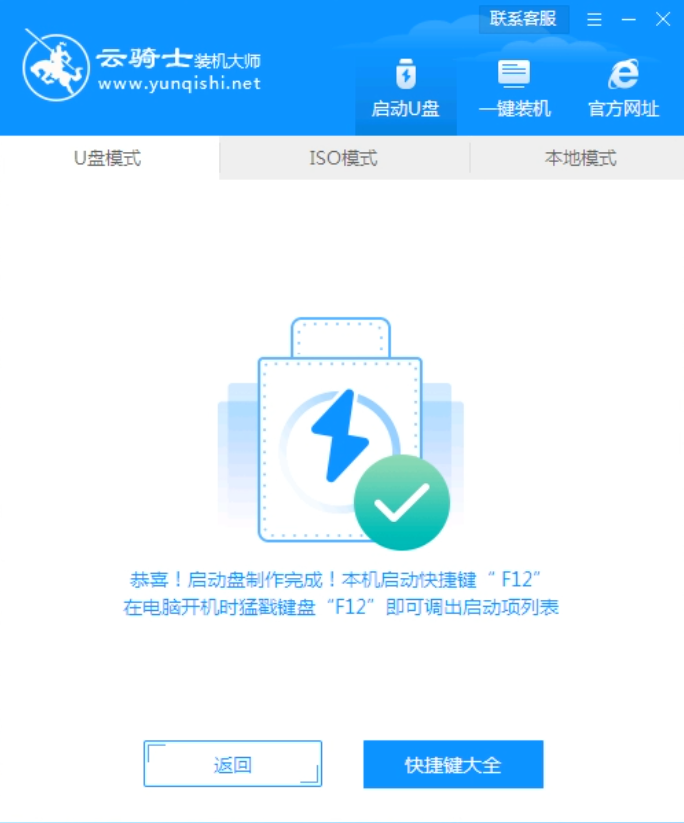
five Step 5 After production, you can click Preview to simulate the startup interface of the USB flash disk. Write down the USB flash drive startup shortcut key prompted by the Cloud Knight interface. The USB flash disk startup disk is created
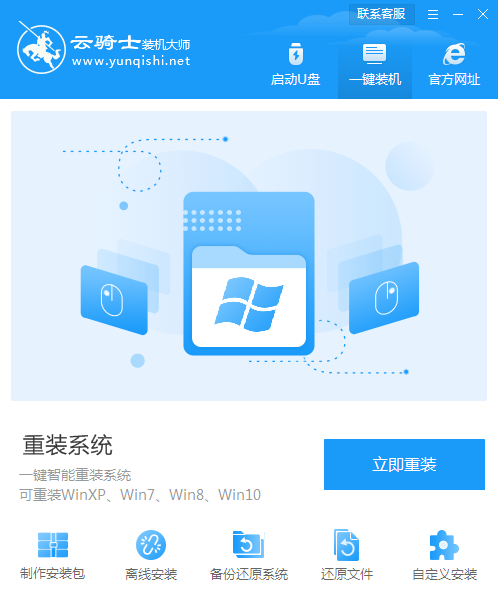
PS: The above article teaches you how to use the Cloud Knight installation master to make a USB flash drive startup disk. Next, we will explain in detail how to use the made USB flash drive startup disk to install systems on computers.
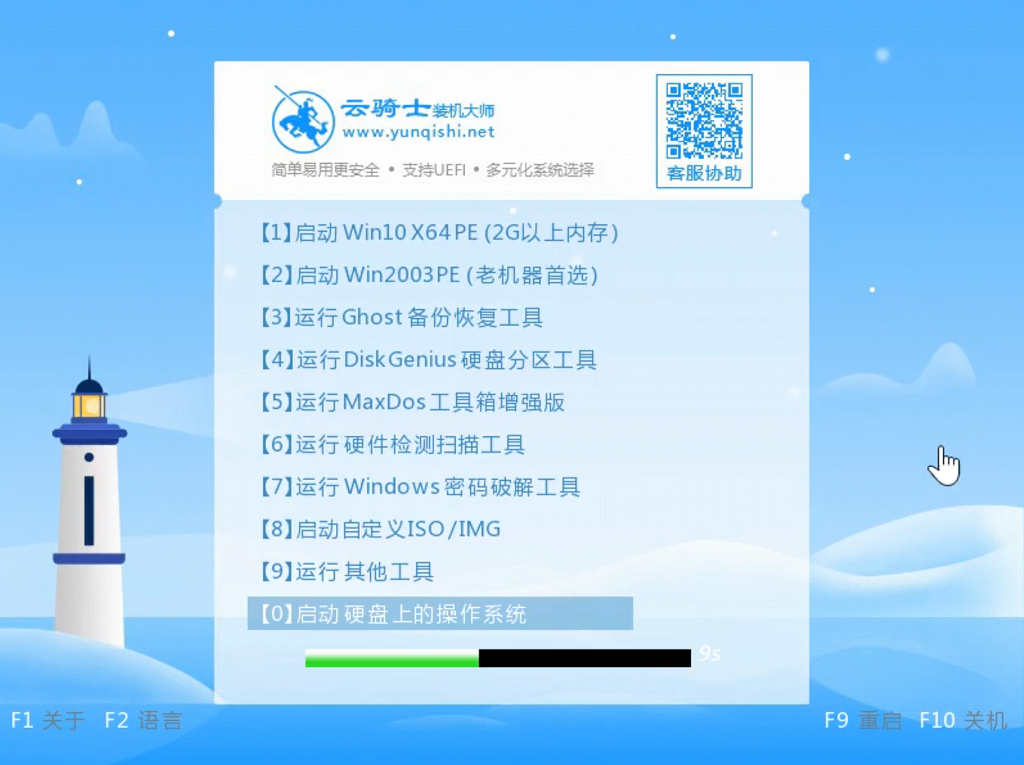
1. Insert the prepared USB flash disk boot disk and restart the computer. During startup, press the startup shortcut key frequently to enter the USB flash drive startup interface. If there is a Please select boot device selection interface, select the USB startup item of UEFI. Select win10X64PE to enter the PE system.
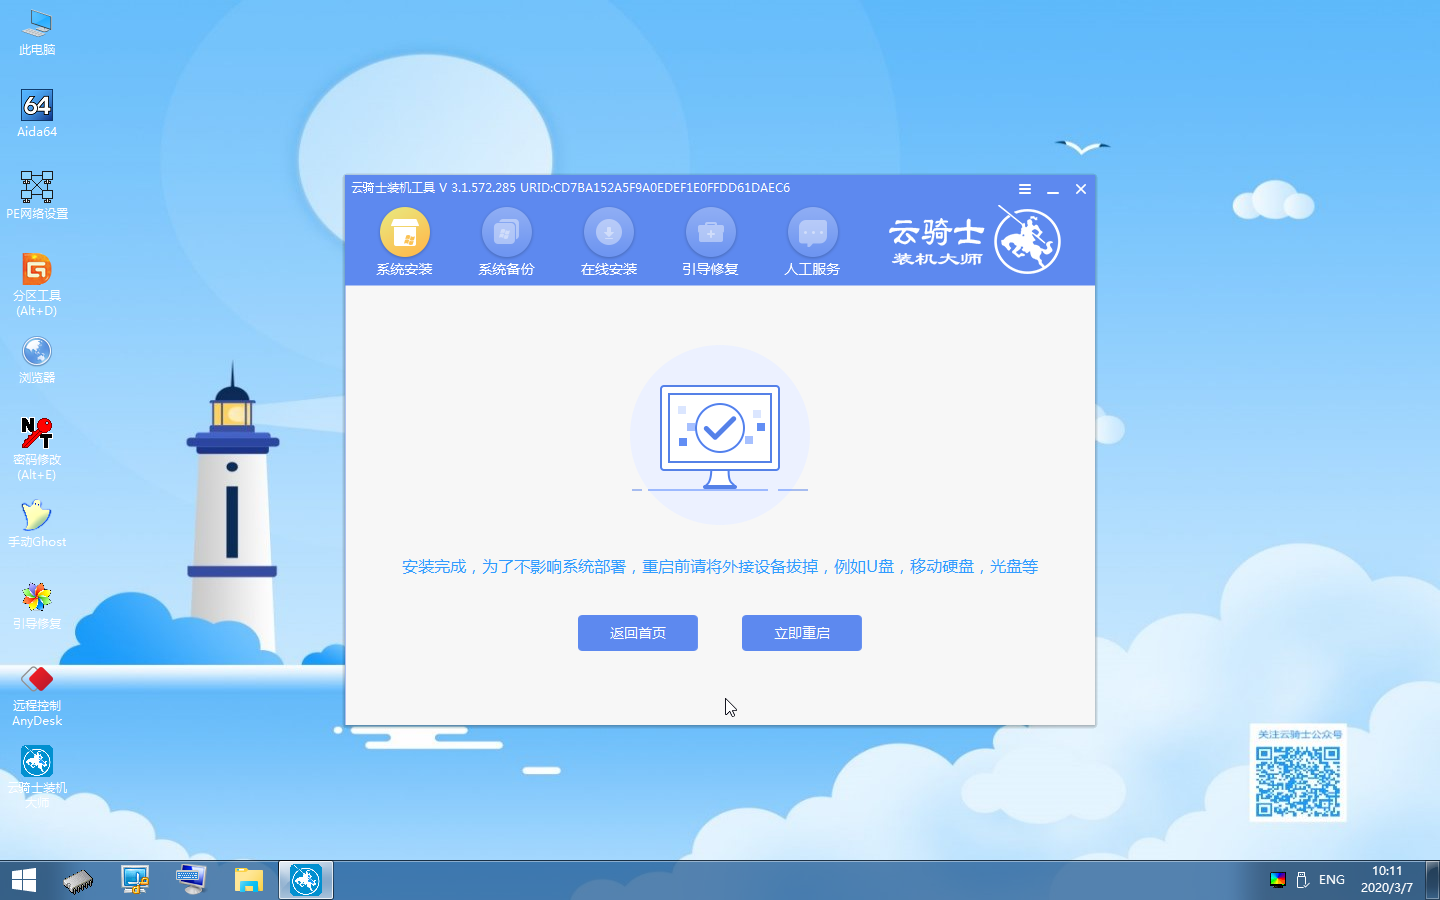
2. After entering, the software will open the search system image, find the Windows 8.1 image, and click the Install button.

3. There is no need to change in the Ready to Install interface. Click Start Installation and wait for installation.

4. The boot repair tool pops up during installation, writes the boot file, and click OK.

5. After the installation is completed, unplug the USB flash disk and click Restart Now.
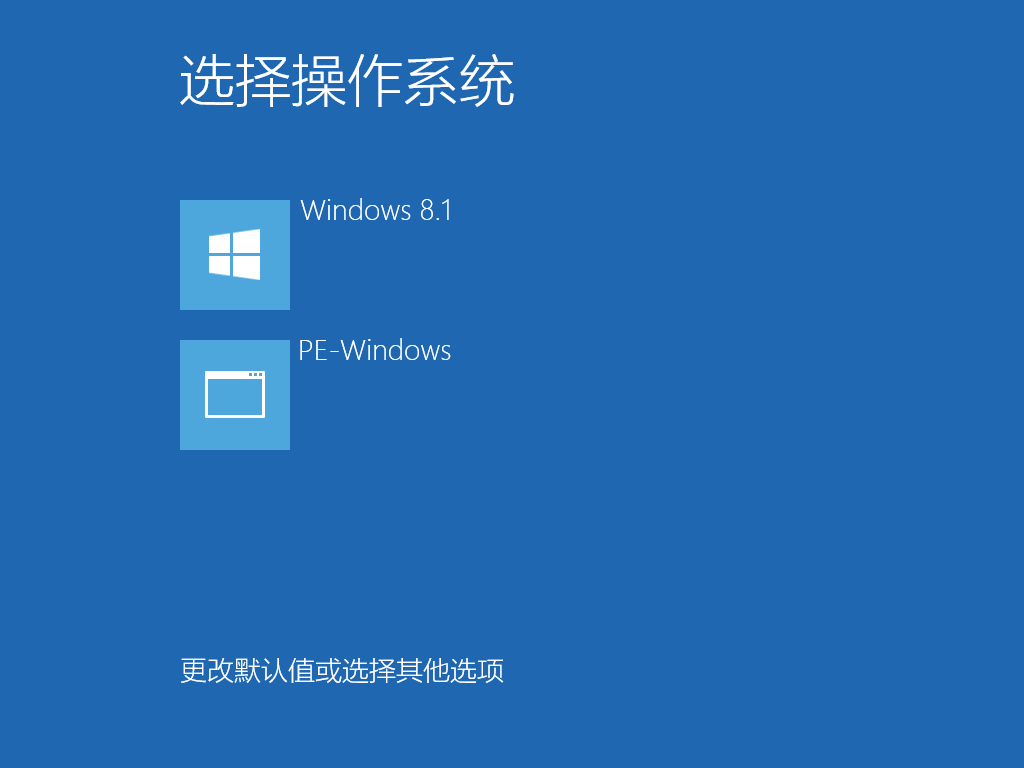
6. During restart, select Windows 8.1 system to enter and wait for the system to install applications.
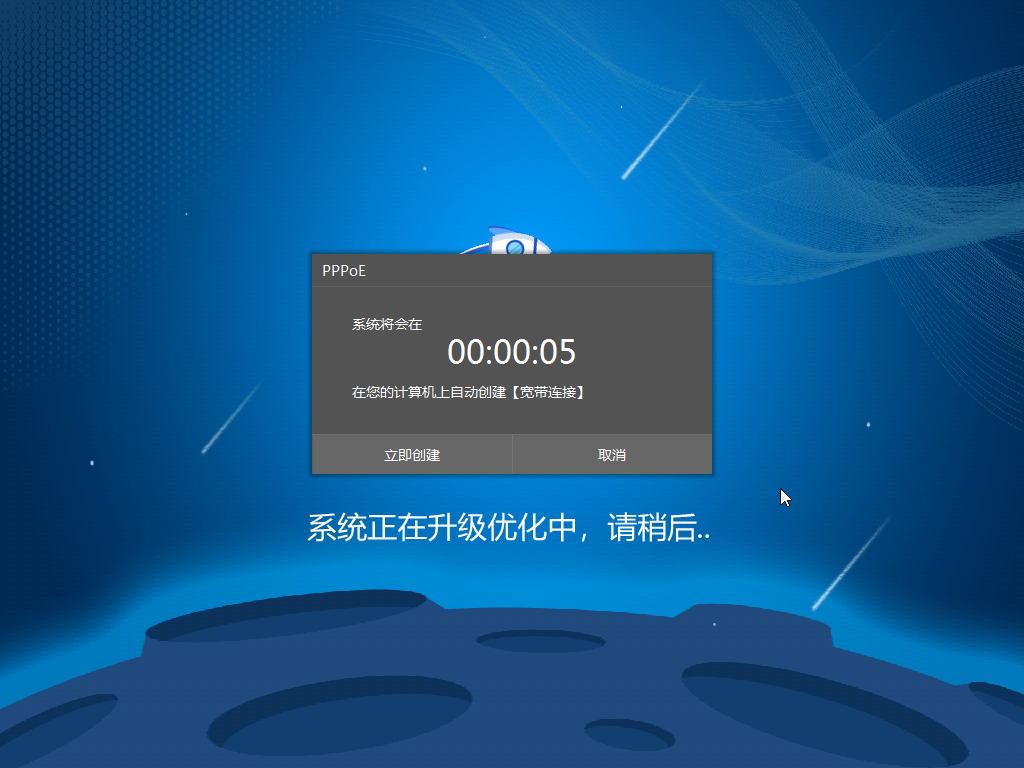
7. During the upgrade and optimization process, a prompt window for broadband connection pops up, and you can click Create Now to create a broadband connection. At the same time, there is a software butler tool that allows you to select commonly used software and install it with one click.
8. The operating system selection interface pops up, select windows8.1, enter the system, and then wait patiently without operation.

9. Wait until the system installation is completed. When restarting, continue to select Windows 8.1 to complete the reinstallation.