Software version: Adobe Photoshop 2019
Operating system: win10 1909 64 bit enterprise edition
How does PS integrate the picture into the background Let's have a look.
Method 1
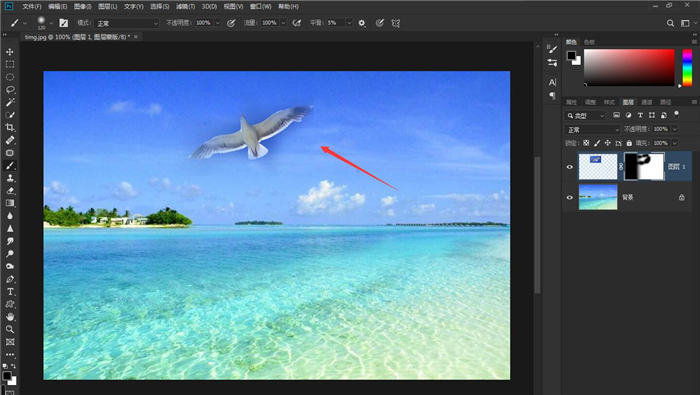
Open two pictures in ps, and put one picture on the other with the selection tool
![How does PS integrate the picture into the background](https://www.yunqishi.net/uploads/allimg/201007/30-20100G1000M95.jpg)
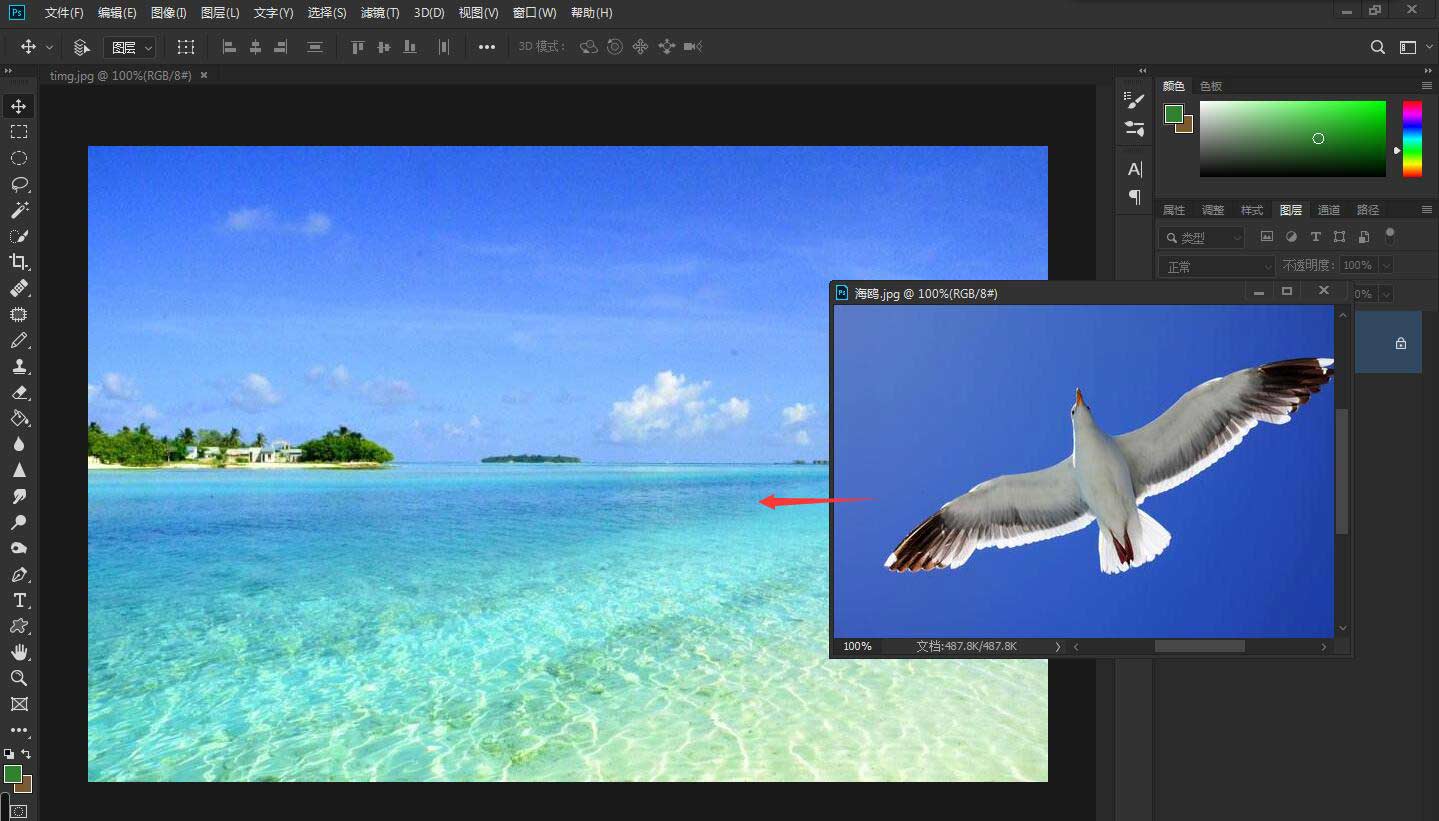
Put it in the right place
![How ps blends the picture into the background (1)](https://www.yunqishi.net/uploads/allimg/201007/30-20100G10022218.jpg)
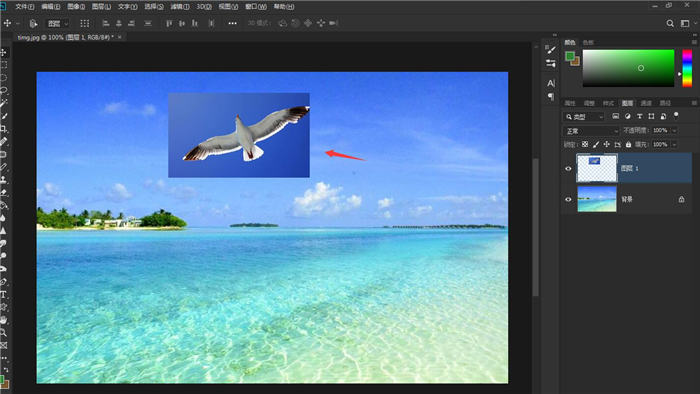
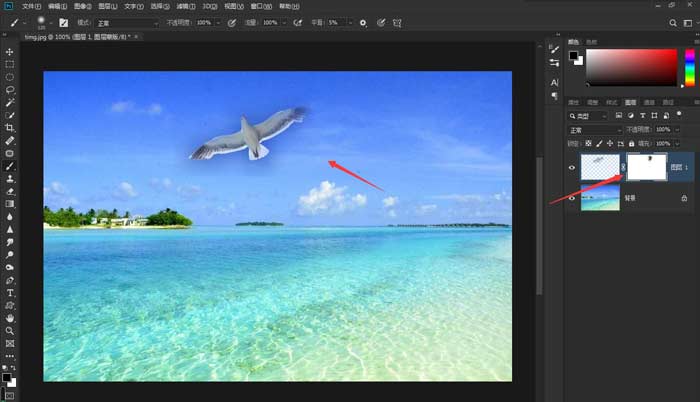
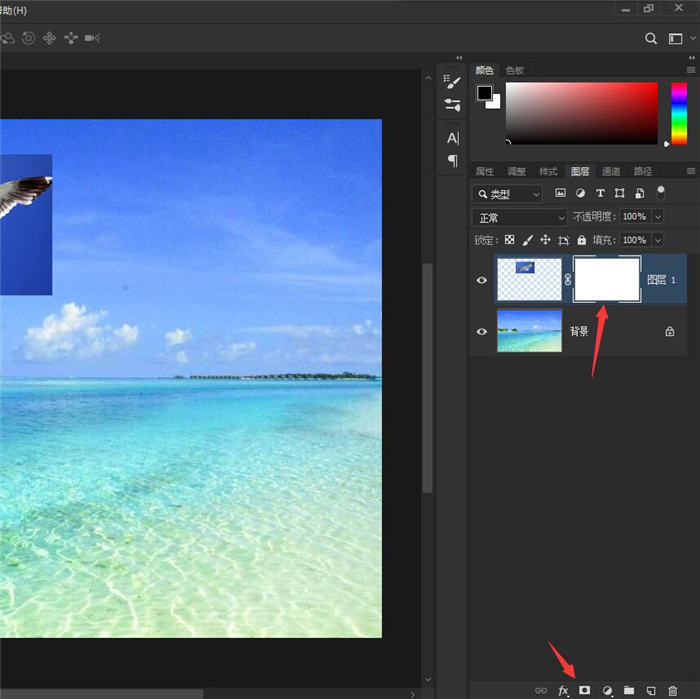
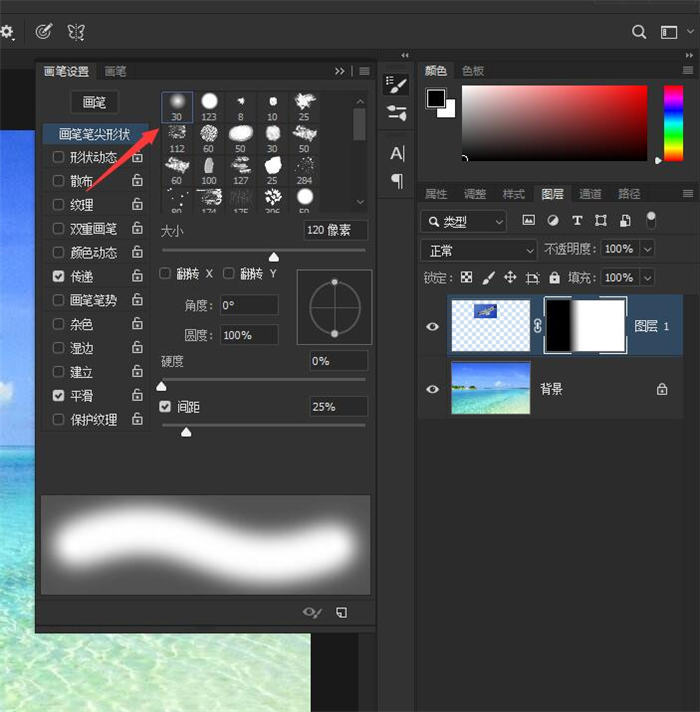
On the layer panel, select the layer you want to blend into the picture, and click the mask button to create the mask layer.
![How ps blends the picture into the background (2)](https://www.yunqishi.net/uploads/allimg/201007/30-20100G10034256.jpg)
Then set the foreground color to black and the background color to white
![How ps blends the picture into the background (3)](https://www.yunqishi.net/uploads/allimg/201007/30-20100G1022HA.jpg)
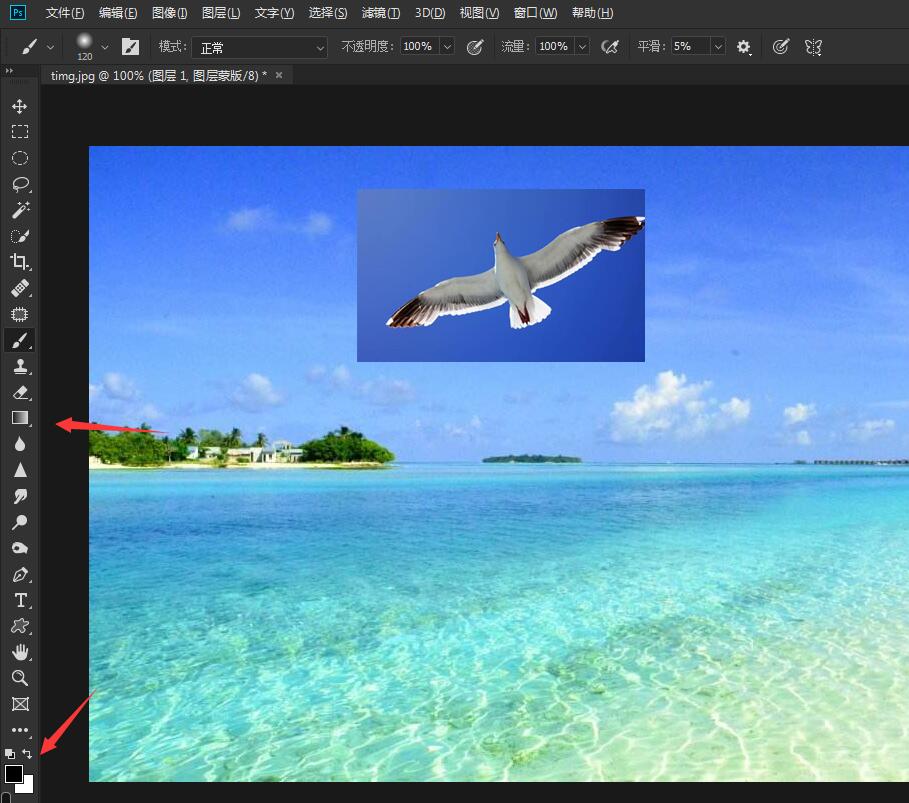
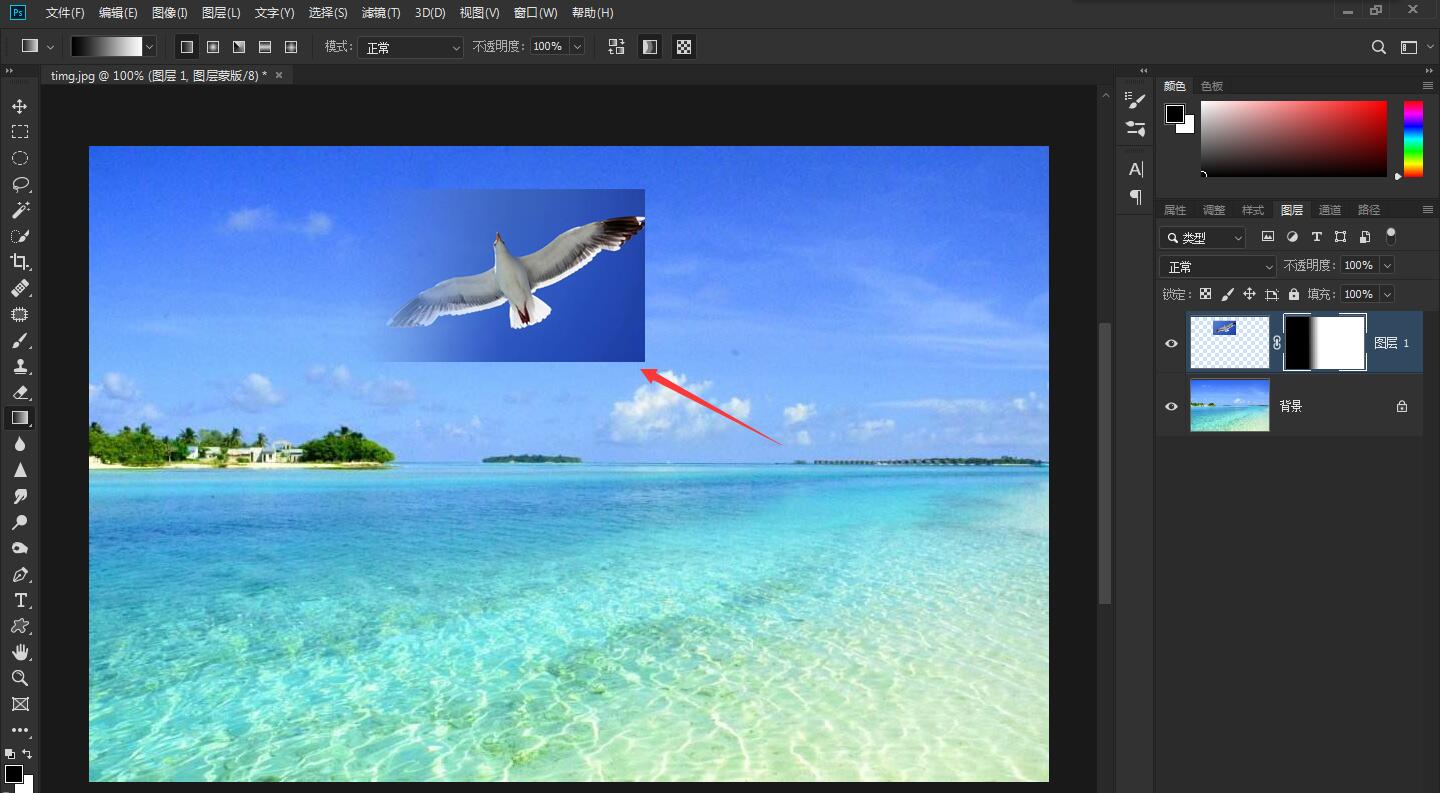
Use the gradient tool, select the mirror gradient, and pull out the gradient. Sometimes the picture is not exactly square, and some edges are not wanted
![How ps blends the picture into the background (4)](https://www.yunqishi.net/uploads/allimg/201007/30-20100G10246194.jpg)
You need to use the brush tool
![How ps blends the picture into the background (5)](https://www.yunqishi.net/uploads/allimg/201007/30-20100G1034G33.jpg)
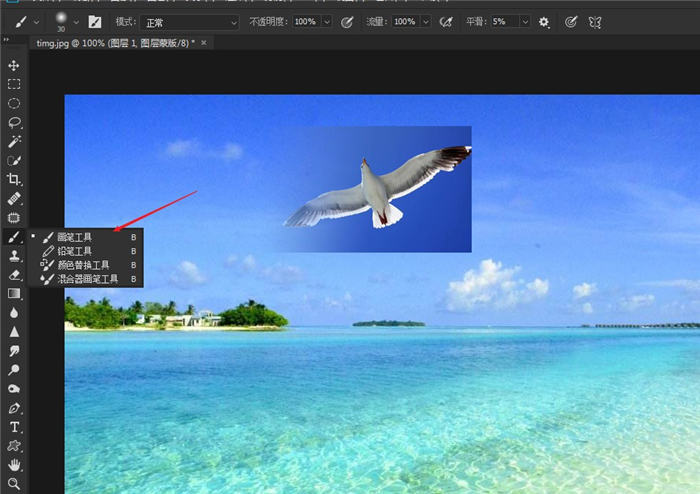
Brush selection edge with transition effect
![How ps blends the picture into the background (6)](https://www.yunqishi.net/uploads/allimg/201007/30-20100G1030JP.jpg)
Paint around a little
![How ps blends the picture into the background (7)](https://www.yunqishi.net/uploads/allimg/201007/30-20100G10405364.jpg)
Method 2
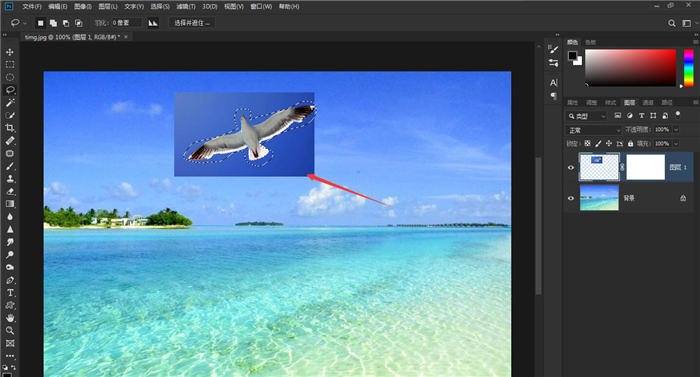
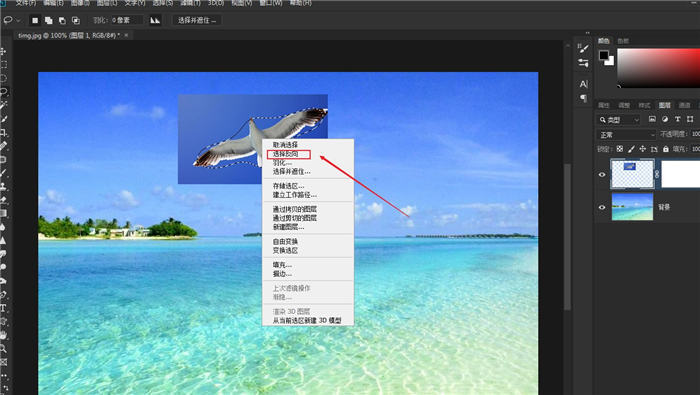
Use the Lasso tool to create a selection on the picture
![How ps blends the picture into the background (8)](https://www.yunqishi.net/uploads/allimg/201007/30-20100G10413459.jpg)
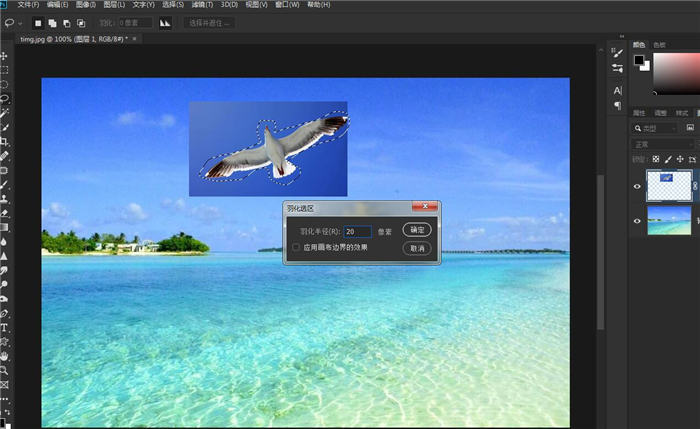
Right click and select [Feather] to set an appropriate feather value
![How ps blends the picture into the background (9)](https://www.yunqishi.net/uploads/allimg/201007/30-20100G104225Z.jpg)
Right click the selection area again and select [Reverse Selection]
![How ps blends the picture into the background (10)](https://www.yunqishi.net/uploads/allimg/201007/30-20100G1042UP.jpg)
You can see the reverse selection area. At this time, press the [Delete] key on the keyboard to see the effect
![How ps blends the picture into the background (11)](https://www.yunqishi.net/uploads/allimg/201007/30-20100G10436412.jpg)
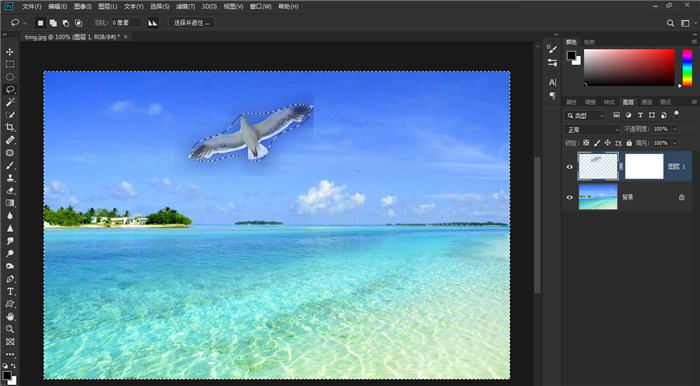
There may be some minor defects, just use the mask and brush in Method 1 to decorate
![How ps blends the picture into the background (12)](https://www.yunqishi.net/uploads/allimg/201007/30-20100G10606215.jpg)