Note: The cache system is enabled on this site. If your account cannot be logged in, it is caused by the cache. Just refresh and log in again.If not, just open any article, and then refresh the login.This website is exclusive and original in Chinese. All released software is in Chinese, and non Chinese or Chinese software is not included or released.If the software you need cannot be downloaded, the link fails, or the downloaded software is not translated into Chinese.You can apply for sinicization of the website, just send a private message to the website, which is only open to VIP members of the website.
Unlock macOS operating system in VMware Workstation 17 with Unlock v4.2.6(https://www.xinyucn.cc/)For exclusive or original release, you can contact us through the "Private Message Website" in the upper right corner.
VMware is an excellent virtual machine software with better dynamic performance support than virtualbox.As a closed source commercial software, macOS is difficult to adapt to virtual machines.This article leads you to install the macOS image in VMware software to realize the "black apple" function.
VMware Workstation is a powerful desktop virtual computer software that allows users to run multiple operating systems on the host operating system at the same time.This virtualization technology can greatly improve the utilization rate of computers, and also facilitate developers and testers to test and develop a variety of operating systems.
In this article, we will take VMware Workstation 17 as an example to demonstrate how to install VMware Workstation on Windows.First, users need to download the VMware Workstation 17 for Windows software installation package from the VMware official website.
1、 Test demonstration parameters
Demonstration operating system: Windows 11
Win10 installation is supported, but Win7 and XP systems are not supported
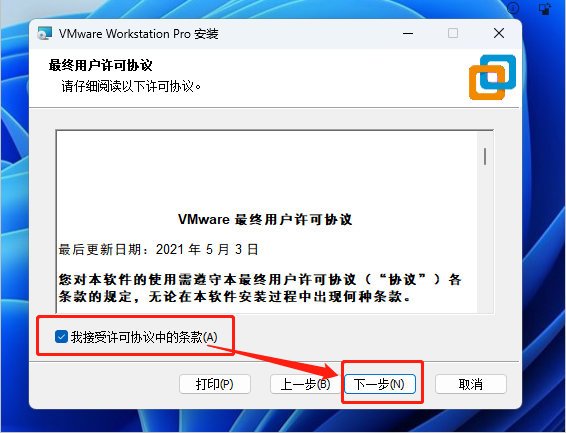
Prepare the installation program, install the wizard, and check the license agreement
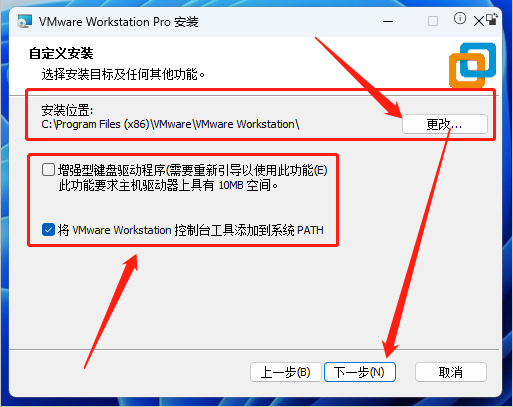
Select the installation location and additional functions. Generally, the default is OK
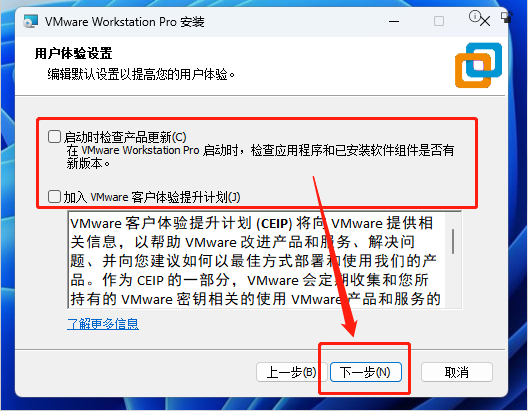
Select product updates and user experience plans
It is not recommended to check. The update and customer experience plan have certain requirements for the network. Generally, the update is not successful, and the specific reasons are understood
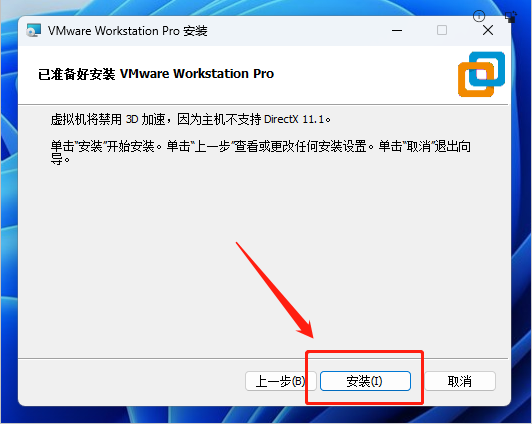
Create a shortcut, confirm to start the installation, and wait for the installation to complete
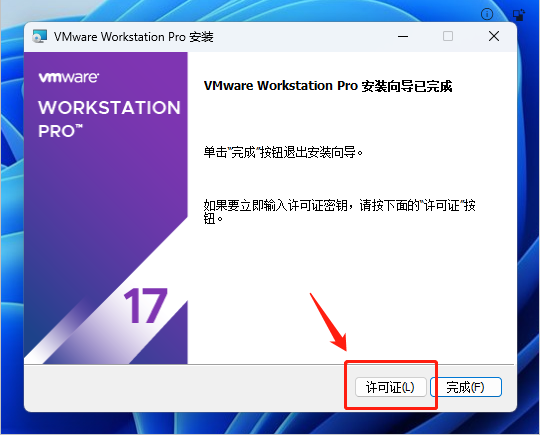
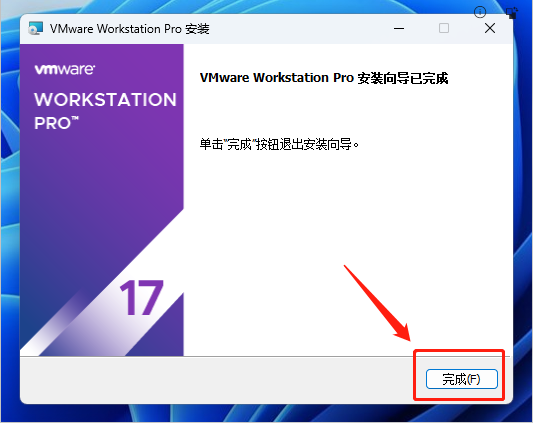
Installation completed:
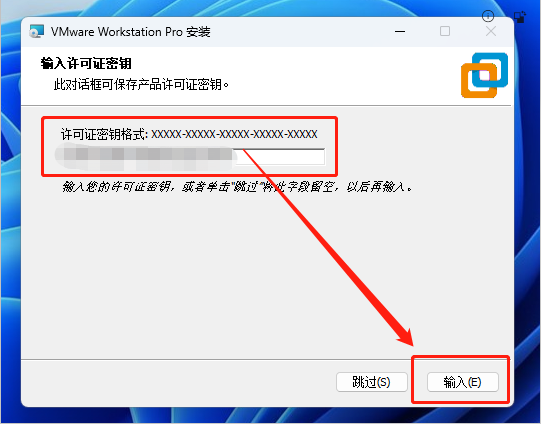
① If there is a license, click [Enter License]
② If you do not have a license, you can directly click Finish. There is usually a period of probation
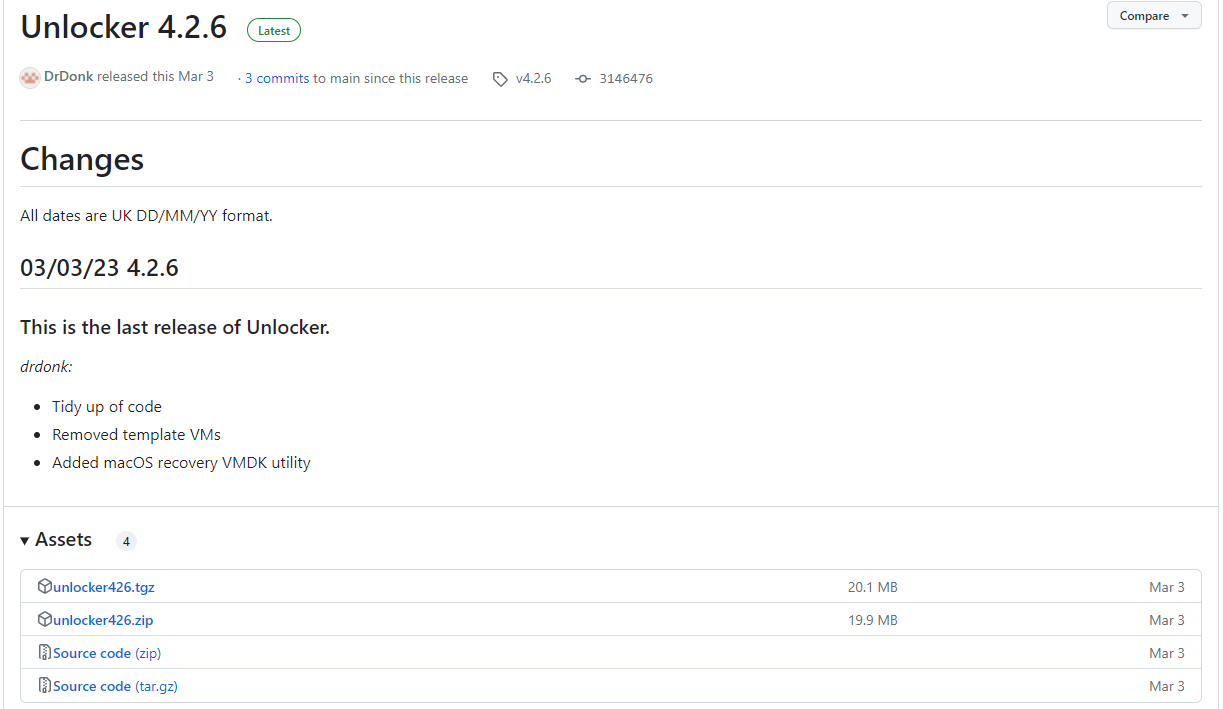
Unlocker v4.2.6 VMware 16-17 virtual machine Mac OS system unlocking tool, which is available at the top of the page or downloaded below.You can unlock VMware Workstation's support for Apple Mac systems.
Download the unlocker software in GitHub to crack VMware, so that the software allows the installation of macOS.Website address:https://github.com/DrDonk/unlocker
Click release on the right, download the zip package, and place it in the VMware installation path.It will be used later.
2. Unlock Mac OS
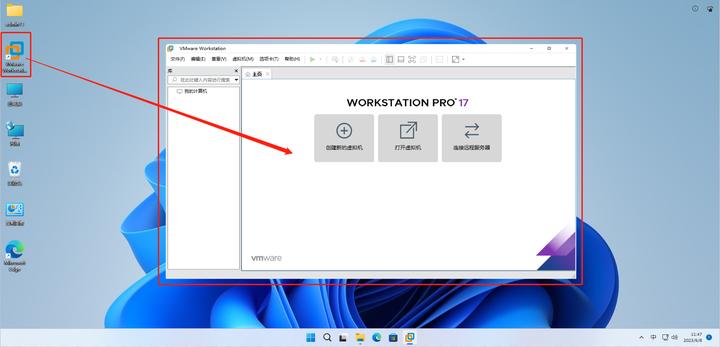
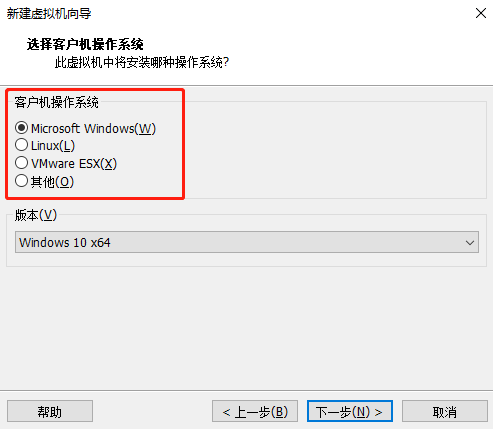
Let's take a look at VMware without unlocking the Mac OS system. In this state, it is impossible to create and start a Mac OS operating system, as shown in the following figure [2-1]
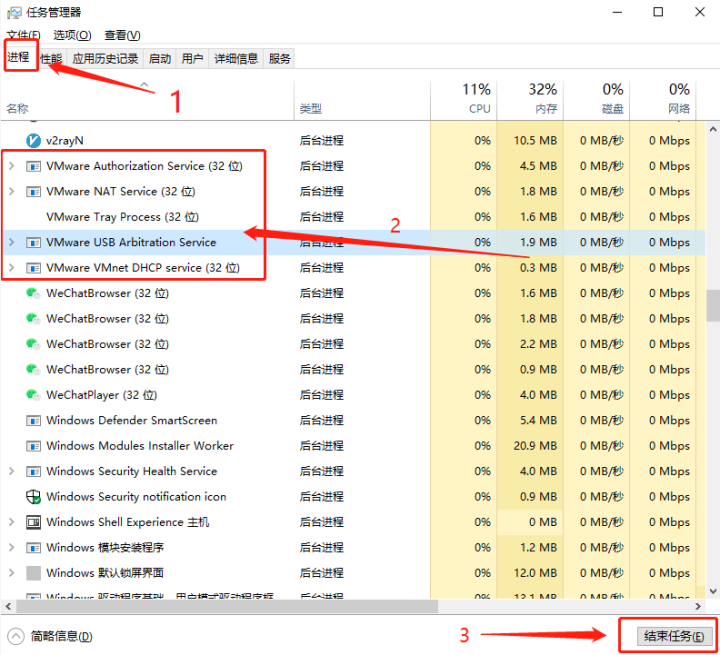
Press the shortcut key [ctrl+shift+esc] to open the task manager, find all VMware programs and force them to close
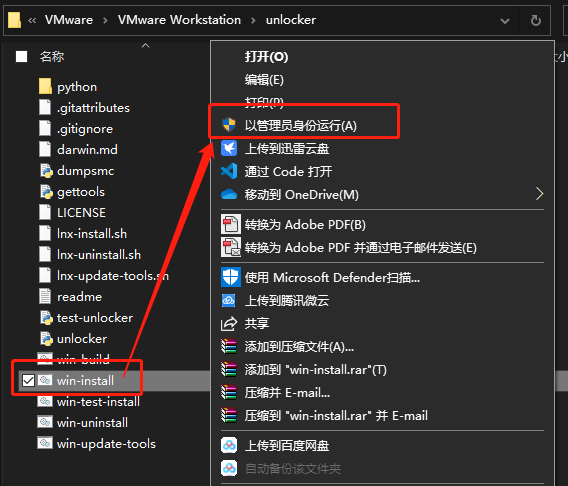
Then we unzip [Unlocker v4.2.6 VMware Mac OS system unlocking tool] to the VM installation directory
Open the [unlocker] folder, find the [win install] file, and right-click [Run as administrator]
The unlocking tool will be automatically executed. When [Starting VMware services...] appears, it indicates that the Mac installation has been successfully unlocked
3. Configuring VMware
After unlocking successfully, we can create a new virtual machine and configure parameters for installing MacOS
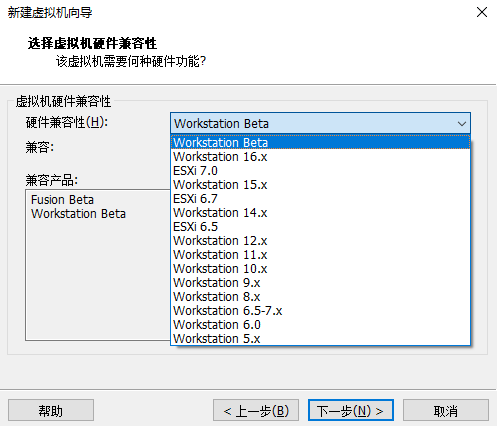
Select the highest [Hardware Compatibility]
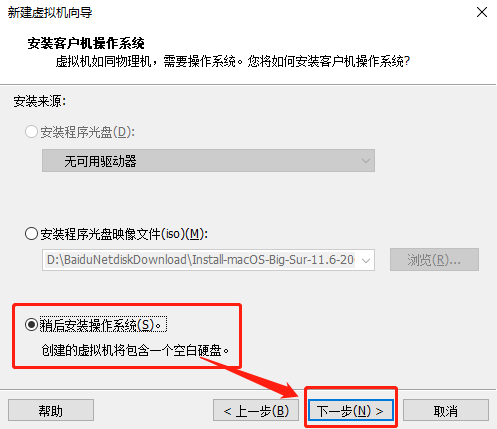
Here we first select [Install the operating system later], and there are still some places to be set later
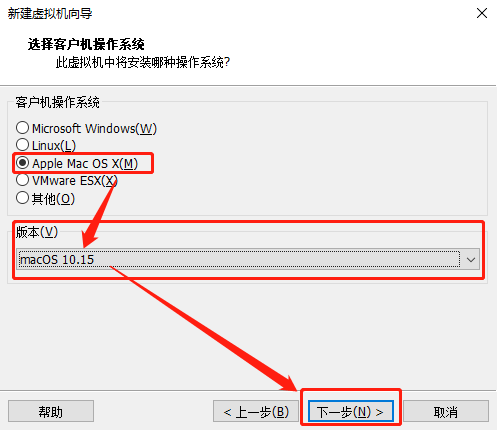
Select [Apple Mac OS X (M)] as the client operating system and [macOS 10.15] as the version
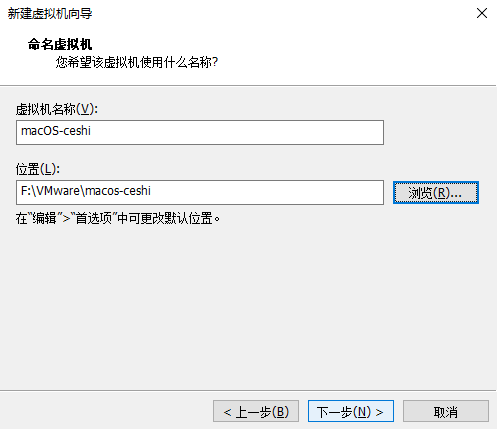
Here we can "rename the virtual machine" and set [Virtual Machine Name] and [Installation Location]
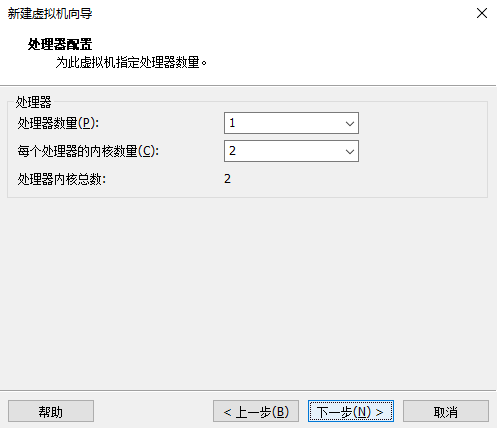
The processor can be configured as required
Memory configuration can be configured as required
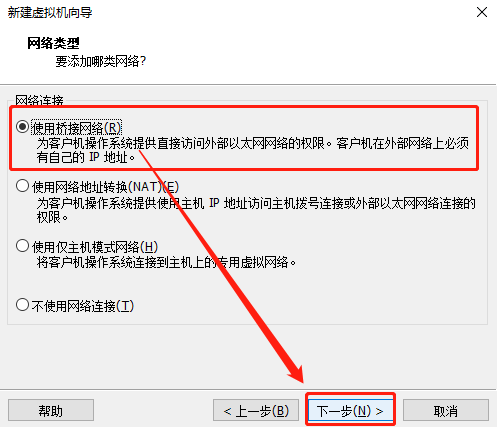
Network type selection 【 Use bridge network 】
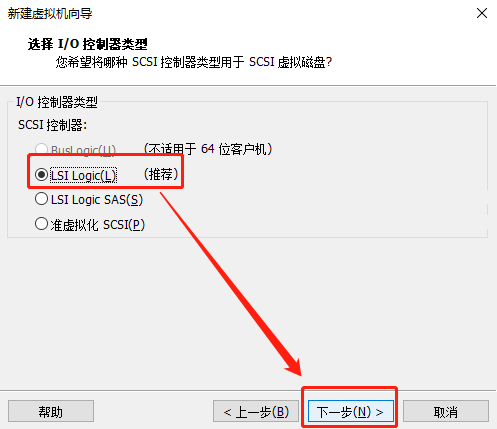
It is better to select [Default Recommended] as the controller type
The virtual disk type also selects the [Default Recommended]
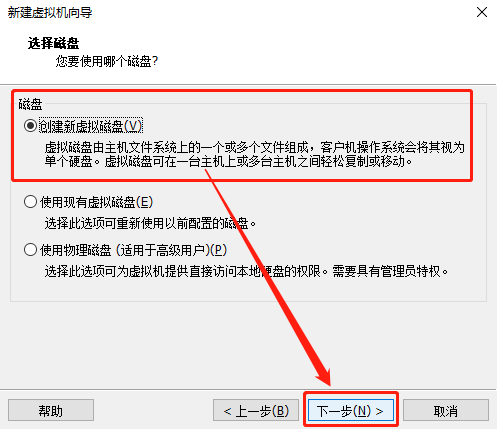
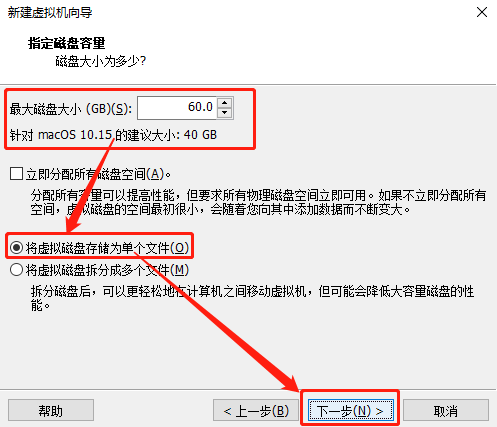
Select Create New Virtual Machine Hard Disk
[Configure as needed] Disk size
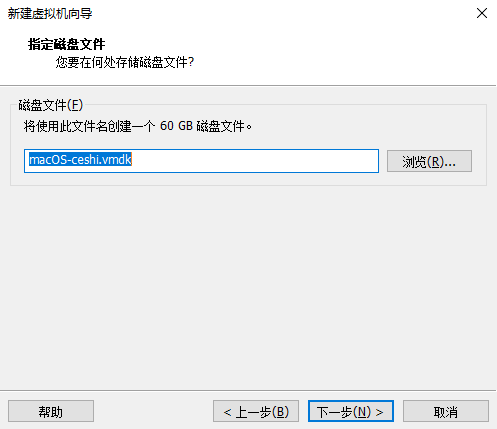
After confirmation, click Next
Click Finish
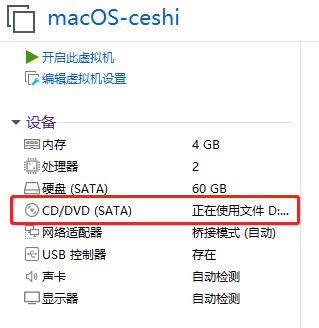
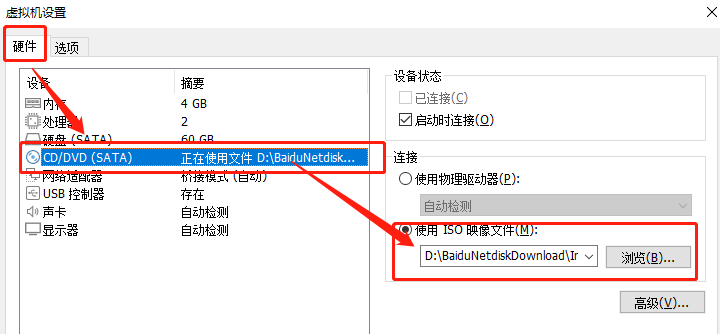
Click [CD/DVD (SATA)] or [Edit Virtual Machine Settings]
Insert [IOS image file] and select [MacOS Big Sur image] we downloaded earlier
The virtual machine configuration of MacOS has been completed. In theory, it can be directly started to enter the installation interface. I did not report any errors when I wrote the tutorial in the test, but a friend told me that some versions of the installation will report errors, probably because of the compatibility between VM and MacOS versions. If you report an error when you start the MacOS system,Try the methods in [4. Frequently asked questions].
4. Frequently asked questions
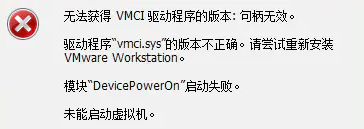
First try to boot directly to see if it can be started. If the icon of the Apple logo appears normally, skip the step of [4. Error Reporting] and directly enter the step of installing MacOS. If the following error occurs, try the following solutions:
Problem I: If the error prompt [vmci.sys version is incorrect] appears
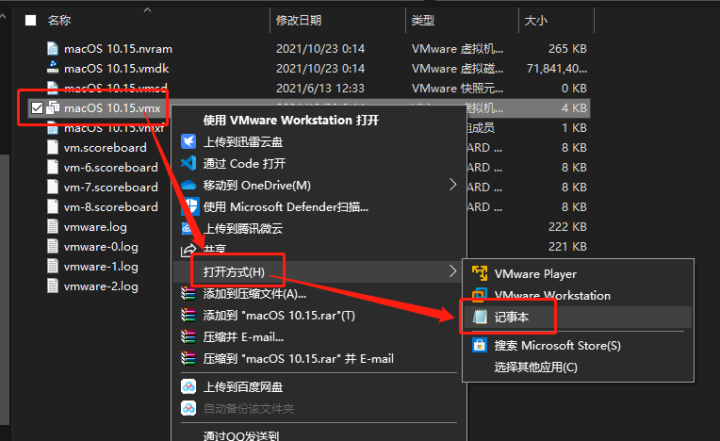
Find the macOS 10.15.vmx in the system file path of the virtual machine you just created (this name was named when you created the virtual machine earlier), and open and edit the. vmx file with Notepad
Change [vmci0. present="TRUE"] to [vmci0. present="FALSE"] (excluding the [] bracket) and save
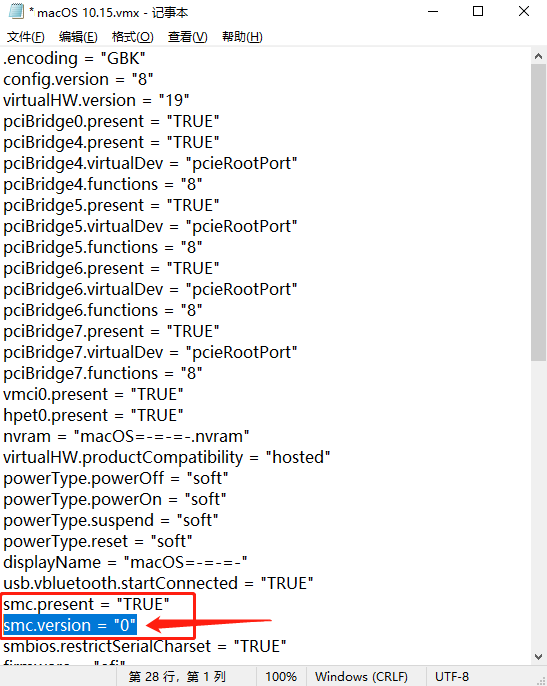
Problem II: If an error is reported in [vcpu-0: VERIFY], find the macOS 10.15.vmx in the system file path of the virtual machine just created (this name was named when the virtual machine was created earlier), and use Notepad to open and edit the. vmx file
Add [smc. version="0"] after [smc. present="TRUE"] (excluding the [] bracket) and save
Generally, the Mac system can be started normally after the above problems are modified or added
5. Installing MacOS Big Sur 11.4
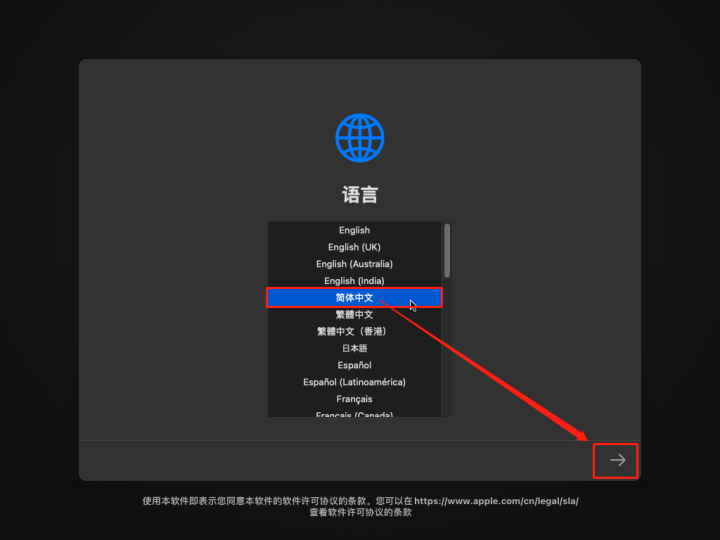
Next, let's start MacOS, but are you happy that the following Apple logo appears
Set the system language of MacOS
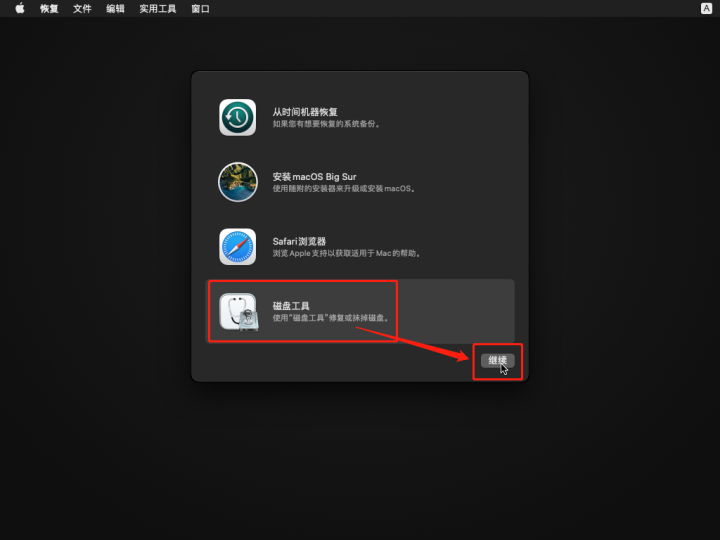
We don't need to install it first, but use [Disk Tool] to make some adjustments to the disk
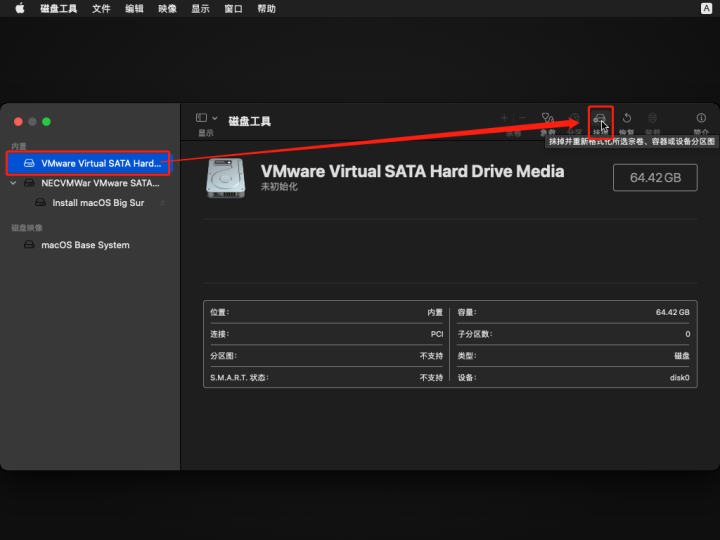
First use [Disk Tool] to erase the hard disk
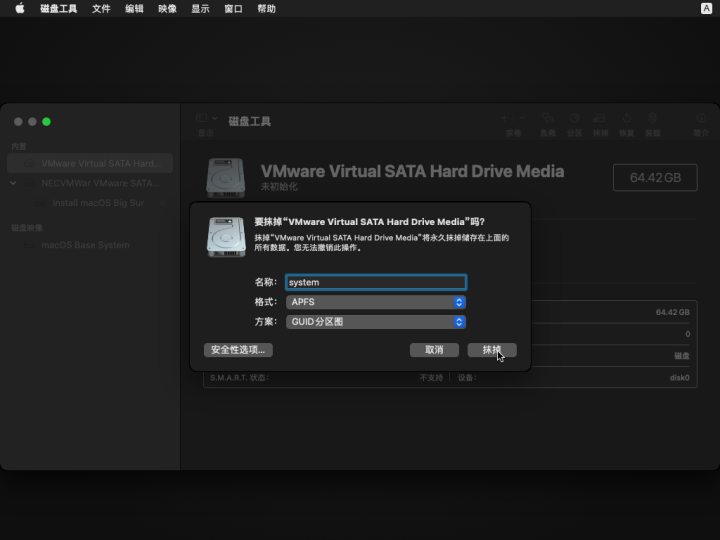
After filling in the name, format and scheme, we click [Erase]
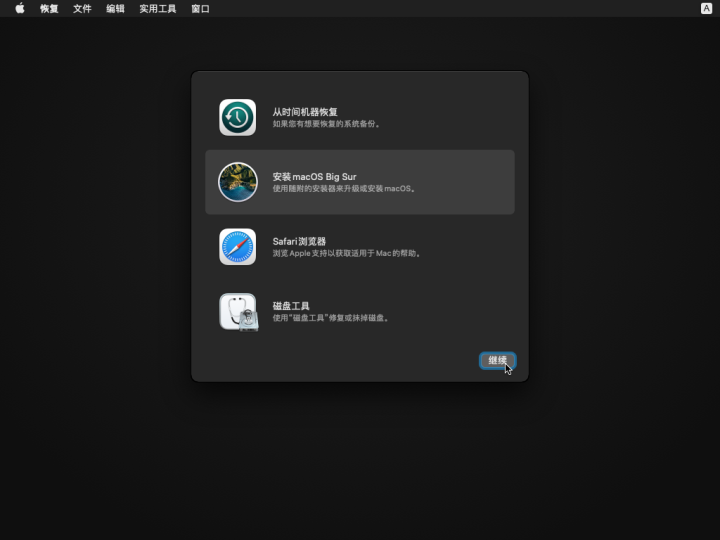
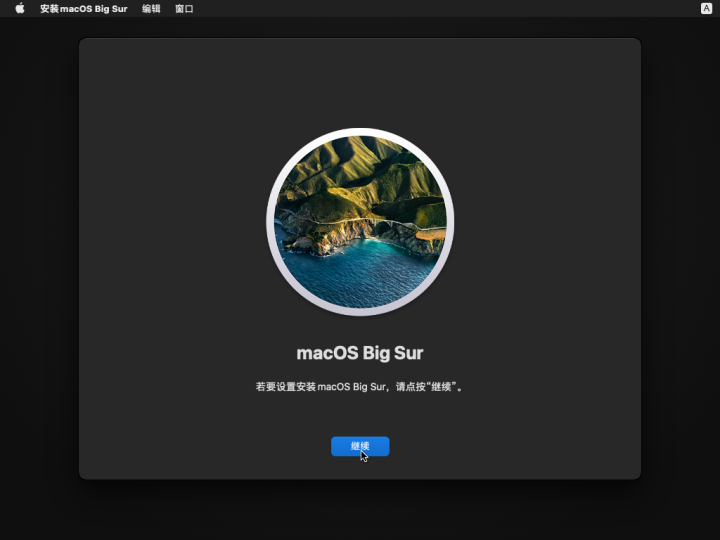
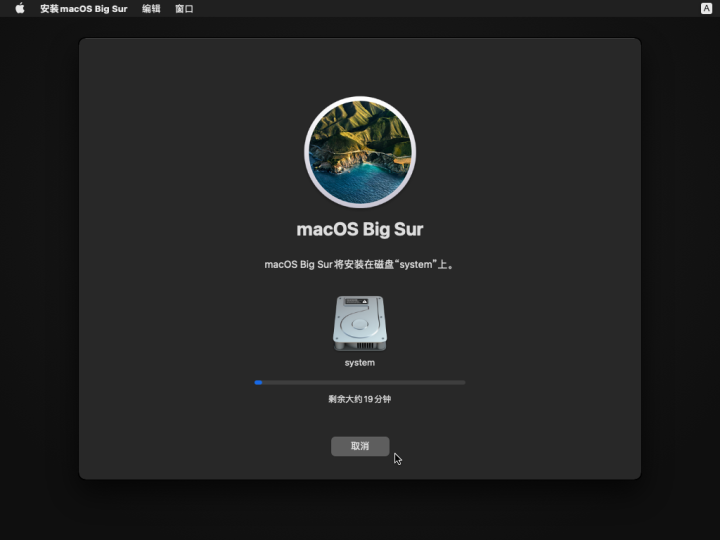
After setting the disk, we can install the system. Click [Install macOS Big Sur]
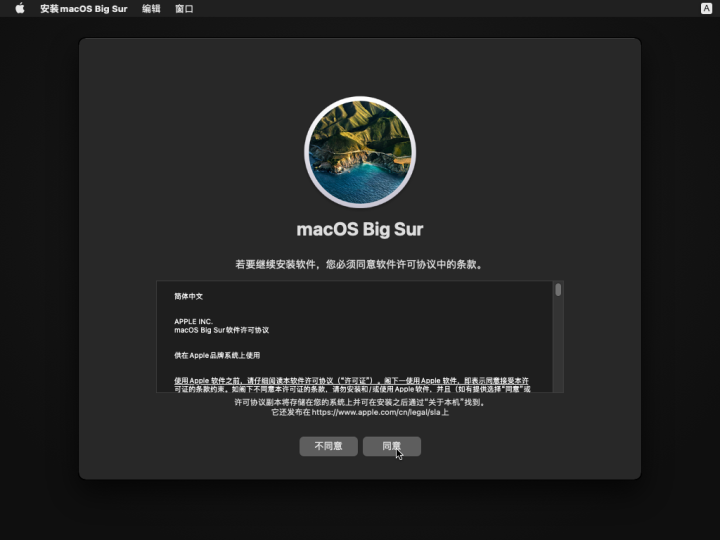
Click Continue
Click Agree to the terms of the agreement
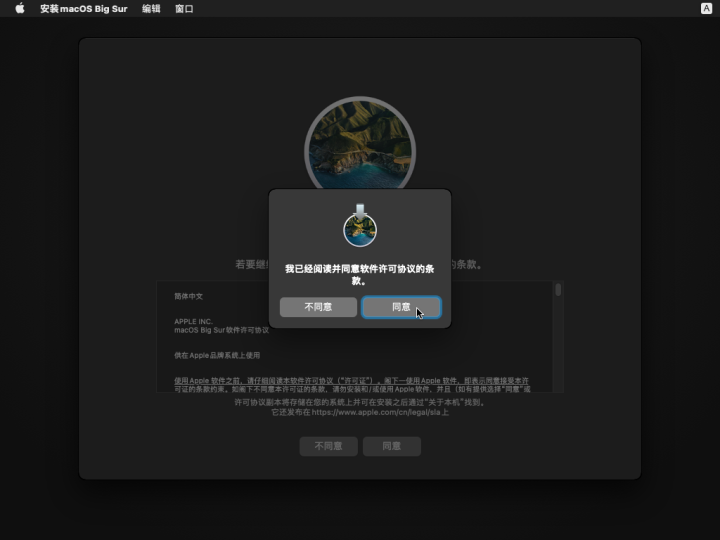
[Confirm] Terms of Agreement
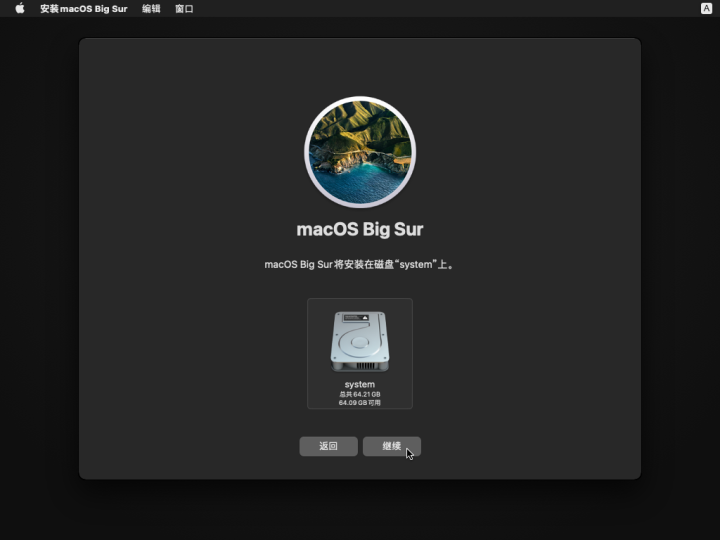
Select the disk to install
Executing setup program automatically, just wait
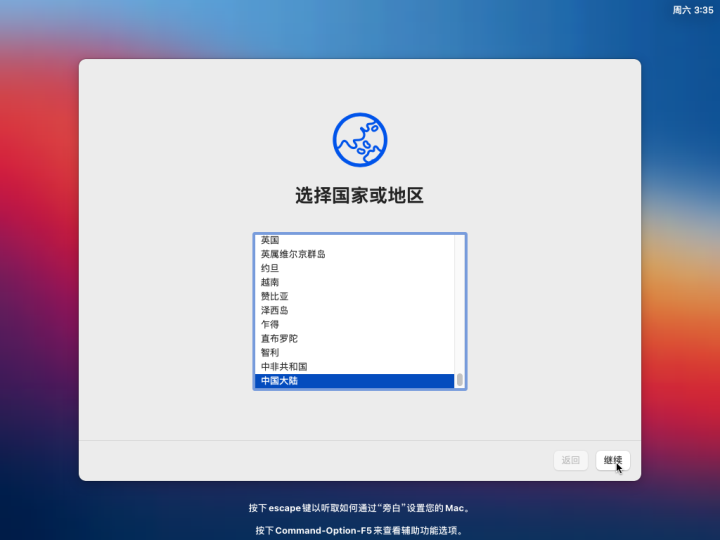
Select a country or region
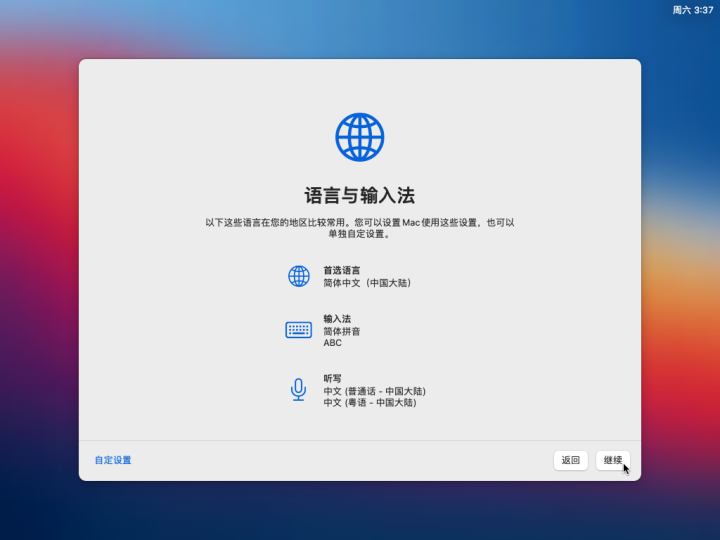
Select language and input method
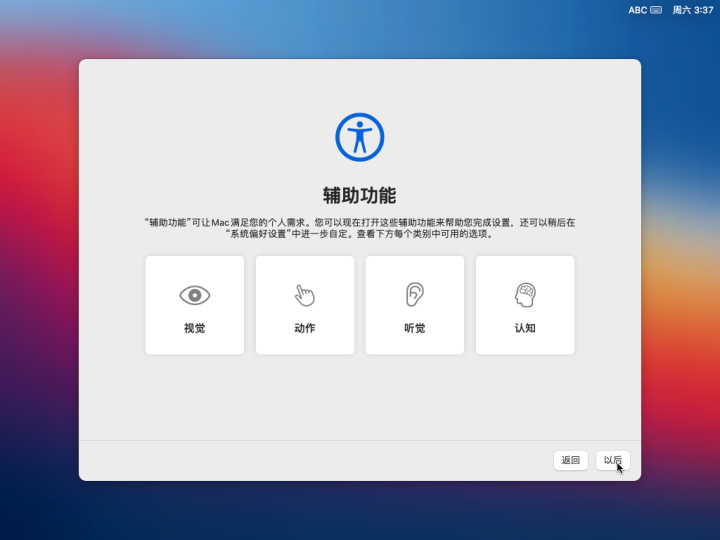
Select accessibility
continue
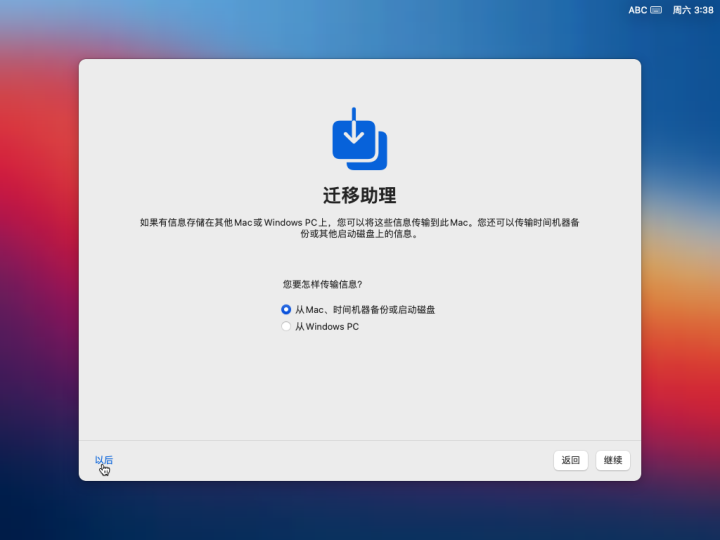
Here is data migration. We are a newly installed system. You can select [Later] in the lower left corner
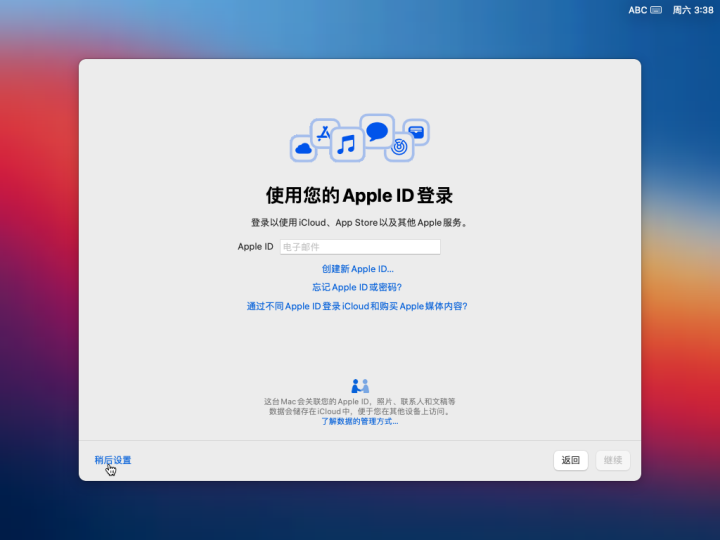
For Apple ID login, we can first select [Set Later] in the lower left corner
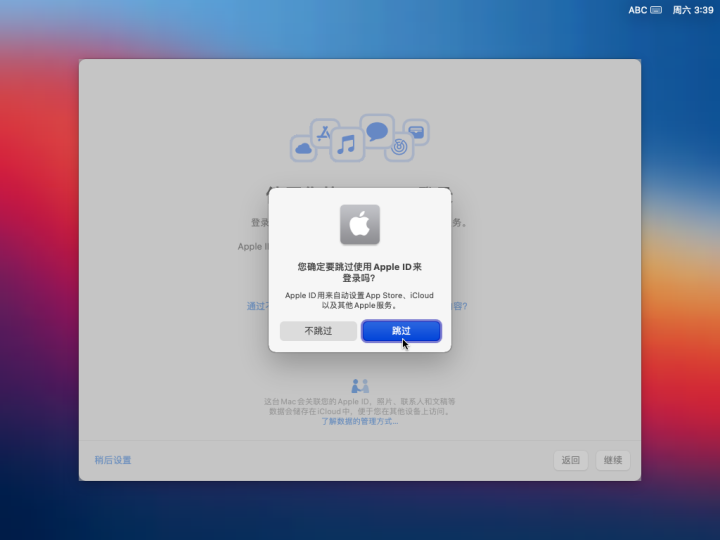
Prompt again whether to use [Apple ID Login], and still select [Skip]
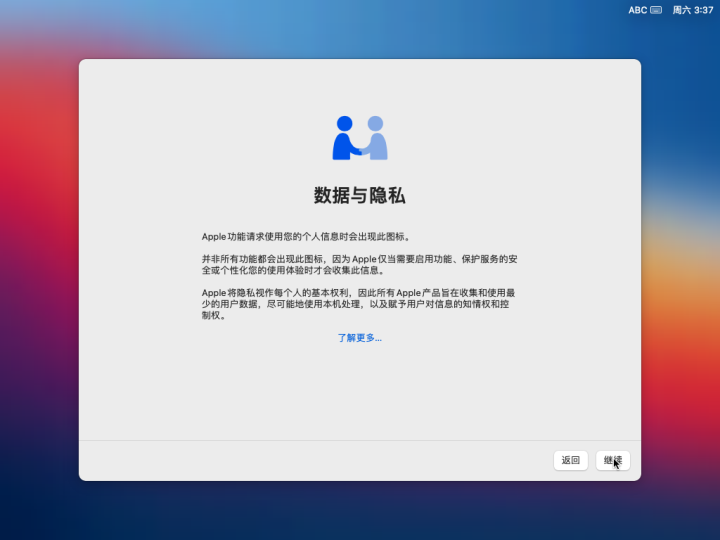
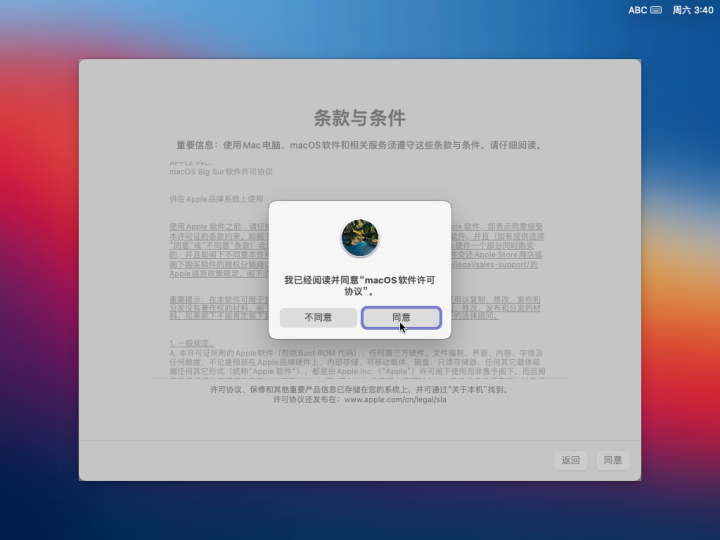
Click "Agree" for terms and conditions
Re confirm [Terms and Conditions], and still choose [Agree]
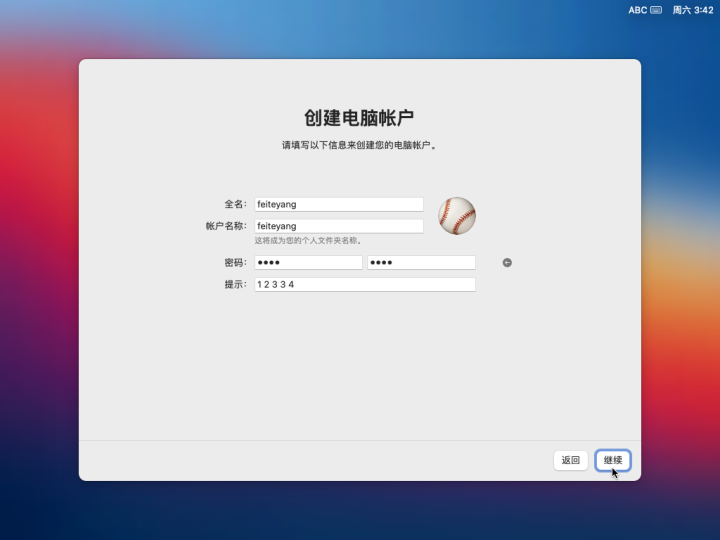
Set system account name and password
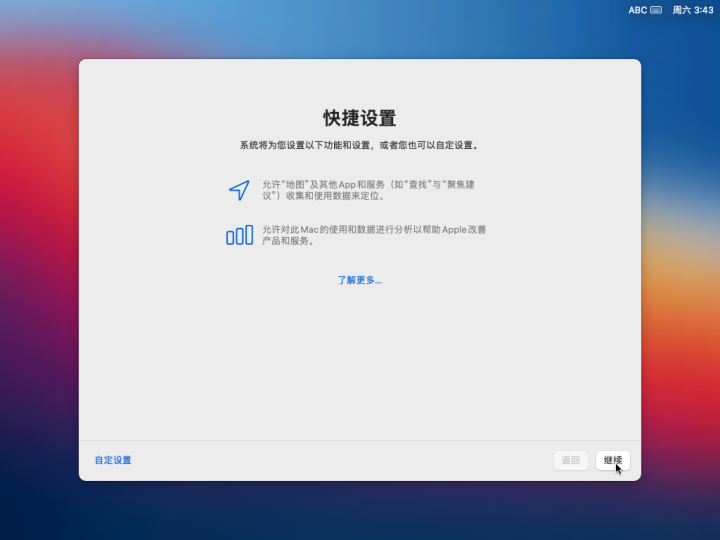
Shortcut settings can be set later, we still continue
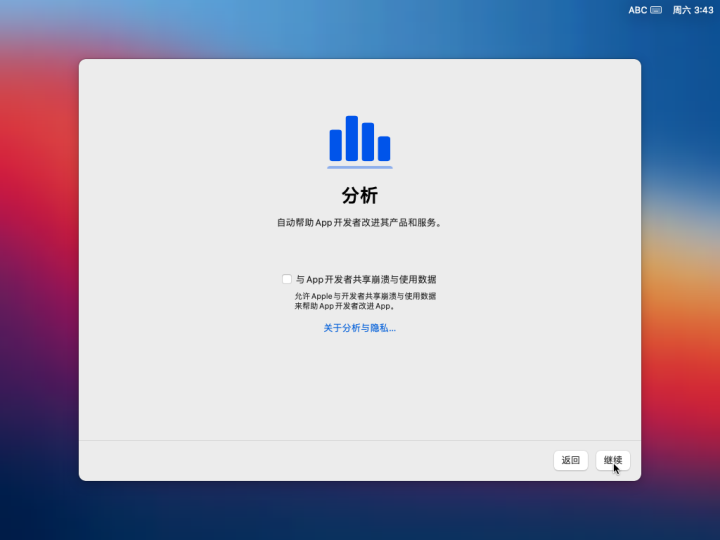
Use data analysis and services, do not check, and continue directly
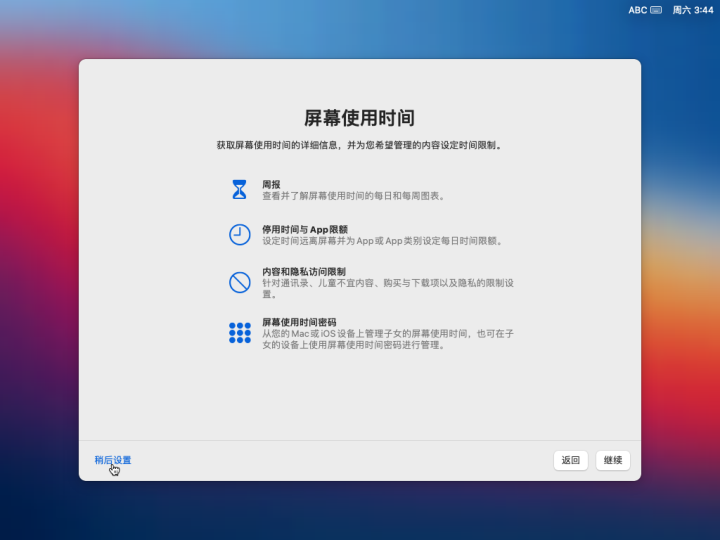
The screen usage time can be set later. Select [Set Later]
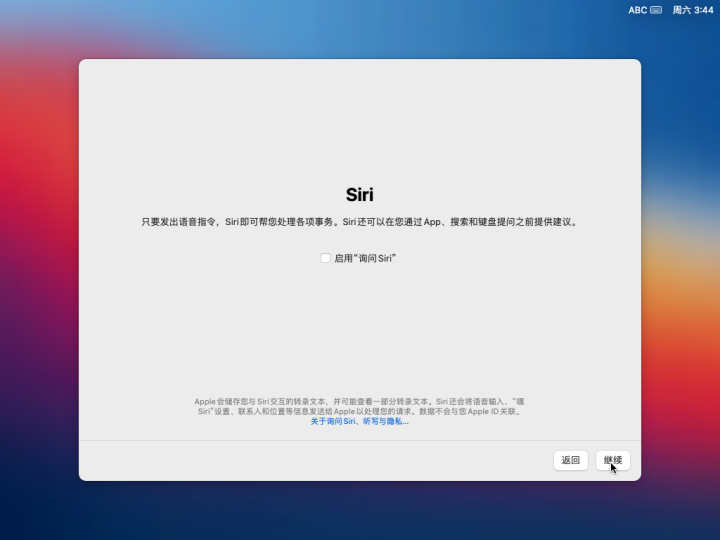
Whether to enable Siri, the voice assistant, depends on your needs. I choose to close it here, and then continue
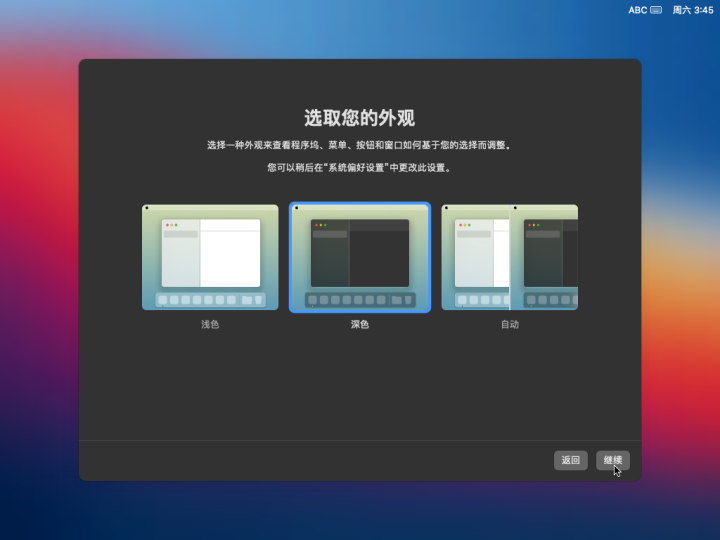
Appearance skin selection
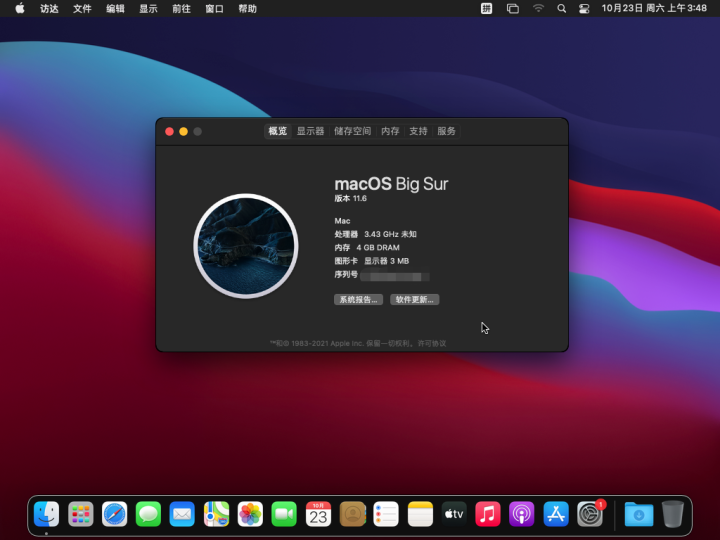
After setting, enter the desktop
Are you happy when you go in
Here we are finished installing MacOS Big Sur 11.4. In addition, the installation of Mac with VMware will be broken even if it is configured to high, which makes the experience poor.Well, if you encounter other problems according to the installation materials, you can also tell me at any time, and I will make changes in time. Thank you. 1 yuan=100 yuan, you can sign in to get yuan for free donation. The latest default decompression password: Hoejc!Please go to the public account for other passwords of xinyucn.cc. If the link is lost or not added, the private message can only be obtained by the VIP members of the site.
Please note: WeChat public accounts refuse private messages, and you will not get any reply.
Scan to follow WeChat public account. If you think this website has helped you, please donate to this website through the following reward button. Thank you!
Official headline number of this website
Scan and follow the official headlines. New and old users can scan and download the dithering speed version, and can get up to 269 yuan in cash every day.


![Exclusive release of emWin Font Converter [ST] v5.44 Chinese version of MCU pixel font production tool FontCvt.exe](https://www.xinyucn.cc/wp-content/themes/XinYu5.0/timthumb.php?src=https://www.xinyucn.cc/wp-content/uploads/2023/06/2023061012492831.png&w=280&h=210&a=&zc=1)