This article mainly introduces the example of converting text into file by JavaScript. If you need it, you can use it for reference. I hope it will be helpful!
✨ Basic structure of the project
The directory structure is as follows:
├── css │ └── style.css └── index.html
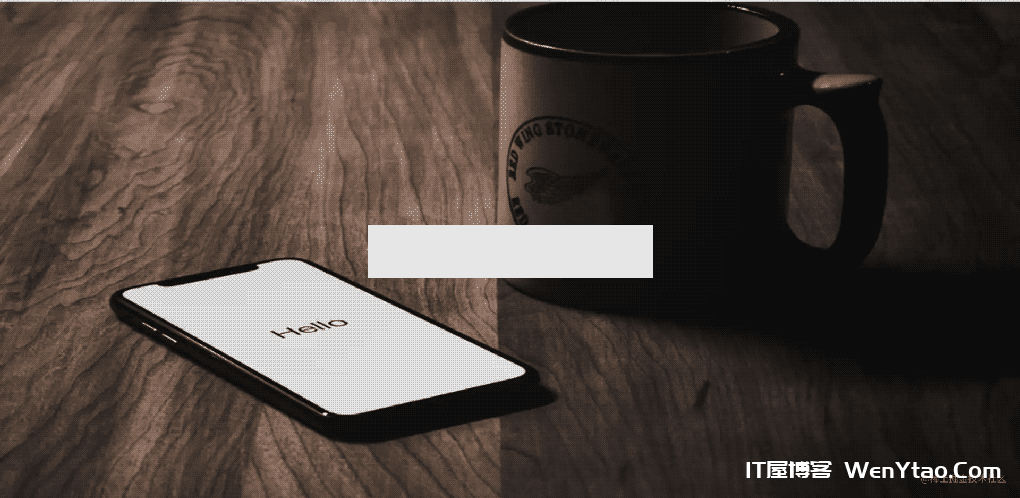
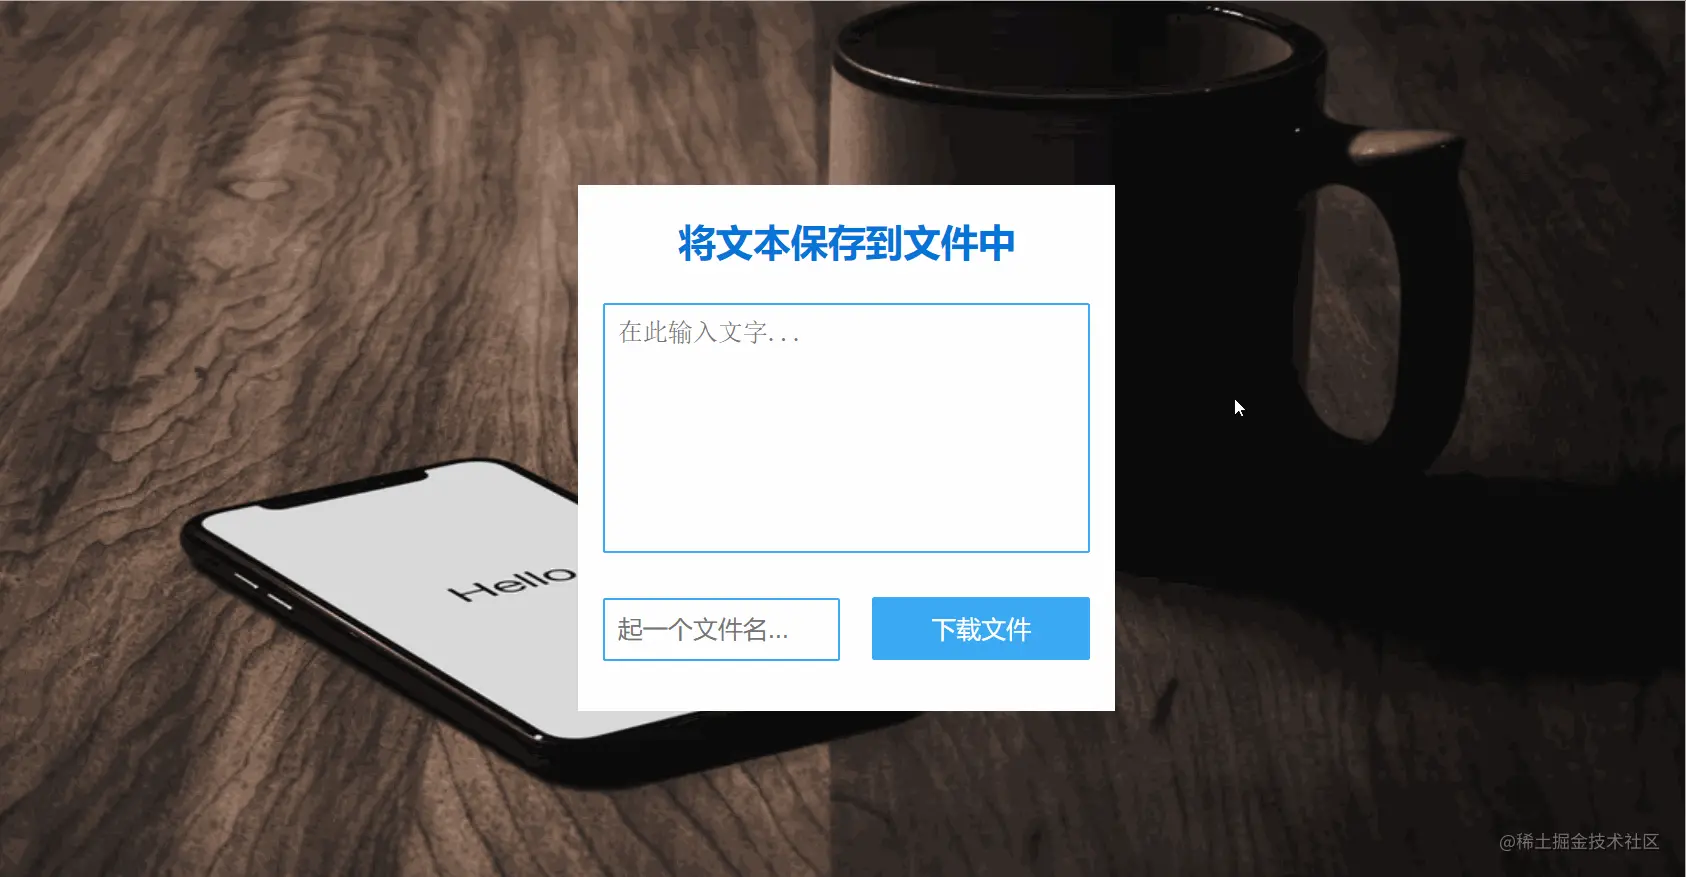
In this tutorial, we will take you to know JavaScript through the case of text conversion (as shown in the figure below)!
Knowledge points
Textarea tag placeholder attribute calc function js three introduction methods js three declaration methods
First, create a new HTML page as usual and input English into the file ! , and press tab Key to generate a template.
Add HTML and CSS code to the file to create the infrastructure of the project.
<div id="container"></div>
* { box-sizing: border-box; } body { height: 100vh; margin: 0; display: flex; align-items: center; justify-content: center; background-image: url( https://labfile.oss.aliyuncs.com/courses/8605/bg-451838.jpeg ); background-size: 100% 100%; font-family: "Kanit", Verdana, Arial, sans-serif; } #container { width: 430px; padding: 40px 20px; background: white; }
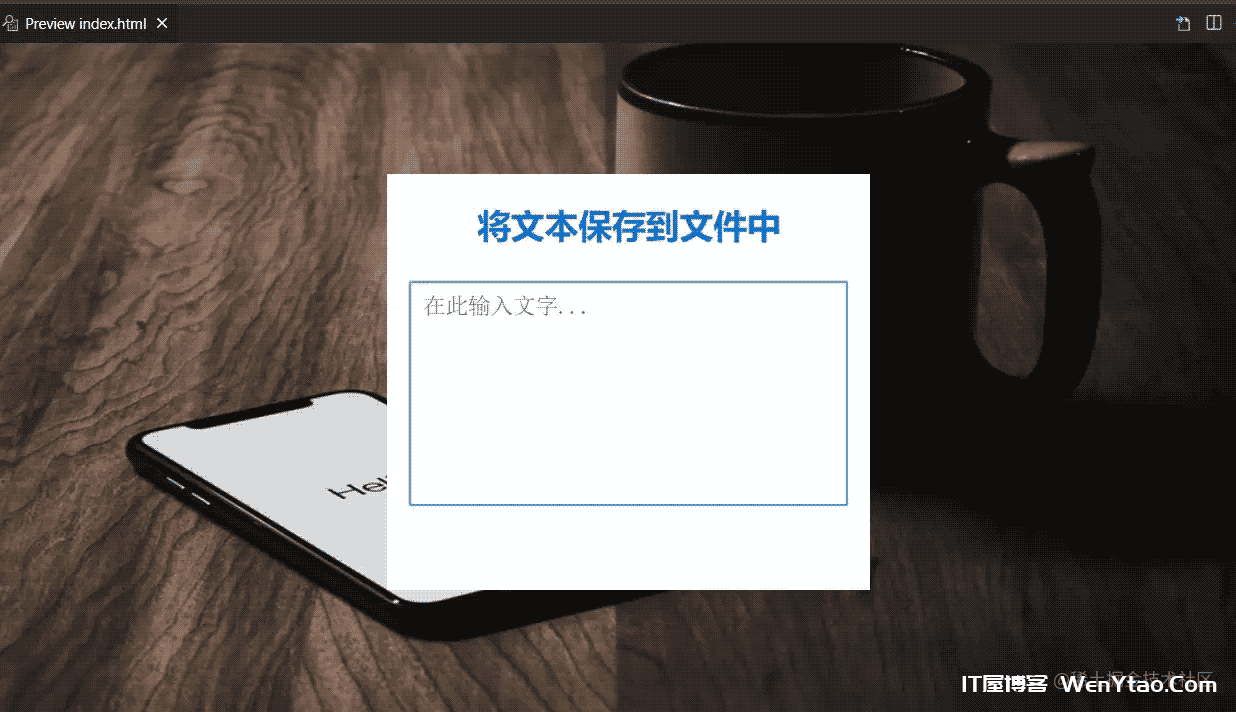
The effect is as follows:
In the above code, we added a background image, and created a width of 430px , and the background color is white.
Add Title
With the basic structure, now we are in the container( #container )Add a h1 title.
<h1>Save text to file</h1>
Here we set the font size of the title to 30px , the color is blue.
h1 { color: #0773d7; font-size: 30px; width: 100%; margin-top: -15px; margin-bottom: 30px; text-align: center; text-transform: uppercase; }
The effect is as follows:

Create a multiline text box
Now let's create a text box under the title to input (to be converted) text content. This text box is used in HTML textarea Label.
<textarea placeholder="Enter text here .." id="text"></textarea>
Then add some styles to the text box.
#text { display: block; width: 100%; background-color: transparent; color: #021652; border: 2px solid #3ba9f4; border-radius: 2px; resize: none; margin-bottom: 35px; height: 200px; padding: 10px; font-size: 20px; }
The effect is as follows:
The properties are described as follows:
textarea Label definition Multiline The text area can accommodate a fairly long, unformatted text.
placeholder Property specifies a short prompt describing the expected value of the text area, which will be displayed when the text area is empty.
Create a single line text box
Next, we create a single line text box to input the file name. This box uses input Label.
<input id="filename" placeholder="Start a file name .." />
Then add some styles to the input box.
#filename { width: calc(100% - 200px); border: 2px solid #3ba9f4; border-radius: 2px; background-color: transparent; color: #052a53; padding: 0 10px; height: 50px; line-height: 50px; font-size: 20px; margin-right: 20px; }
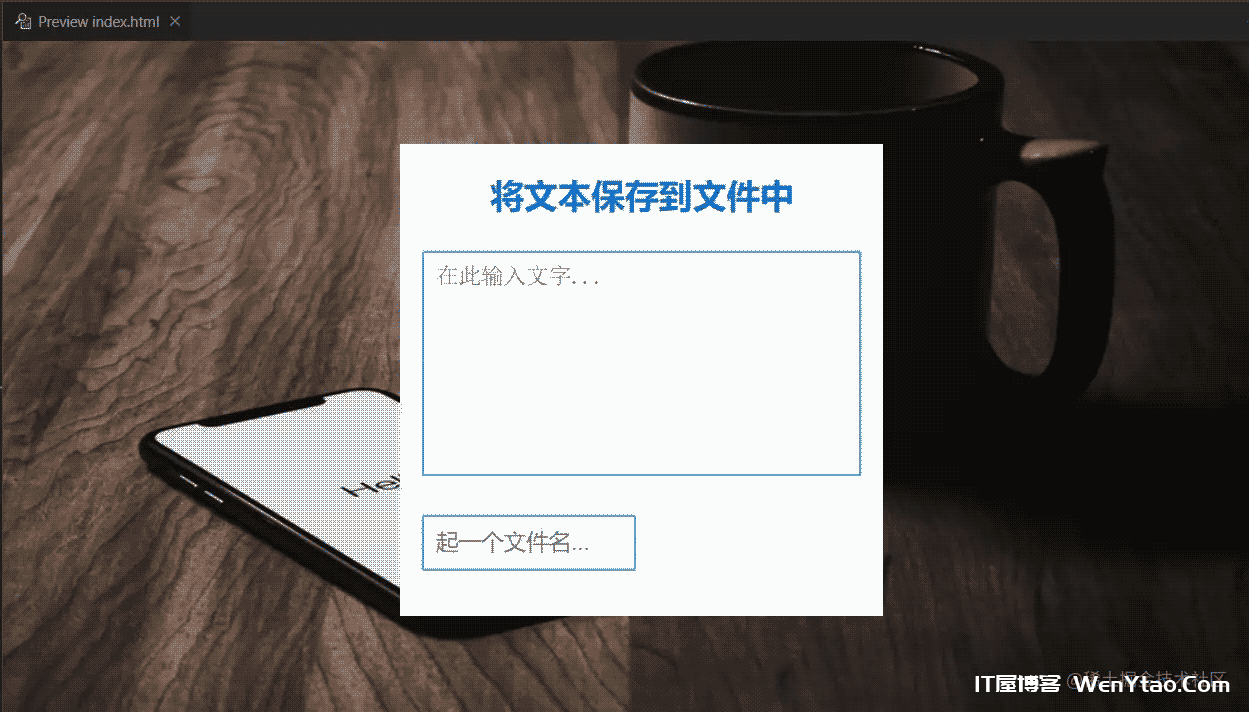
The effect is as follows:
The properties are described as follows:
calc() The function is used to dynamically calculate the length value. Note that a space should be reserved before and after the operator. Please refer to MDN calc().
Button for saving files
Now we need to create a download button. Click this button to download the converted text file.
<button id="download">Download files</button>
Let's set the style for the button. The width of the box is one hundred and seventy-four Pixel, height is fifty Pixel, the background color is blue.
#download { background-color: #3ba9f4; color: #fff; font-size: 20px; height: 50px; border: none; border-radius: 2px; width: 174px; cursor: pointer; }
The effect is as follows:

The effect of the page is now complete, but you cannot download the file by clicking the button.
It's time for JavaScript to come out.
Save text to a file using JavaScript
JavaScript has been introduced to you in the experiment introduction, and here we will tell you how to introduce it.
How to introduce JavaScript into HTML pages?
Similar to CSS, HTML can also introduce JavaScript in three ways.
Inline: add js code to the event attribute of the tag, and execute the js code when the event is triggered. Internal: add script tags anywhere on the HTML page, write js code in the tag body, and execute when the page is loaded. External: write the js code in a separate js file, import it in the HTML page through the src attribute of the script tag, and execute it when the page is loaded.
Here, you need to pay attention to the difference between CSS and external introduction of JS. CSS uses link Tagged href Attribute, while JS is introduced through script Tagged src Property.
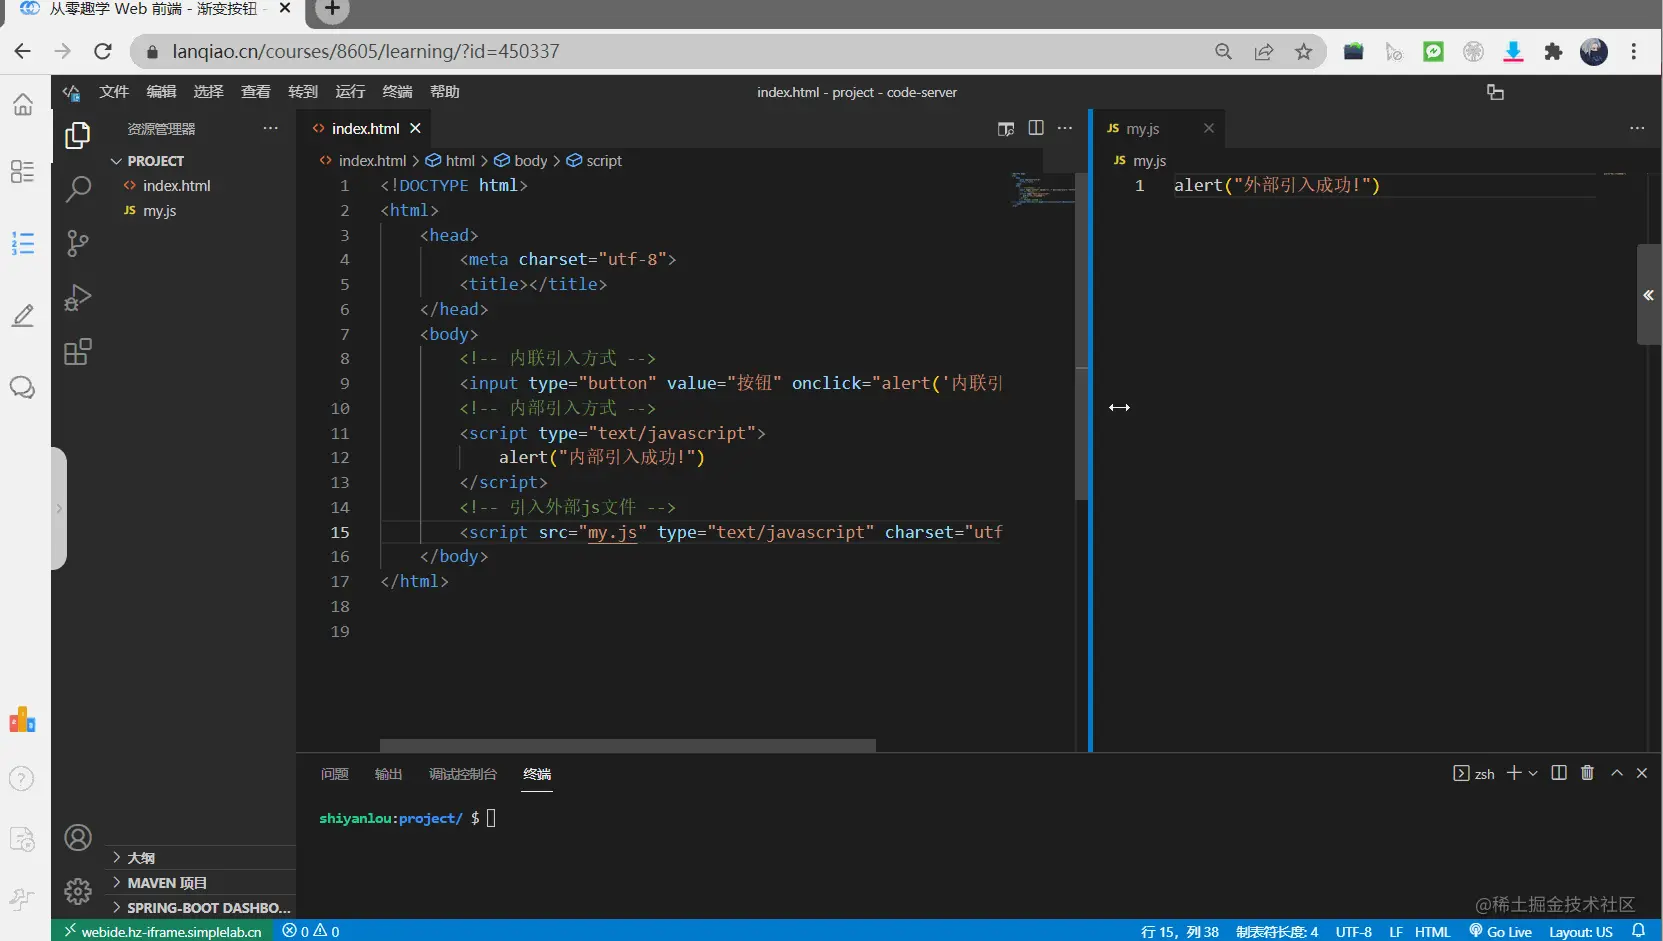
Let's take a look at the following examples:
<! -- Inline import method --> <input type="button" value="button" onclick="alert ('Inline import succeeded! ')" /> <! -- Internal import method --> <script type="text/javascript"> Alert ("Internal import succeeded! "); </script> <! -- Import external js file --> <script src="my.js" type="text/javascript" charset="utf-8"></script>
my.js Content in:
Alert ("External import succeeded! ");
All three methods can output content successfully, and the effect is as follows (click the bottom right Go Live Start port 8080 and open the Web service):
In the above example, onclick It is a bound click event. When you click this element, it will be triggered;
alert Yes, a warning box pops up.
Next, we use the internally imported method to add JS code to realize the file download function.
<script type="text/javascript"> //Method declaration in js: function method name (parameter list) {method body} function downloadFile(filename, content) { //It is applicable to all browsers that support HTML5 because it uses the download attribute of the<a>element: const element = document.createElement("a"); //Blob is a data type that can store binary data //It can have different values according to the file to be saved const blob = new Blob([content], { type: "plain/text" }); //The createObjectURL () static method creates a DOMString containing a URL that represents the object given in the parameter. const fileUrl = URL.createObjectURL(blob); //SetAttribute () sets the attribute value of the specified element. element.setAttribute("href", fileUrl); //File location element.setAttribute("download", filename); //File name element.style.display = "none"; //Use the appendChild () method to attach a node to the end of the list of child nodes of the specified parent node document.body.appendChild(element); element.click(); //The removeChild() method of the Node interface removes a child node from the DOM and returns the removed node document.body.removeChild(element); } window.onload = () => { document.getElementById("download").addEventListener("click", (e) => { //The value of the file name input box const filename = document.getElementById("filename").value; //Value entered in text const content = document.getElementById("text").value; //The&&(logical AND) operator indicates whether two operands are true. If both operands have non-zero values, the value of the result is 1. Otherwise, the result value is 0. if (filename && content) { downloadFile(filename, content); } }); }; </script>
The final effect is as follows:
Next, let's explain the above JS code~
function downloadFile(filename, content) {} Defines a downloadFile This function can pass in two parameters filename (the file name of the saved text) and content (Text content). const It is a keyword for defining constants, and there are two keywords for defining variables var 、 let 。 document It is the DOM operation of JS. The full name of DOM is Document Object Model, which is to operate on elements in HTML documents, such as modifying, deleting, and adding. that document.createElement("a") It is to create a <a> Element. new Blob() Is an instantiated Blob Object, which represents an immutable, original data class file object. Its data can be read in text or binary format, or converted into ReadableStream for data operation. Including: [content] Is the text content in the multiline input box.
{ type: "plain/text" } It is a MIME type, indicating that the text type is an array or string.
For example:
var blob = new Blob(["<html>…</html>"], { type: "text/html" });
URL.createObjectURL() Indicates that the static method will create a DOMString , which contains a URL representing the object given in the parameter. This URL object represents the specified File object or Blob object.
element.setAttribute() It is used to set attributes for specified HTML elements. The format is as follows:
//Name is the string of the attribute name, and value is the value of the attribute element.setAttribute(name, value);
element.style.display = "none" Set CSS to display:none 。 appendChild() Used to attach a node to the end of the list of child nodes of the specified parent node. click() Is a click event. removeChild() Used to delete a child node from the DOM and return the deleted node. window.onload Used to handle the load event of the element. addEventListener("click", (e)=>{}) , indicates monitoring click event, (e)=>{} Is a callback function. => Represents an arrow function. if Statement. When the condition in the parentheses is true, the if sentence {} Content in.
Now we have finished the small project of saving the text content to the file!
? Complete source code download ⬇
Here I give the complete source code, which you can download and use in your own study or work
Source code address
summary
We hope that through the above tutorial, you have learned how to use JavaScript to save text content to a file. At the same time, we also learned some basic knowledge in CSS and JS, such as <textarea> Labels placeholder Properties calc() Function. I also know three methods of introduction and declaration in JavaScript.