Tidio plug-in It is a WordPress real-time chat robot and email marketing plug-in, which can be used free of charge to attract visitors, cultivate potential customers, automate work and develop business. Many foreign trade websites in China are using this plug-in. Weieis Notes shares the installation, use and setting methods of the Tidio plug-in.
Tidio plug-in installation setting use
1、 Features of Tidio plug-in
- A free chat plug-in to talk with website visitors
- Lightweight and customizable widget, perfect match with your website
- Free mobile applications (iOS or Android) communicate with customers anytime, anywhere
- Attract people immediately when they visit the website
- View a list of pages to see where visitors are
- Real time typing preview to master the conversation
- WordPress chat bot automates repetitive tasks, conversations and attracts potential customers
- The chat robot template allows you to quickly and easily set the robot dialogue words
- Automatic visual chat robot editing without technology
- Email marketing tool to contact visitors in time and get them back
2. Install and enable the Tidio plug-in
Search and install Tidio in WordPress background>Plug in>Install Plug in.
If the installation fails, go to the official WordPress website to search and download to the local site, then manually ftp upload to the website plug-in directory, and then back to enable.
3、 Tidio website registration account
To use plug-ins, first Click to register a Tidio account And then bind an account in the plug-in to set and record chat information.
To register a Tidio account, you need to enter an email, password, domain name, and select the name of live chat, the color of the dialog box, skin, language (Chinese or English is optional), as well as the company, industry, country, and greeting method.
Choose your chat robot. If you are not sure, choose any one. You can switch it later.
When finished, the chat widget should appear in the lower right corner of your WordPress website. You can change the location and set more rules or adjust the appearance of chat widgets in the settings panel of the Tidio website.
4、 Tidio plug-in settings
Click tidio chat at the bottom of the left column of WordPress background, enter the registered account email address on the right, and click "let's go" as shown in the following figure.
Next, jump to the Tidio website to learn about plug-ins.
The interesting thing about the Tidio plug-in is that it can generate many chat robots with different functions. You can manually add chat robot templates from various scenes defined by Tidio, or you can define and add robots yourself.
The process of adding robots is similar to the brain map. You can provide many preset options, decisions, quick replies and other information.
The specific adding process will not be explained in detail by Lao Wei. You can go to Tidio official website Added by reference above.
At the same time, you can carry out email marketing through detailed settings in Tidio, including sending immediately and sending on the scheduled date.
How to solve the problem that Tidio does not display
If you do not see the chat window on the website immediately after adding the Tidio plug-in, you can try to solve the problem by following the steps below.
1. Open a new stealth window of the browser, such as opening a website in Chrome's stealth window.
2. Clear site cache
If the chat is still not displayed on the website, you need to clear the website cache. For example, if you use some cache plug-ins, temporarily disable all cache plug-ins (WP bucket W3 Total Cache, W3 Super Cache, etc.).
3. If the chat window still cannot be displayed after the operation, share the implementation method of using js code.
Note: This method can only be used when the Tidio plug-in is invalid, and the two cannot be used at the same time.
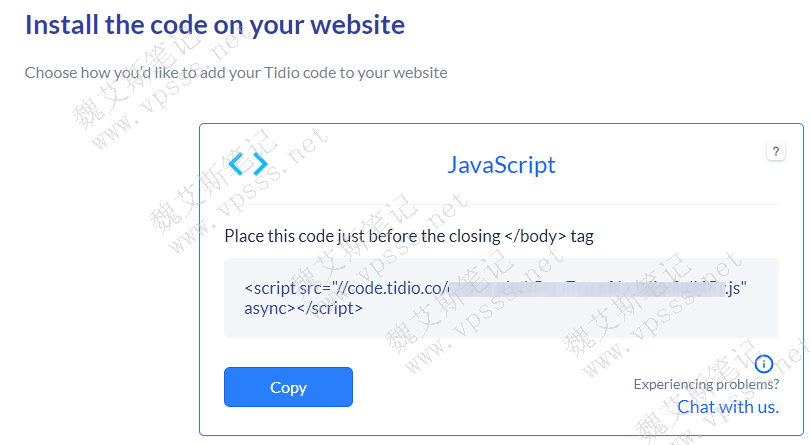
Select I'll do it myself in Install the code on your website, and click "show me the code!". As shown in the figure below, many different program codes, including WordPress, are provided.
The Js code is universal. Click copy to copy and download, and then put it in your website file. Take the WordPress website as an example. Find footer.php in the Appearance>Theme Editor, and remember to put it in front of the</body>tag. After putting it in place, the following form is correct.
< script src=”//code.tidio.co/cutnrkef4aim0zae7qqcjquh5ml6wi5v.js” async>
< /body >
After placing the code, click the "Update File" button, and then go to the home page of the website. The live chat dialog box on the right side of the page indicates that the code is installed correctly.
Tidio free account and paid account
Start a 7-day trial period after creating a new Tidio account. During this period, you can use all the paid functions provided by the advanced program. You can select as needed after the probation period Paid use of Tidio Advanced Program 。 For quite a few foreign trade websites, it is enough to use the free plan all the time.