The installation of Avada themes and subthemes is similar to that of other wordpress themes. You must install the AVADA theme first and then the subthemes. Note that avada comes with two plug-ins that must be installed. One is fusion core, and the other is fusion builder. Today, I will tell you how to install the avada theme and subtheme
Note: The Avada theme in this article installs version 5.14, and the version method of the 5 series is universal
If your new version is Avada 7.3 or above, please refer to here https://www.imhunk.com/3-steps-to-buy-avada-theme/#title4 Install avada theme and subtheme
Install the AVADA theme first
1. Upload avada theme in the background of wp and activate it
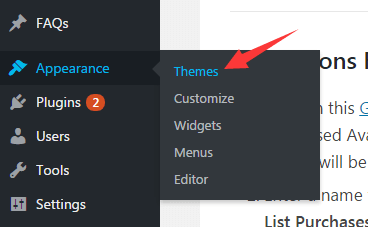
After entering the background of wp, place the cursor on appearance and click themes
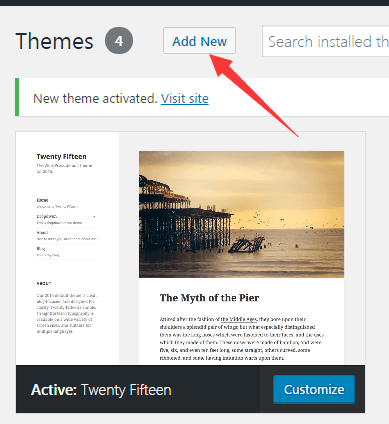
Click add new again
Click upload theme again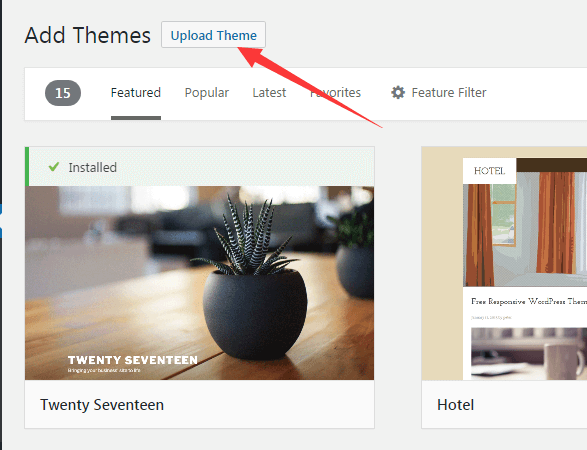
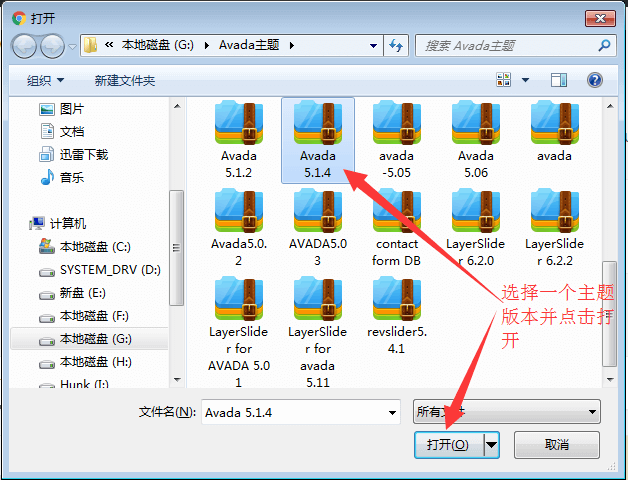
Click to select the file, select the version to be installed in the pop-up window, and open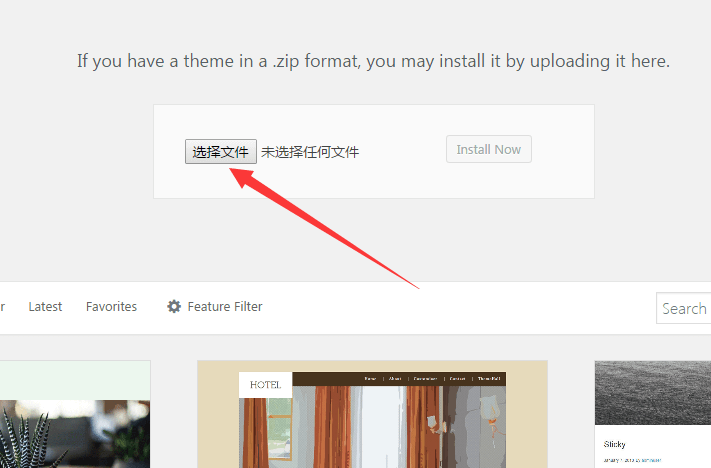
Then click install now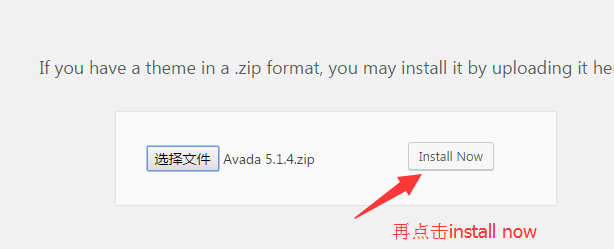
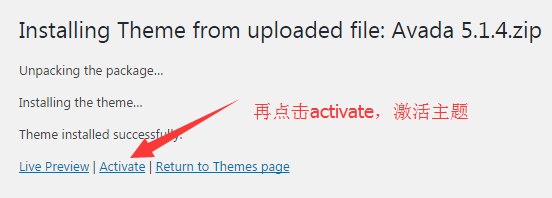
Wait about 1 minute to see the successful installation prompt. Then click Activate to activate the theme.
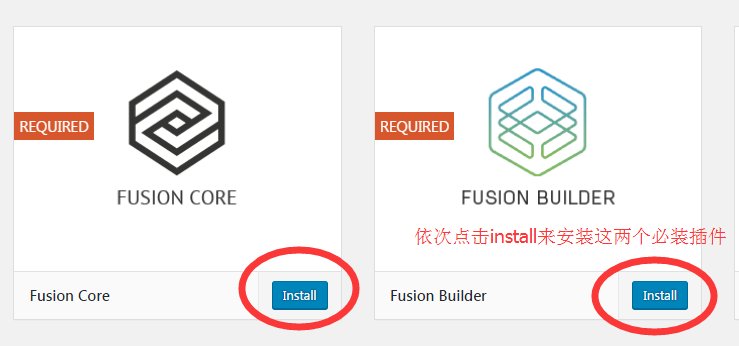
2. Install and activate the required plug-ins - fusion core and fusion builder
After activating the theme, you will see a prompt to install plug-ins. Click go manage plugins
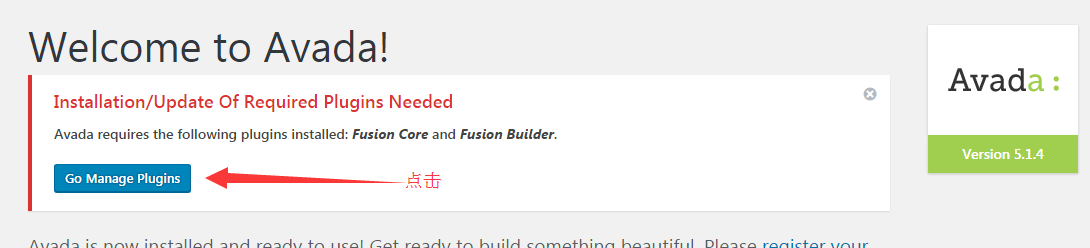
On the WP - AVADA – plugins page, you can see the fusion core and fusion builder, both of which are redundant, which means that plug-ins must be installed. Click Install to install and activate them
After installation, you can use the AVADA theme to build a website!
The free AVADA theme will have such hints. If you buy a theme, you can activate it. If you don't buy a theme, you can ignore it, without affecting the use of the main functions.

Reinstall the AVADA subtheme
You can also upload sub themes in the theme installation and activate them. Keep the subtheme ACTIVE
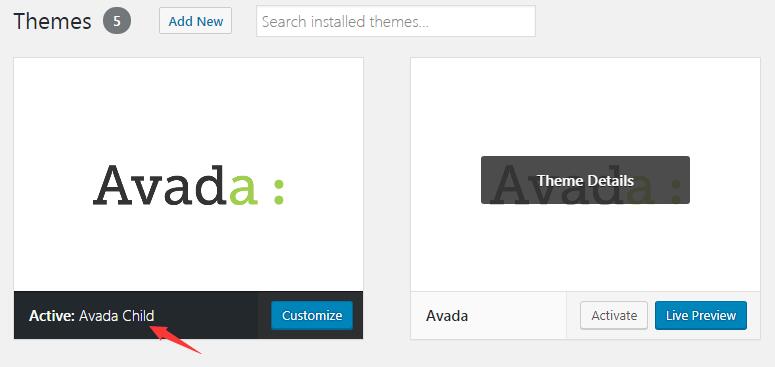
Experiments show that when using subthemes, if AVADA is upgraded manually, it can effectively avoid the loss of FOOTER of SIDEBAR caused by AVADA upgrade. Therefore, it is necessary to install sub themes.