The sidebar and footer of the AVADA website are common settings. Today we will talk about how to set the sidebar and footer of the AVADA website (that is, the sidebar and footer)
The contents of this article are as follows
1. Avada theme sidebar setting method
The sidebar is also called the sidebar. A page can have one or two sidebars. It is generally recommended to set one sidebar. For B2B enterprise websites, the sidebar is generally placed on the left, while for blogs, it is generally placed on the right (such as my blog)
1. Learn about the widgets menu
Enter the background appearance widgets of wp. The available widgets on the left are small tools that can be added to the sidebar and footer on the right to realize the corresponding functions
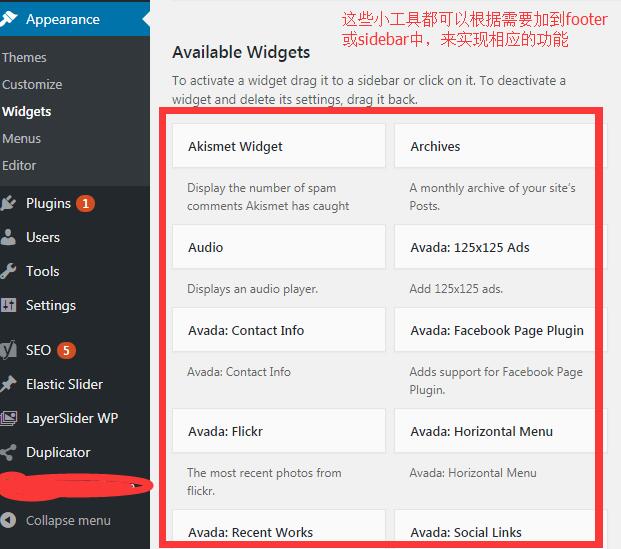
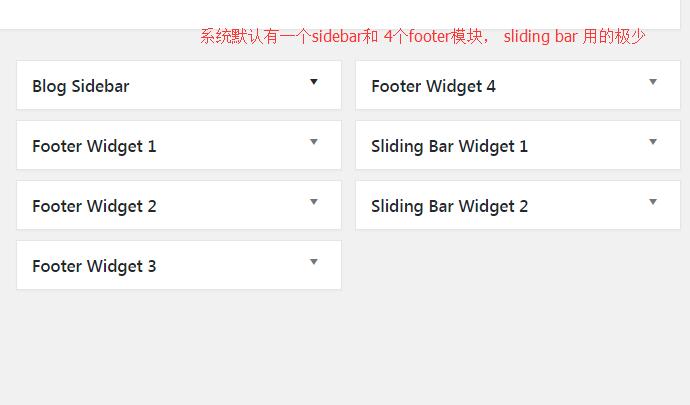
On the right is the sidebar and footer area, as well as the sliding bar
2. Set the content of the sidebar
The content of the sidebar is composed of widgets. If you just need to add the required widgets to the sidebar and set them
By default, the system has created a new blog sidebar for us and added some content. We just need to add or subtract from the sidebar
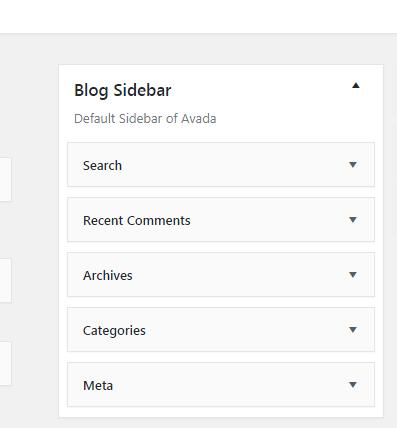
I usually only keep the search function, and delete the rest. The method of deleting is very simple. Just press and hold the corresponding widget with the left key and drag it out to delete it.
Then add a few more
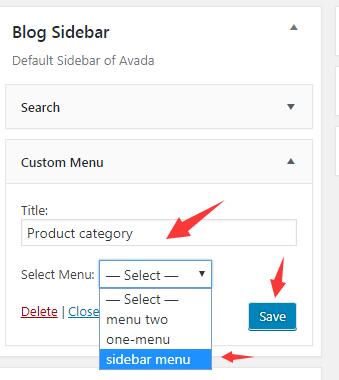
1) Product classification , adding this part to the sidebar can make the product classification page and product page more exposed, which is conducive to product transformation.
First, you need to create a new sidebar menu in the appearance menu, and then add the content. After saving, you can add the custom menu (if not, use the navigation menu) to the sidebar (the method of adding is also very simple, just left click and hold the widget, and then drag it to the sidebar), Fill in Product category for title (this can be written freely), select the previously created sidebar menu from the menu, and then save it
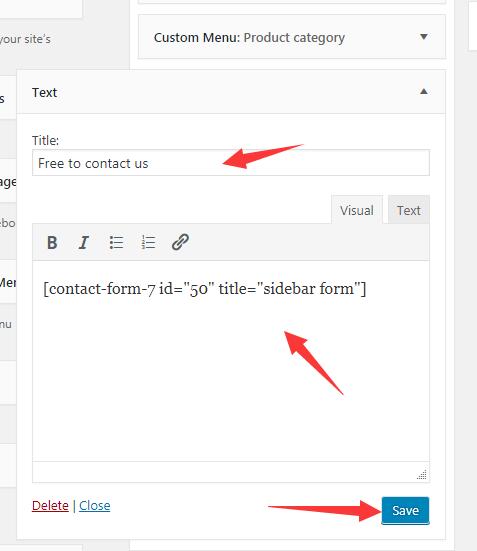
2) Contact form , benefits needless to say, so that customers can immediately send inquiries
Fill in the free to contact us in the title, paste the cf7 form's shortcode in the visual box, and save
3) Other contents , this is up to you. You can add any content to the sidebar, drag it directly, edit it and save it
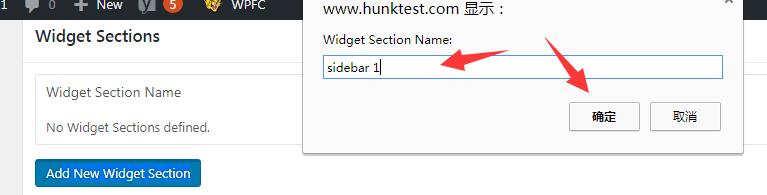
If you need to add several sidebars, just click section on the add new widget on the page, enter your sidebar name, and click OK. A new sidebar 1 will appear in the sidebar and footer areas on the right below
Then use the same method to add widgets with different functions to the sidebar
3. Call the sidebar
1) Global call
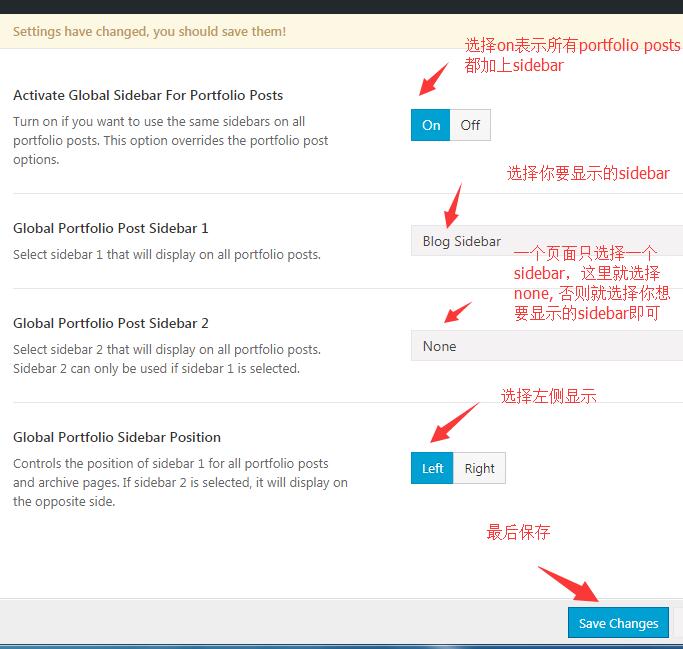
Global call means that all types of website pages (pages, post or portfolio) use the same sidebar and place the sidebar in the same location. Generally, I will use the same sidebar for all portfolios, as shown below
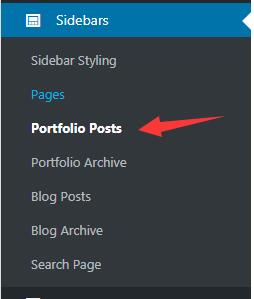
First, enter the background of wp - avata – theme options – sidebar – portfolio posts
Then set as shown in the figure below
If you need to add a global sidebar to other types of pages, such as pages, the direction is the same as above.
2) Single page setup
If you only need to add sidebars to a few pages, just go to the corresponding page background, find fusion page options at the bottom of the page, find the sidebar, set the corresponding sidebar and display location, and save. Refresh the page to see

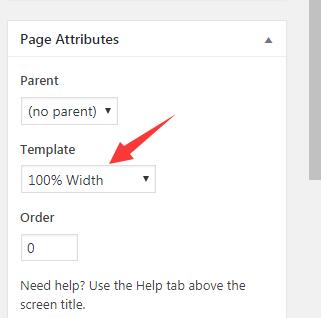
In one case, the sidebar cannot be added to the page, that is, the template of this page selects the 100% full width mode, so no matter you add it globally or add it to a single page, you cannot add a sidebar
2 How to set the footer of Avada theme
Some people call header as header and footer as footer. No matter what they call it, it's OK to understand
1. Set the number of footer areas
AVADA has four functional areas in footer by default, so you can see footer widgets 1~4 in widgets. If you need to divide more functional areas or reduce functional areas, you need to enter the wp background - avada – theme options – footer - footer content to select the number of footers, from 1 to 6
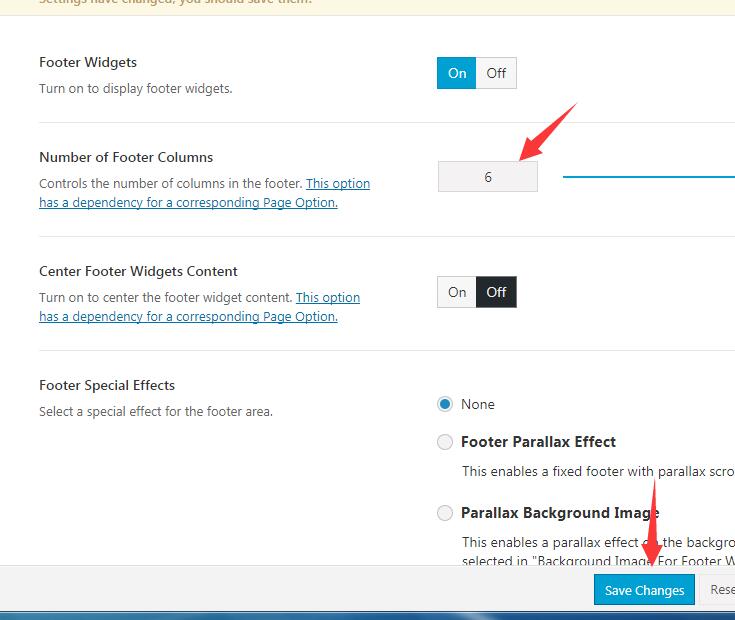
If you select 6, after saving, 6 more footer widgets will appear in the widgets, which are equally divided

2. Add content to footer widget
Refer to the addition method of the sidebar, and set the same settings. Add the required widgets directly to the footer widget.
Generally displayed from left to right Most important to least important The following is my footer widget settings
Footer widget 1 recent works latest product display
Footer widget 2 product category
Footer widget 3 Inquiry form or contact information page
Footer widget 4 recent posts
Footer widget 5 brief introduction
3. Call footer
By default, all pages share only one footer, so there is no need to set it separately