Summary:
CPanel is the most common host management system at present. Many Linux host spaces at home and abroad use cPanel, and novices are not clear about how much cPanel is used. This article will demonstrate the process of online uploading, decompressing, and mobile WordPress installation files of cPanel.
CPanel Online Upload, Decompress, and Move File Tutorial:
1、 Upload files online
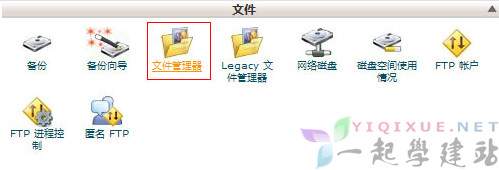
1. Log in to the cPanel host management system, and select File>File Manager:
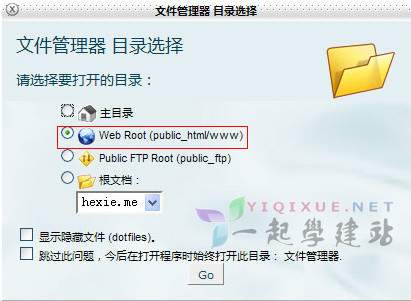
2. Select the root directory and "Go":
3. Click "Upload":

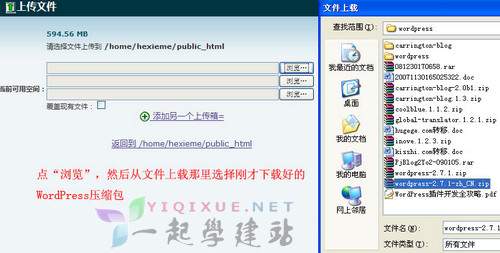
4. Jump to the upload interface, click "Browse" and select the WordPress compressed package to upload:
5. Upload successfully after a while

2、 Unzip files
1. Select the uploaded compressed package and click "Decompress"

2. Click "Extract Files" directly
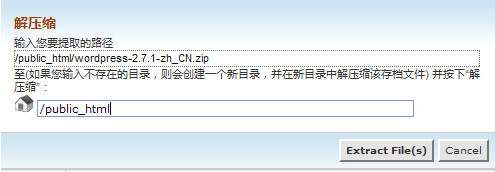
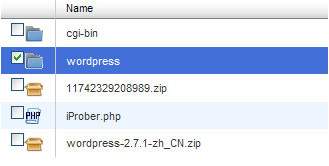
3. After decompression, a "wordpress" directory is added to the root directory
3、 Move files
1. Click to enter the wordpress folder in the figure above, and then select all files
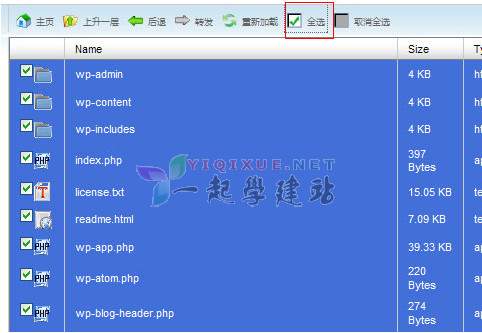
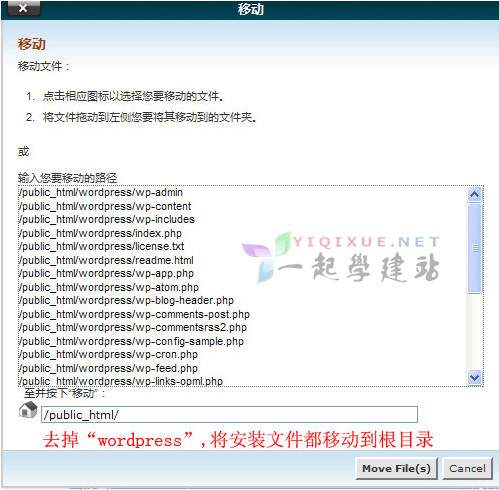
2. Click "Move File"

3. Remove the directory of the wordpress folder and directly transfer the installation files to the root directory "public_html"
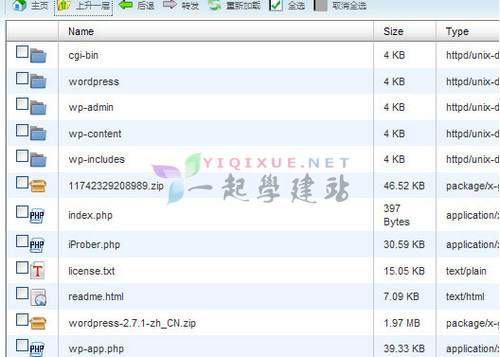
4. The move is successful. Return to the public_html root directory, and you can see that the wordpress installation files have been transferred to the root directory:
Supplement:
Next, you may want to install WordPress. You need to create a MySQL database and then install WordPress. Refer to the following article:
《 CPanel Tutorial: Adding MySQL Database Methods 》
《 New WordPress tutorial: WordPress system installation [image] 》


