Apple ID is a very important pass code for using Apple mobile phones and other products. Of course, ID accounts in different countries bring different benefits.In some cases, you may need a foreign Apple Store account, such as downloading local applications or accessing content in specific regions when traveling overseas.The following are some steps to help you get an overseas Apple Store account.
Apple overseas ID account
US Apple ID1
account numberappoloniaocieuk@hotmail.com
Password Dd112211
US Apple ID2
account numberesmond8011509@hotmail.com
Password Dd112211
US Apple ID3
account numberlowellpuccini30404@hotmail.com
Password Dd112211
Of course, these are shared, and it is inevitable that there will be a situation such as a jam. So if you want to be more stable, you are suggested to click the link below to buy an account. One person, one account supports password change.
How to register a foreign Apple ID
preparation:
1. Register a domestic Apple ID in advance (needless to say)
2. Prepare a computer or a mobile phone
Start registering US Apple ID:
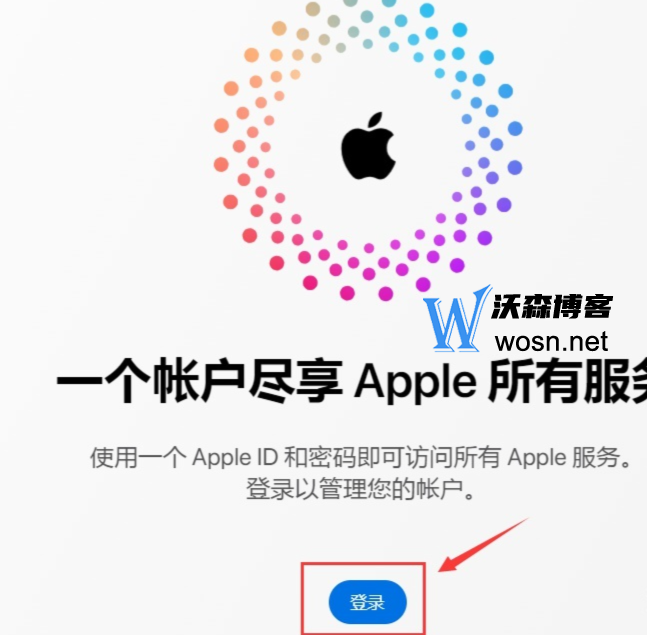
1. Enter Apple ID official website firsthttps://appleid.apple.com/#!&page=signin,Then select "Login"!
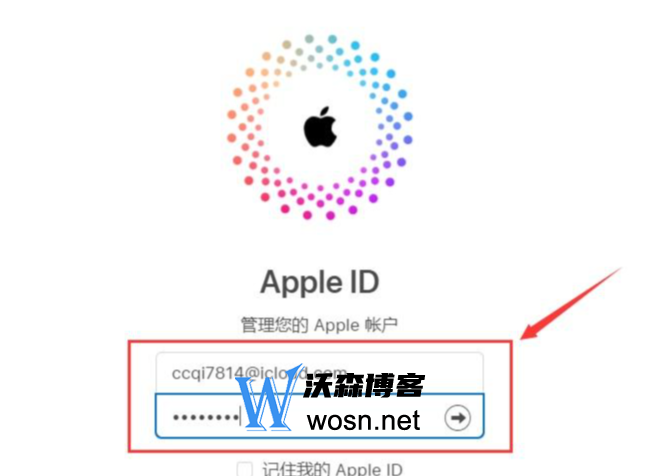
2. Enter the domestic Apple ID you prepared in advance, enter the account and password, and log in!(It is not recommended to use your own unique domestic Apple ID. It is recommended to register a new domestic Apple ID.)
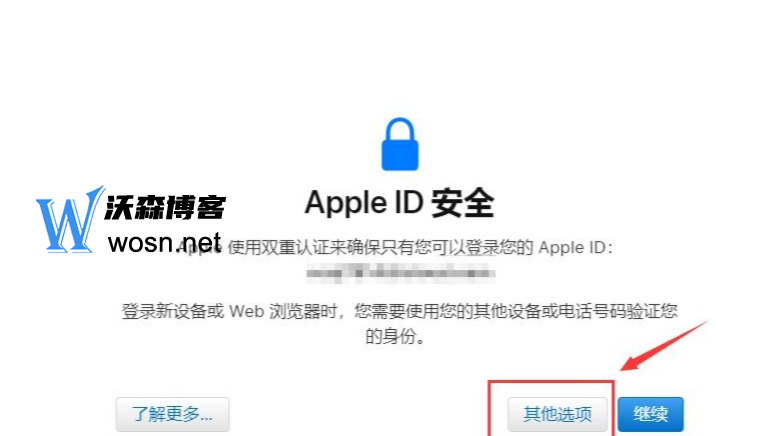
4. Select "Other Options". If you are a user registered with a mobile phone, do not choose to continue. Be sure to select "Other Options".
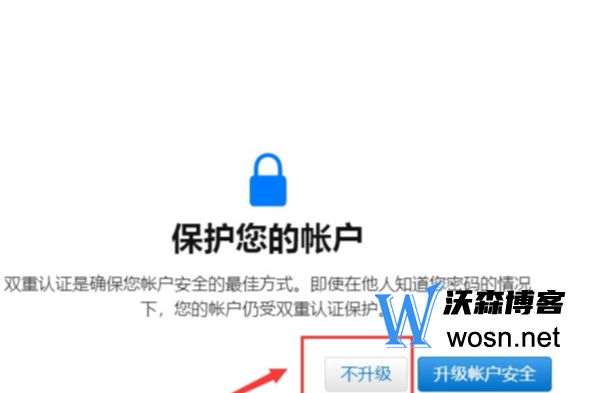
5. Then select No Upgrade.
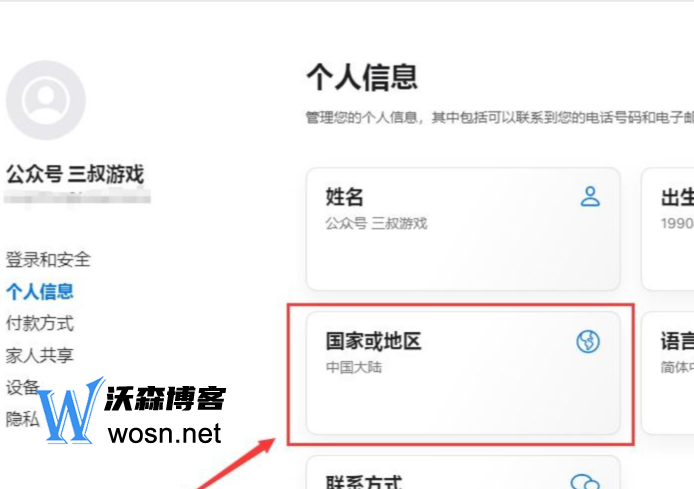
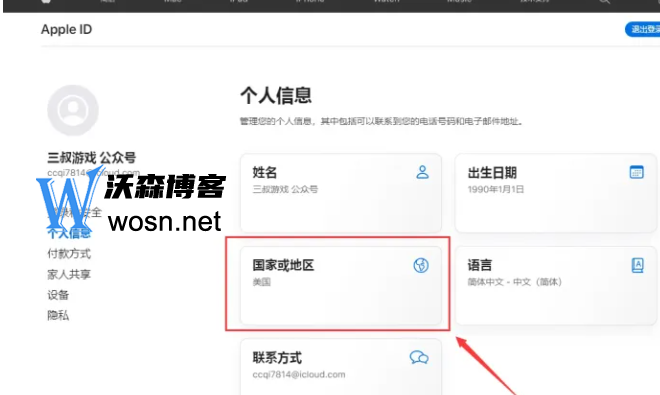
6. After logging in, click "Country or Region" in "Personal Information"!
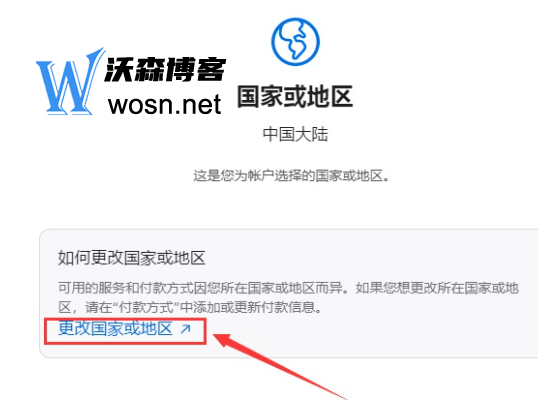
7. Click "Change country or region".
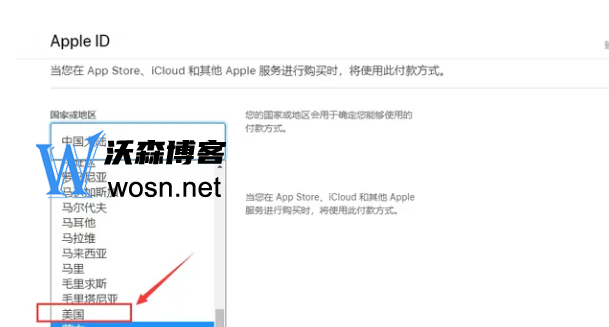
8. Select "USA" in "Country or Region" (of course, if you want to register in other regions, you should select the corresponding region).
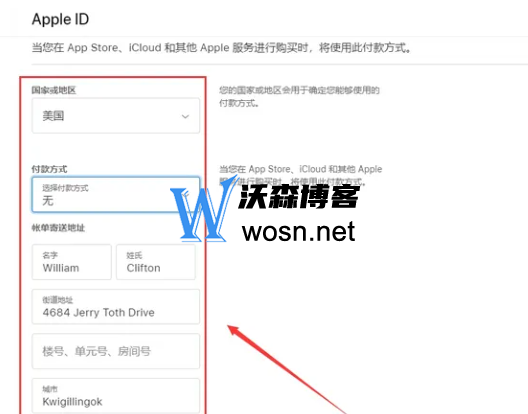
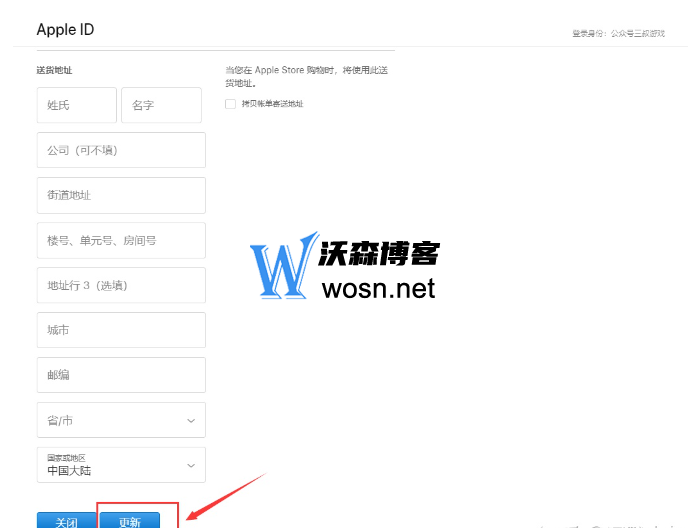
9. If "None" is selected as the payment method, the "First Name", "Last Name", "Street Address" and "City" in the bill sending address can be filled in freely, even if "aaaaaa" is filled in!
Select "Alaska" for "Province/City"!
Fill in "99622" for "Zip code"!
"Phone number" can be filled in according to the following figure!
10. After filling in the billing address, pull it directly to the bottom and click Update.(Delivery address is not required)
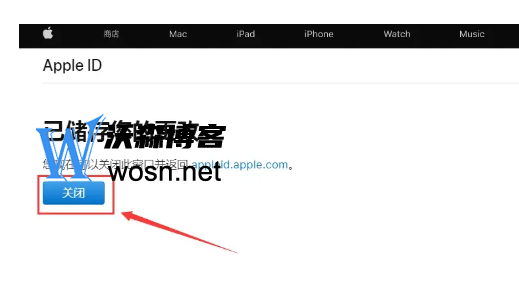
11. After updating, it will pop up "Your changes have been saved" and close it!
12. At this time, you will find that the "country or region" has become the United States!It means that you have successfully registered an American Apple ID.
If you need a ready-made foreign ID, you can directly click the above link to buy it, and then you can also refer to the registration steps in this article, which can help people in need.
This article is written byweiweiPublished on February 8, 202409:59:00
This article is collected and sorted by the website of Mutual Benefit, and the email address for problem feedback is:wosnnet@foxmail.com, please keep the link of this article for reprinting:https://wosn.net/29237.html