How to set the desktop background in win10 Set the picture as the desktop wallpaper

Latest answers Change
Q: What does Ruxi mean
How to cancel btd mining 2020-07-04
What's the difference between Sweden and Switzerland 2019-04-28
Is there really Godzilla in the world 2019-07-25
What does Ka San mean 2019-08-31
Related recommendations

Does drying fish stink in summer

What is the foundation of learning c language
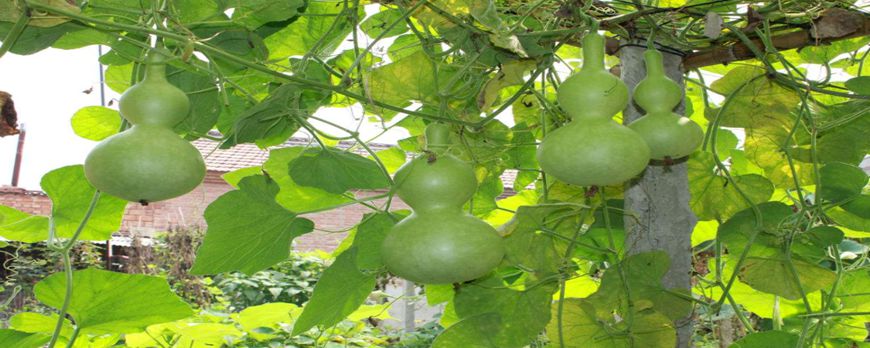
What are the effects and functions of gourd

Is it useful to eat horseradish seeds after drinking

What kind of wood is good for household furniture

What gift should I buy for the newborn baby
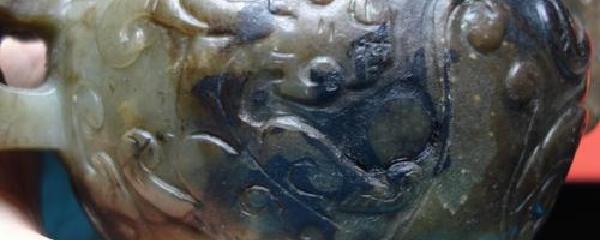
What is the old jade

What are the primary industry, the secondary industry, and the tertiary industry

What kind of lights are used for straight passing at night and crossing at night
How to tune the video of Seven Star Fish Float

Does soy milk have gas

What do jelly and jumping candy mean

What is eht