How to set automatic reply in Outlook 2007

Latest answers Change
Q: Why is it ugly to take photos with mobile phones
Do you get fat after eating two loaves of bread 2020-02-16
Can high-speed rail tickets be printed after 31 days 2021-11-26
What is the difference between Converse high and ordinary 2020-03-22
How to maintain black acid furniture 2019-10-10
Related recommendations

How to Make Wine Cake

Can you still fish in Shenzhen Honghu Park

What does the tailor's ruler mean
What is the meaning of "special one, special two"

Practice the whole sentence of "three nine" in summer and winter
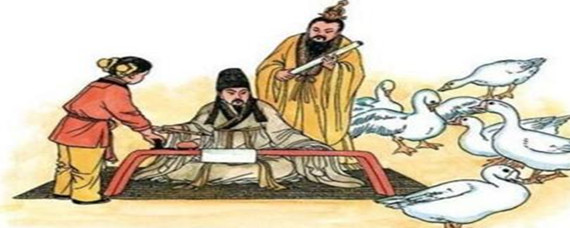
What is the difference between Lv Meng and Fang Zhongyong in studying

The floor is bulging. Can you press it down

How many bank outlets in China

What color light is usually used for fish tank

What is the zodiac for believers to worship Buddha

What's the use of Manyidai electronic card

Elements of non causal management

Who can't practice Six Character Code