Recently, when a user used the printer to print a file, he found that the pictures in the file were not printed together. Which setting link should be wrong. If you also encounter the same problem, you can try to modify the printer properties and restore all settings to the default state on the advanced settings page of color management, Now let's take a look at the detailed operation!
The specific operations are as follows:
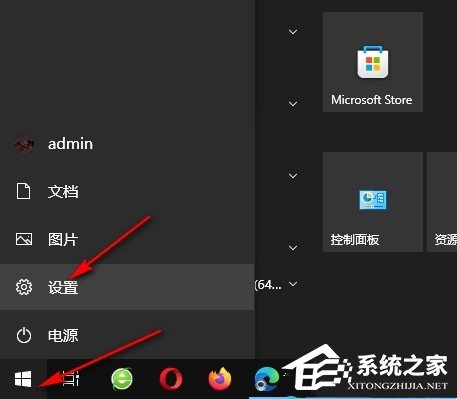
1. We find the "Start" button on the desktop, click to open the button, and then open the "Settings" option in the menu list.
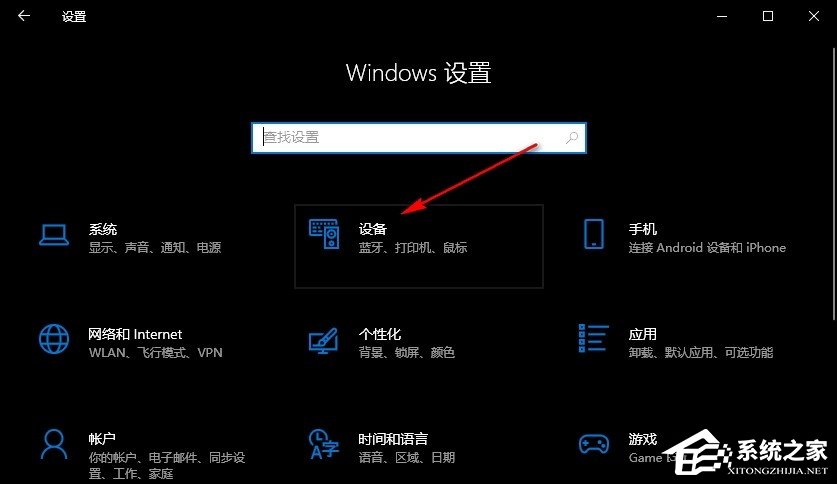
2. After entering the Windows settings page, we will find the "Device" settings in this page, and click to open this setting option.
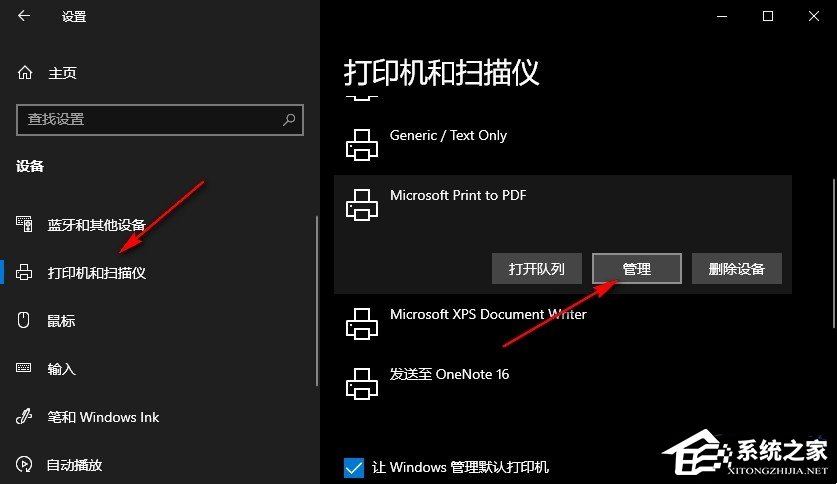
3. After entering the device page, we first click to open the "Printer and Scanner" option, and then open the "Management" option under a printer in the right page.
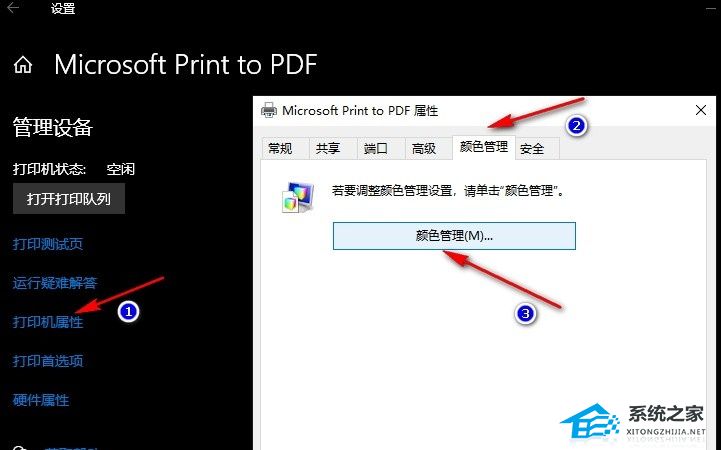
4. After entering the printer page, we first click to open the "Printer Properties" option, and then open the "Color Management" option in the pop-up box.
5. Finally, we change all settings to "System Default" on the advanced settings page of color management, and then click the "Close" option.

Related recommendations:
Which version of Win10 has the best performance? Recommended for Win10 high-performance system
Download Win11 Pure Edition - the best Windows 11 64 bit Pure Edition system recommendation
Download Windows 7 Ultimate Edition - download recommendation of the latest Win7 64 bit official flagship edition
That's it System Home I have brought you all the information about the solution of "Win10 printing documents can't print pictures - [effective testing]". I hope it can solve your problem. Thank you for your reading. Please pay attention to more exciting content Official website of System Home 。


![Detailed steps for Win10 to completely uninstall 360 security guards - [No residue]](https://img1.xitongzhijia.net/allimg/240517/141-24051G10507-water-lp.png)


![[Brand Exclusive] The latest 64 bit official version of Rainforest Mufeng Windows 10](https://img3.xitongzhijia.net/allimg/240304/117-2403041453000.png)
![[Clean without software] Real pure Win10 64 bit professional system](https://img1.xitongzhijia.net/allimg/240304/117-240304142A10.png)

![[Pure and Smooth] Win10 LTSC 64 bit Enterprise Pure V2024](https://img2.xitongzhijia.net/allimg/230405/138-2304051550290.png)