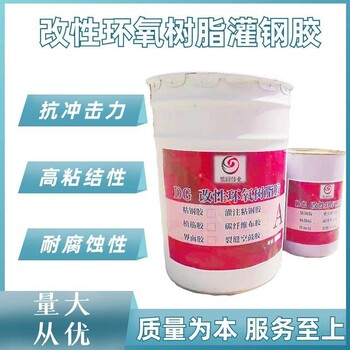
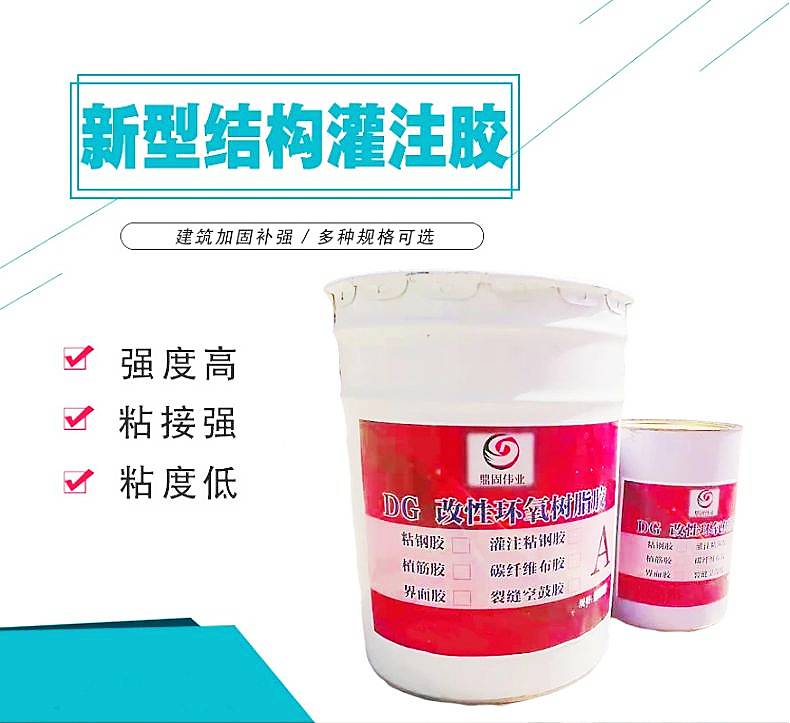
DG-502 epoxy resin high bonding aging resistant steel plate adhesive grouting adhesive


Construction technology of pouring steel adhesive
(1) Positioning and setting out
Before the construction of the reinforcement part, the theodolite and level are used to mark the structural axis and elevation of the original structure on the original structure, and then the size and position of each reinforcement part are marked according to the requirements in the drawing.
(2) Drying treatment of components
Before reinforcement, the surface shall be kept dry. For components with wet surface, iodine tungsten lamp shall be used to bake the components, or a blower shall be used to dry the components, and the relative humidity of the component surface shall not be greater than 70%.
(3) , steel plate and concrete component surface treatment
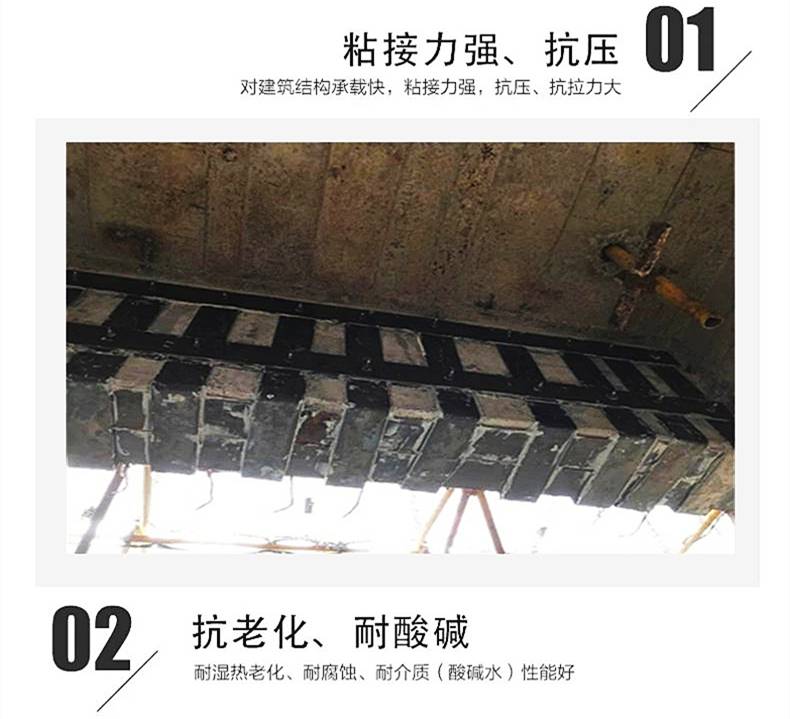
According to the field survey results, because the original structure has been used for a long time, the concrete on the surface of the component generally has defects such as local honeycomb, looseness at the holes, carbonization rust cracking layer and serious oil stain layer. See the following figure for details. Before the steel bonding construction, the concrete defects on the surface of the reinforced component shall be removed until the solid and dense base layer is completely exposed, and then the holes shall be filled and leveled with high-strength grouting materials. The surface flatness of the component shall be controlled within 5~8mm. The joint surface of angle steel and steel plate shall also be derusted and polished to a metallic luster. The greater the roughness, the better. The polishing grain shall be perpendicular to the force direction of the steel part, and then it shall be wiped with acetone for 2-3 times.
(4) Glue mixing
To facilitate mixing, invert the glue bucket one day before mixing, so that the quartz sand settled on the bottom of the bucket will naturally blend with the glue on the surface. Stir evenly with agitator or by hand. It is required that there is no single component strip in the glue and the color is uniform. The amount of glue prepared each time shall be subject to the amount used this time. The colloid in the middle of the steel plate is about 3mm thick.
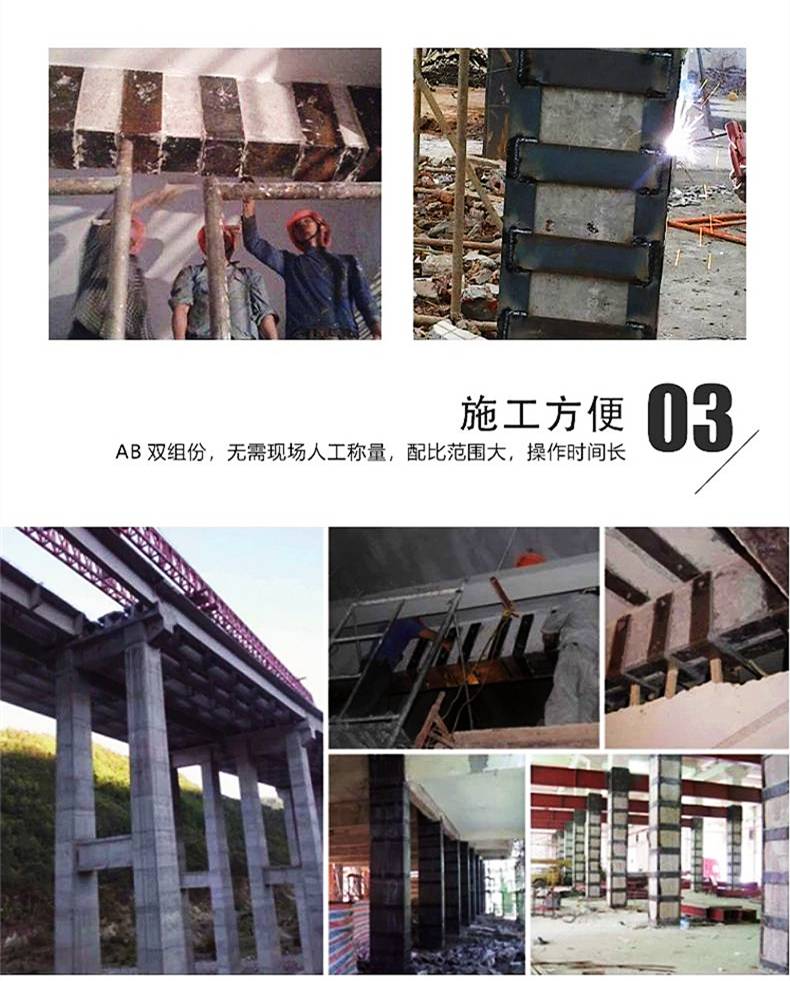
(5) Install and fix profile steel and grout
Attach the profile steel skeleton to the column surface, clamp and weld it firmly with clamps, seal the area around the profile steel with epoxy mastic, leave an exhaust hole, and paste the grouting nozzle at the favorable grouting position. Spacing is 2-3m. After the grouting nozzle is firmly stuck, conduct ventilation pressure test, that is, press the grouting fluid from the grouting nozzle at a pressure of 0.2-0.4Mpa; When grout appears in the vent hole, stop pressurizing, block the hole with epoxy mastic, and then maintain a lower pressure for more than 10min before stopping grouting. After grouting, the profile steel shall not be hammered, moved or welded.
(6) , curing
During curing, the protection of members shall be strengthened, and there shall be no disturbance to the steel plate or section steel.
(7) Inspection and acceptance
After removing the temporary fixed equipment, gently tap the bonded steel plate with a small hammer to judge the bonding effect from the sound or use ultrasonic to detect the bonding density. If the bonding area of the anchorage zone is less than 90% and the bonding area of the non anchorage zone is less than 70%, the adhesive part is invalid and should be peeled off for re bonding.
(8) External surface treatment
After construction, the outer surface of steel plate shall be painted with antirust paint. First, remove the weld slag on the surface of the steel plate, polish it flat, brush off the rust spots with a wire brush, evenly brush two layers of antirust paint, and then carry out surface protection as required.
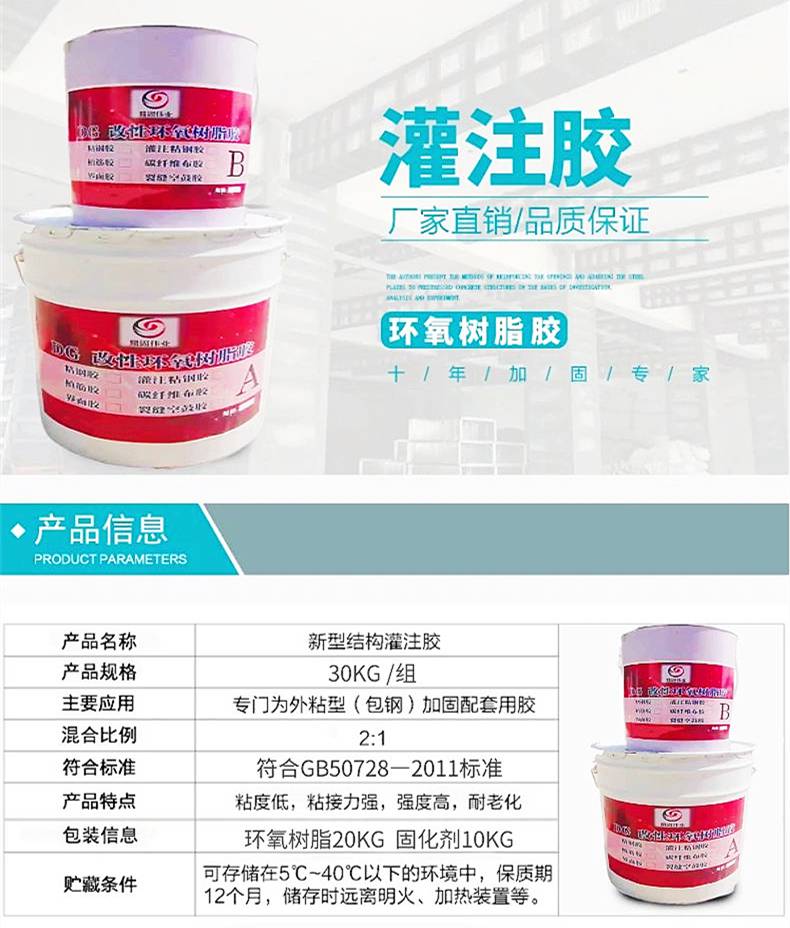
Package specification: Application type: 30+10 kg/group
Filling type: 20+10 kg/group