Evernote is a free, simple and practical life essential application. Its powerful cross platform synchronization function allows you to record all valuable information anytime, anywhere, retain good memories, and never forget. Since then, work more efficiently and life more exciting! Now let's introduce how to install Impression Notes?
Method steps:
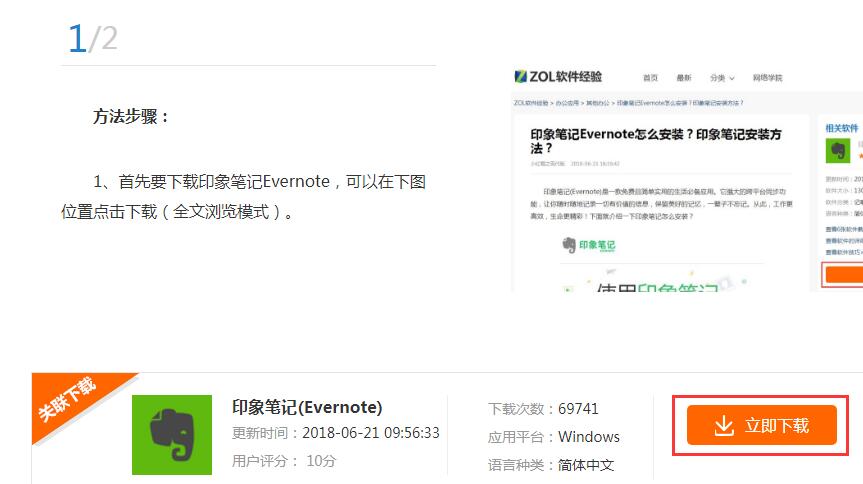
1. First, you need to download Evernote, which can be downloaded (full text browsing mode) at the following location.
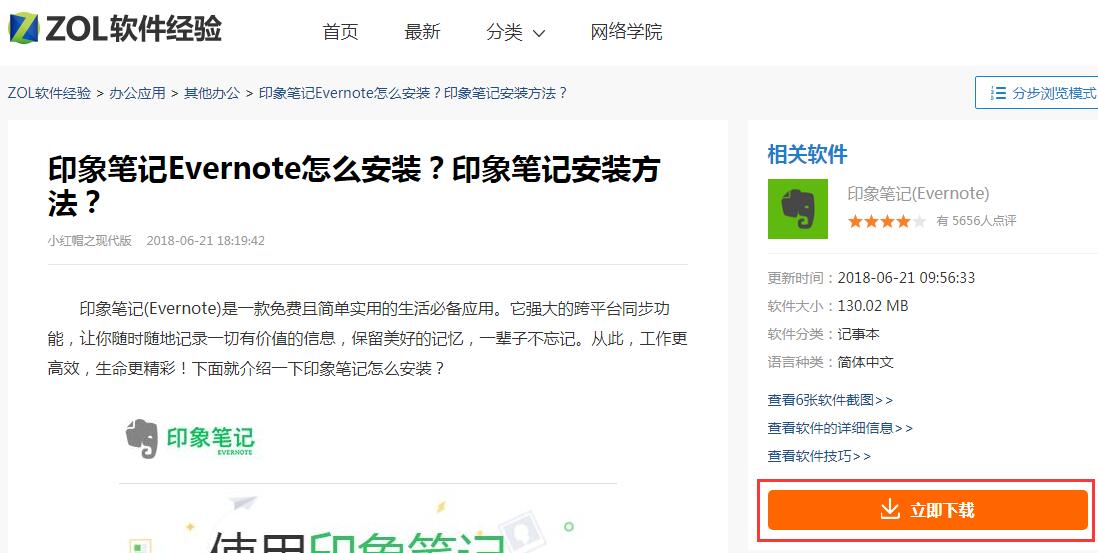
2. Or you can download it at this location in paging mode.
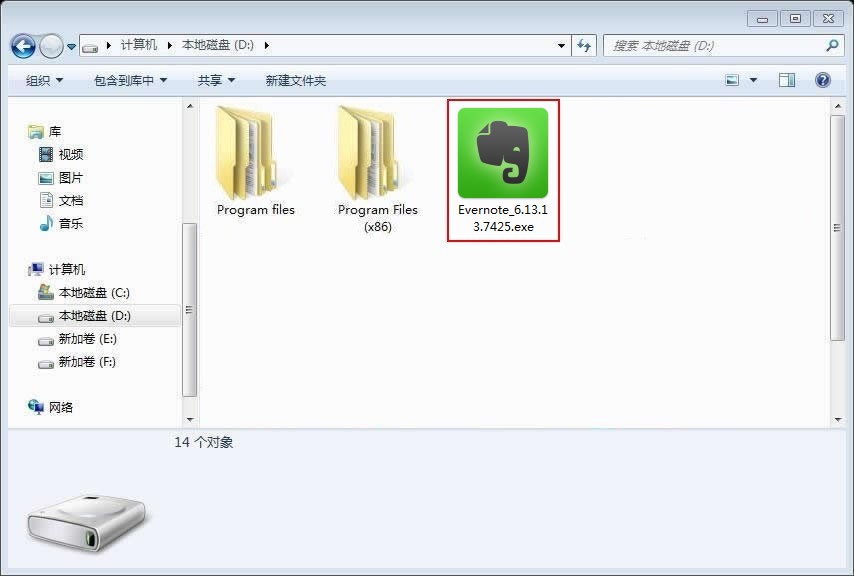
3. Download the software package to the computer, and then double-click to install it.
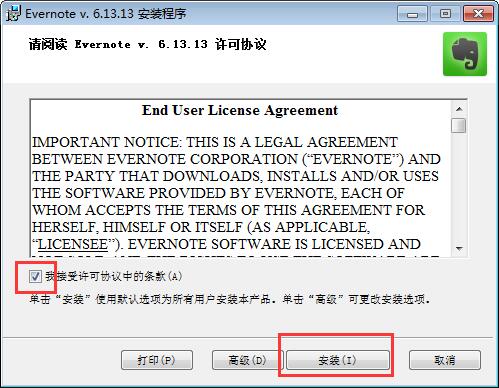
4. After running, you need to select User Agreement and click Install.
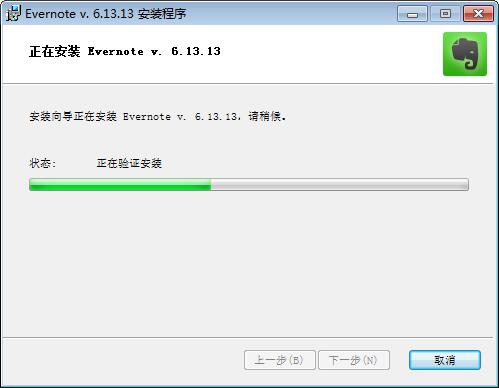
5. After installation, the program will be installed automatically and wait patiently.
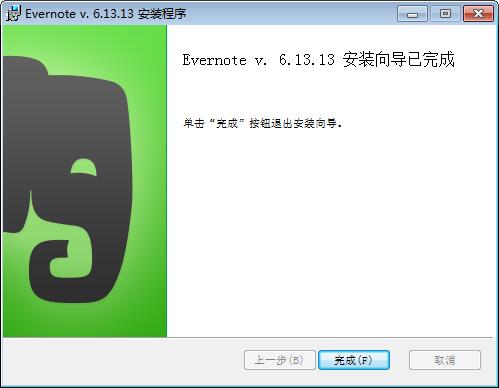
6. On the successful installation interface, click Finish.
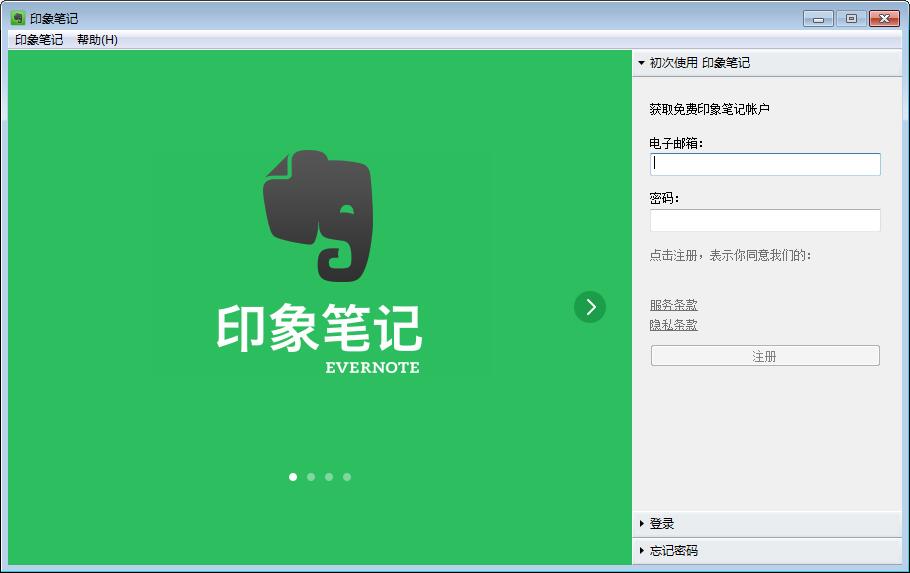
7. Impression note Evernote software interface.
Toolbar:
The toolbar contains the following items by default. You can open the menu bar Tools>Customize Toolbar to adjust the options in the toolbar.
All Notes: displays all notes in the account in the note list.
Sync: Manually synchronize the content in your account. Tips: Impression notes will automatically synchronize your account content, so manual synchronization is optional.
Shortcut: You can drag notes, notebooks or labels to the shortcut bar for quick access.
Left sidebar:
New Note: Create a note in the current notebook. If no notebook is selected during operation, notes will be created in the default notebook.
Private enterprise (unique to Impression Notes Enterprise Edition): switch between private and corporate notebooks, labels, and wastebasket.
Notebook: displays all notes in the account in the note list. Click the triangle button on the left to expand/collapse the notebook list.
Default Notebook: used to identify the default notebook.
Tags: Displays all tagged notes in your account. Click the triangle button on the left to expand/collapse the tag list.
Wastebasket: View all notes in the wastebasket. Right click the wastebasket to empty it.
Note list:
Change View/Sort: switch between summary view, card view, top list view and side list view. Or change the way notes are sorted in the list.
Search notes: search notes using keywords, tags, and other criteria. By default, impression notes will take all notes with keywords in the title, content, and pictures as search results. If you are an advanced account, you can also search for keywords in PDF and Office documents. Tip: You can click the triangle button in the search interface, open the drop-down menu, and change the filter conditions for note search.
Edit toolbar:
You can manually click the view option in the menu bar and select to expand or hide the editing toolbar. When you are active in editing notes, the editing toolbar will automatically
Reminder: set a reminder for this note.
Note information: View the information of this note, including: creation time, update time, source URL, location, synchronization status, history and other information.
Add attachments: Add attachments from your computer to your notes, such as PDF, word documents or pictures. Tip: You need to click the Edit toolbar button to expand the Edit toolbar to view the attachment button.
Record Audio: Start recording audio in your notes.


