Features:
1. Avoid loading and unloading Lighting board The surface of the board is damaged by dragging the bottom of the board and the two ends of the daylighting board.
2. When stacking, they should be stacked on a firm and flat ground, and the bottom and top of each pile should be protected by waste boards. It is strictly prohibited to place heavy objects Daylighting tile To prevent the daylighting tiles from breaking.
3. When loading and unloading, there must be one person every 4 meters, and both hands should hold the two sides of the daylighting plate tightly. The height of both hands should be consistent with the head to avoid breaking the daylighting plate.
4. Once every 2-3 pieces.
5. When stacking, the height of each stack shall not exceed 0.75 m.
6. When the daylighting board is hoisted to the roof, it is strictly prohibited to bend vertically and horizontally to avoid cracking.
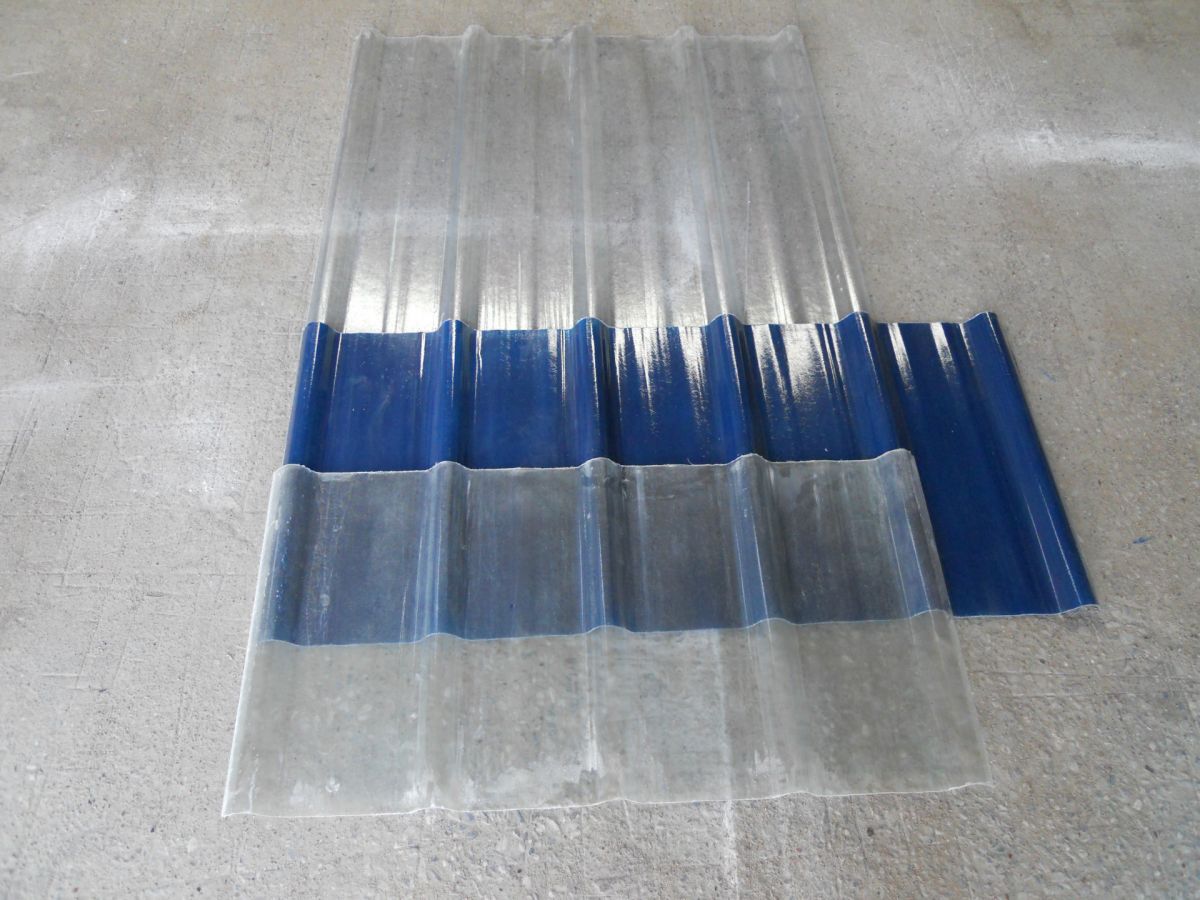
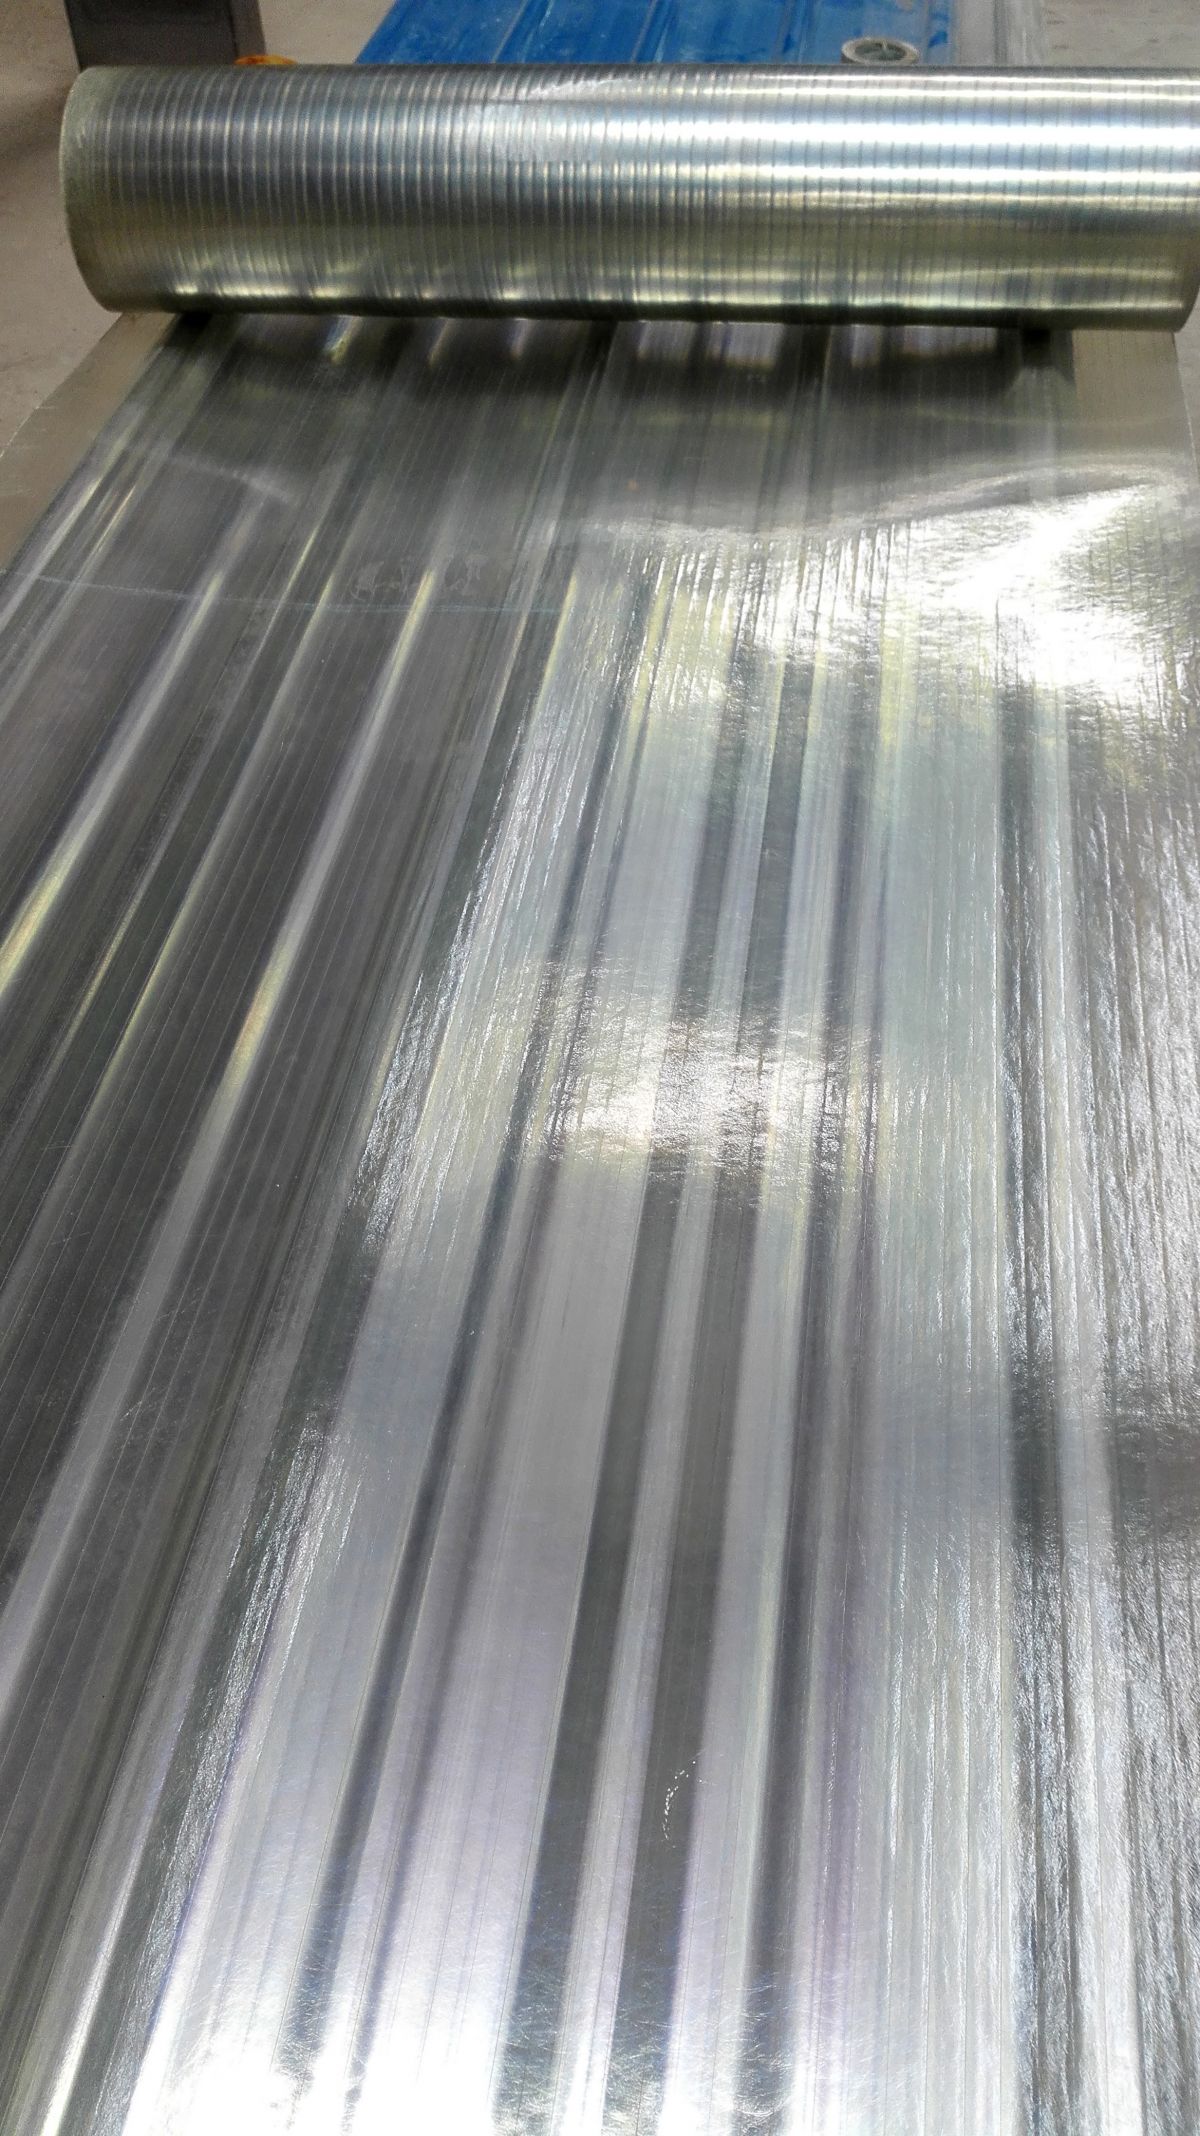
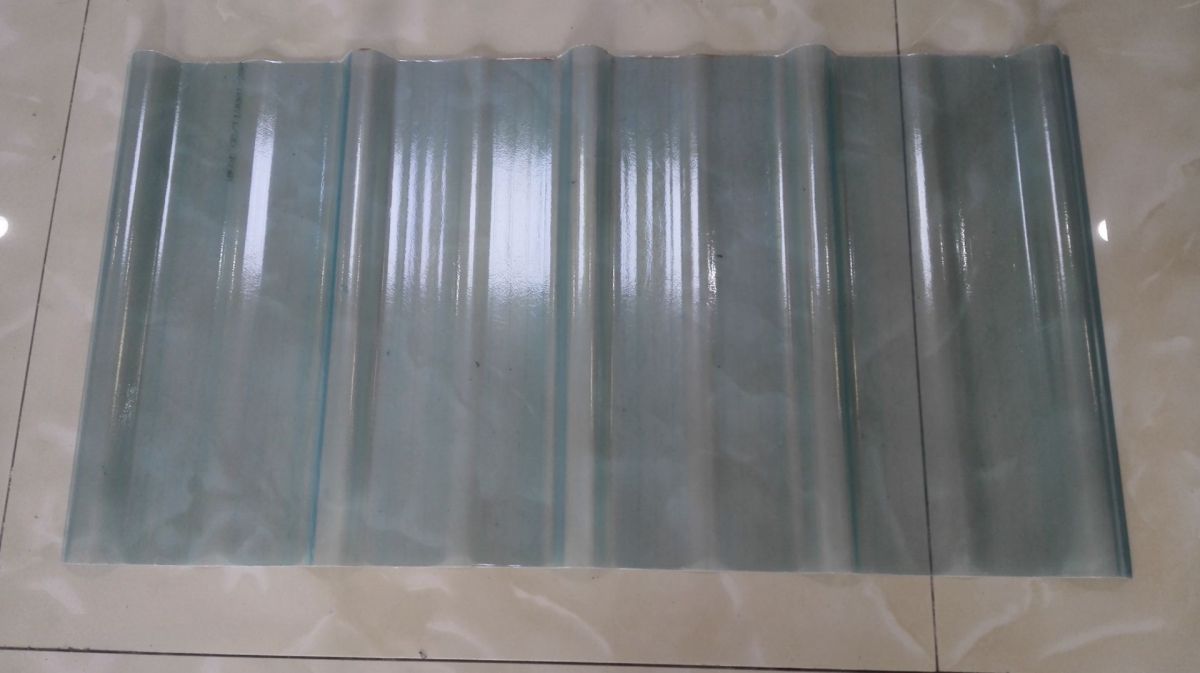
Product details:


Product application:
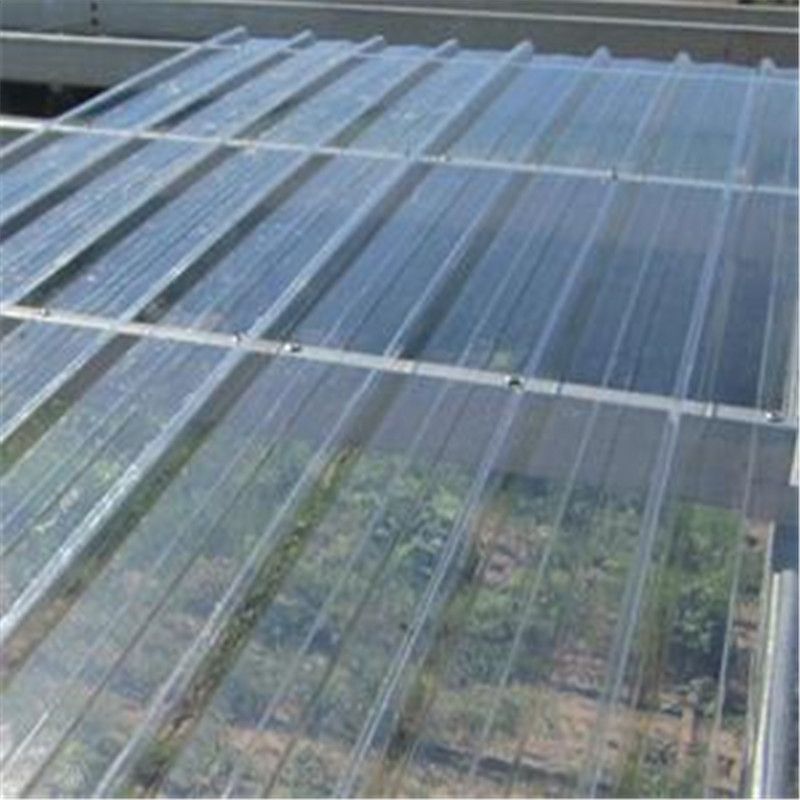
The daylighting belt is the mainstream daylighting material. We mentioned the calculation method of daylighting tile consumption before. To calculate the length used, we will install and lay the daylighting belt. What should we pay attention to when installing the daylighting tile
After laying, the position of daylighting board shall be reserved first, and the construction shall be carried out from cornice to ridge gradually. Directly buckle the daylighting plate steel plate On the side wave crest.
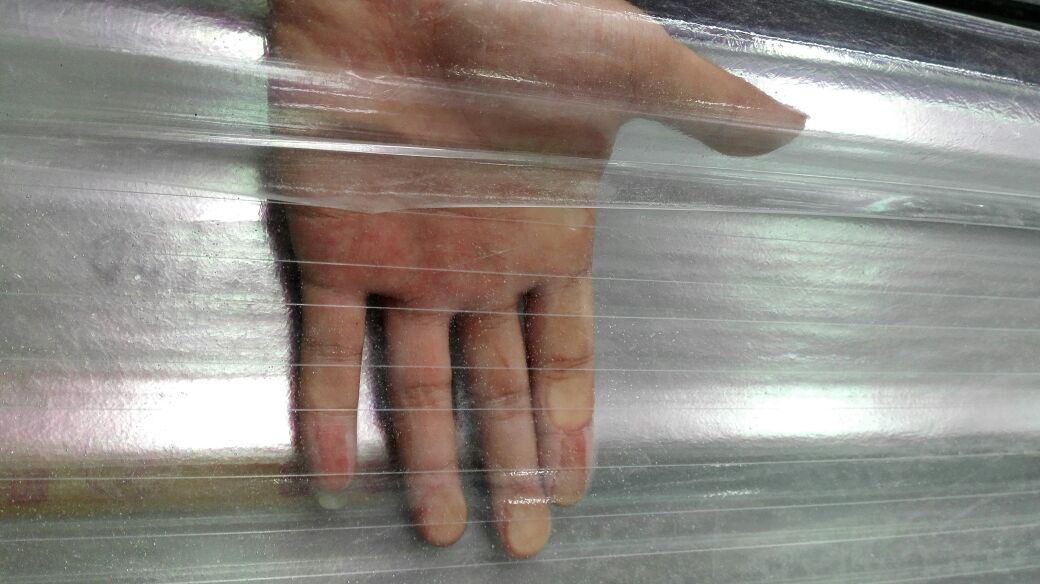
During the construction of the daylighting tile, it is strictly prohibited to directly step on the wave crest with feet to avoid cracking of the daylighting tile. A 1200mmx300mm {length x width) anti slip thickness must be placed at the transverse position of the daylighting plate board , step on it and fix the guide hole of the daylighting plate Screw Work.
When the daylighting tile is longitudinally lapped with the steel plate, * * small must have a 200mm overlap, and two pieces shall be pasted Waterstop 。
When fixing the daylighting tile, good flashing must be used Washer , so that it is between the screw and the daylighting plate waterproof Dust prevention.
After inserting the flashing washer into the screw, use Electric drill Lock it into the purlin to fix the daylighting plate.
When fixing the front pilot hole of the daylighting tile, the hole diameter must be 6-9mm larger than the diameter of the fixing screw for thermal expansion and cold contraction.


