

Alt text tools in Microsoft 365
Open the Microsoft 365 Accessibility Checker:
-
On the Review tab, select Check Accessibility . -
In the right Accessibility pane, issues with accessibility appear under Inspection Results . -
Select any flagged issues to see recommended actions.
Manually view and edit alt text, or approve automatic alt text:
-
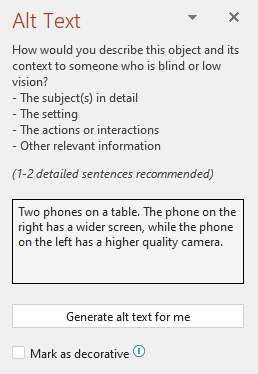
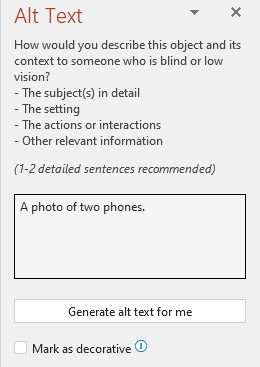
Right-click an image, chart, or other object, and select View Alt Text . Tip : On the Review tab, you can select the Check Accessibility drop down and choose Alt Text . -
In the Alt text pane on the right, edit or approve the displayed alt text (if automatically generated). -
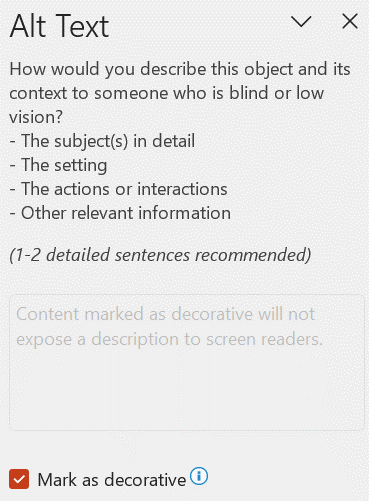
If the image doesn't need alt text, such as a border, select Mark as decorative .
Turn automatically generated alt text on or off:
-
On the File tab, select Options and choose the Accessibility tab. -
Select or clear the Automatically generate alt text for me checkbox under Automatic Alt Text .
-
On the File tab, select Options and choose General . -
Select Enable services under Microsoft 365 intelligent services .
When to use alt text?
Images and pictures
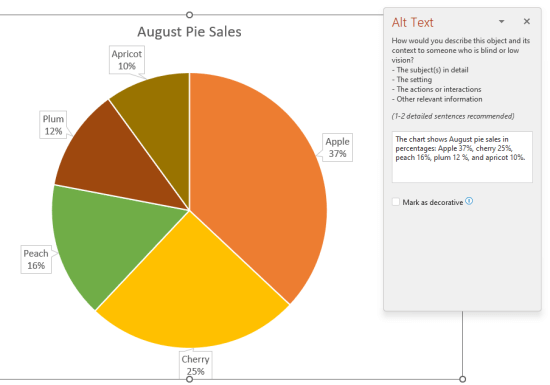
Diagrams, flow charts, and charts
Videos
Tables
When not to use alt text?
Decorative visual objects
Slicers
How to add alt text to an object?
Tips for using alt text in Microsoft 365
-
Remember to use the Microsoft 365 Accessibility Checker during your review process. It checks that all relevant visual content has alt text and also gives you other suggestions for improving the accessibility of your content, such as checking contrast ratios. To run the Accessibility Checker, on the Review tab, select Check Accessibility . For more info on the Accessibility Checker, go to Improve accessibility with the Accessibility Checker . -
Do not use a file name, duplicate text, or URLs as alt text. The Accessibility Checker flags these since they are not useful to someone with a visual disability. For more info, go to Rules for the Accessibility Checker . -
If there is a group of objects that forms a semantic group, such as a group of photos that all show dogs, assign alt text for the whole group. If objects have been grouped together for formatting reasons, ungroup the objects and assign appropriate alt text for each object.
Automatic alt text

Turn automatic alt text on
-
On the File tab, select Options and choose Accessibility . -
Select Automatically generate alt text for me under Automatic Alt Text .
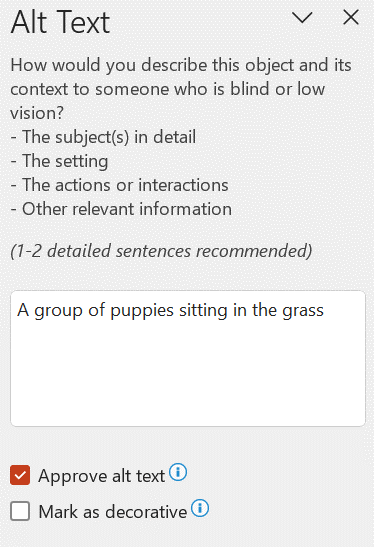
Approve automatic alt text
-
In the Microsoft 365 app, right-click the item to review and select View Alt Text . The Alt Text pane opens. -
If the alt text is satisfactory, select the Approve alt text checkbox.
Turn automatic alt text off
-
On the File tab, select Options and choose Accessibility . -
Clear Automatically generate alt text for me under Automatic Alt Text .
Where to find alt text functional guidelines
-
Make your Word documents accessible to people with disabilities -
Make your Excel documents accessible to people with disabilities -
Make your OneNote notebooks accessible to people with disabilities -
Make your Outlook email accessible to people with disabilities -
Make your PowerPoint presentations accessible to people with disabilities -
Make your Project Online sites and projects accessible to people with disabilities -
Make your SharePoint site accessible to people with disabilities -
Make your Sway design accessible to people with disabilities -
Make your Visio diagram accessible to people with disabilities -
For more information on how to ensure that Microsoft 365 products and user experiences meet the requirements for accessibility, visit our accessibility sites An inclusive, accessible Microsoft 365 and Make your content accessible to everyone with the Accessibility Checker .


